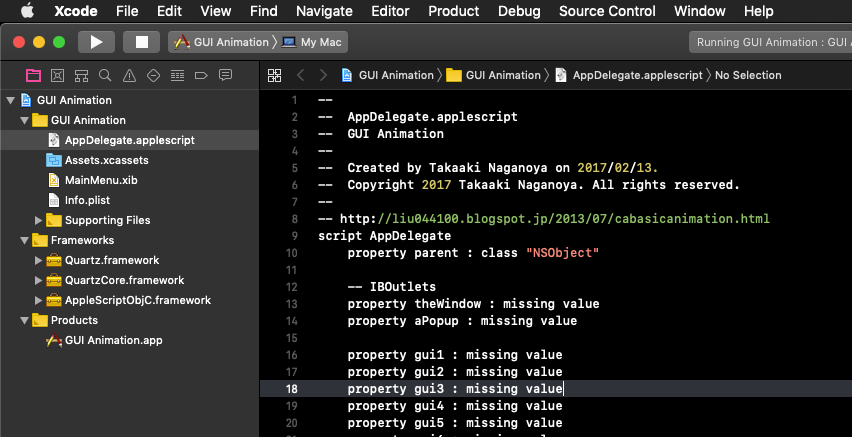
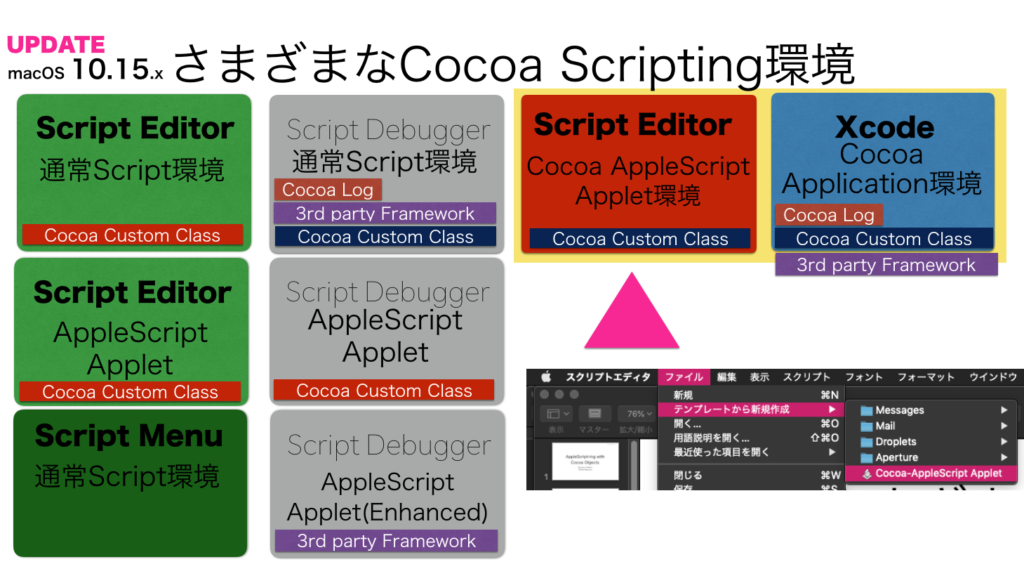
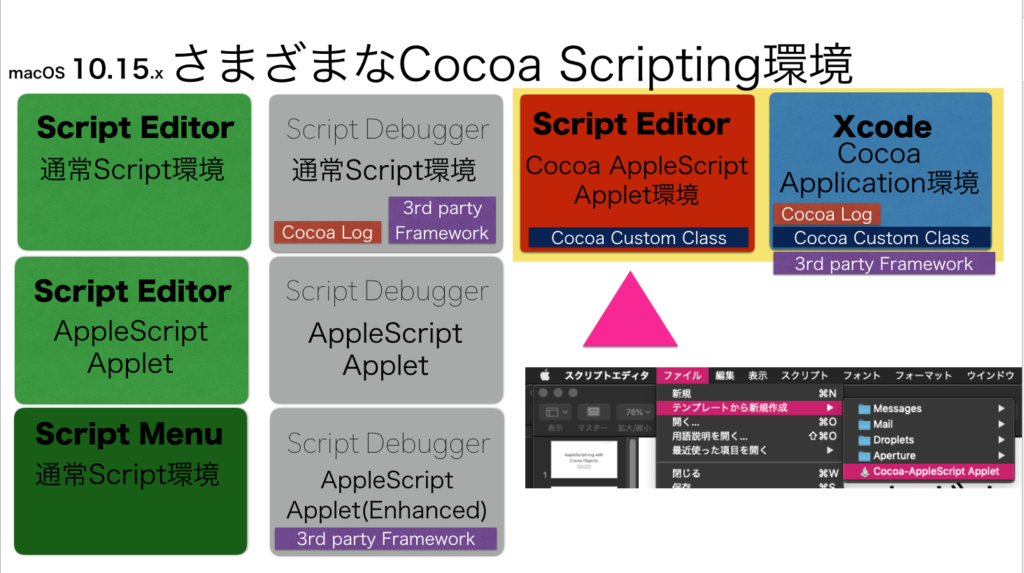
Xcode上で作成するCocoa AppleScript Applicationにおいて、CoreAnimationを利用するサンプルProjectです。
–> Download Xcode Project Test with Xcode 11.3.1 + macOS 10.14.6
ひととおり(このぐらい)CoreAnimationでGUI部品をアニメーションするテストを行なっていました。あまり使いすぎるのは下品に見えるとの判断から、実際のアプリケーションでは最低限の地味な利用にとどめていました。
–> Watch Demo (2) This Project
Mac App Storeで販売している100% AppleScriptで記述したアプリケーション「Double PDF 2.0」においても、コマンド実行後にメニューを更新する際、更新したメニューを点滅表示するぐらいの「節度あるお付き合い」にとどめていました。
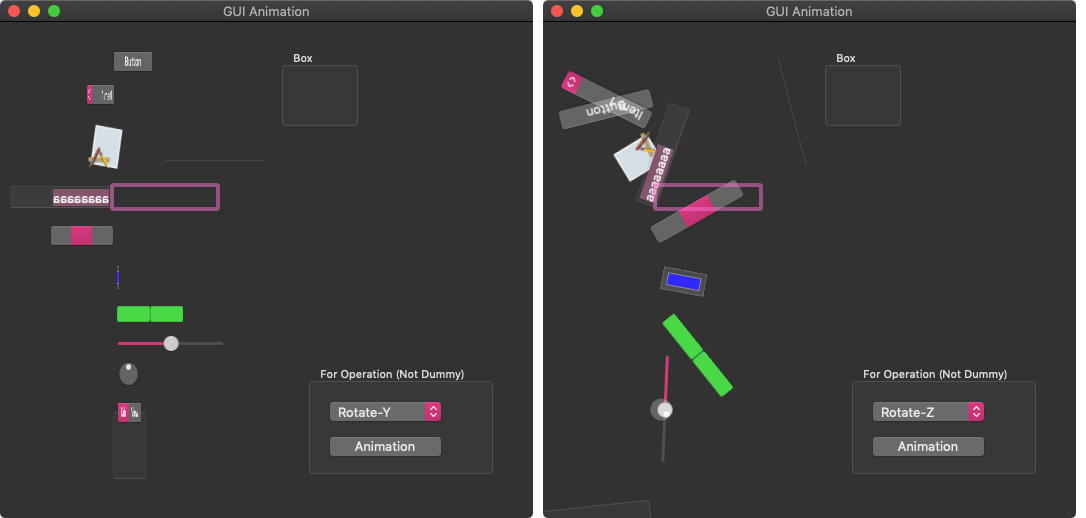
それが、ここ最近組んでいるアプリケーションではド派手に利用する必要があるようで、再度こうした試作品を引っ張り出してテストしだしています。
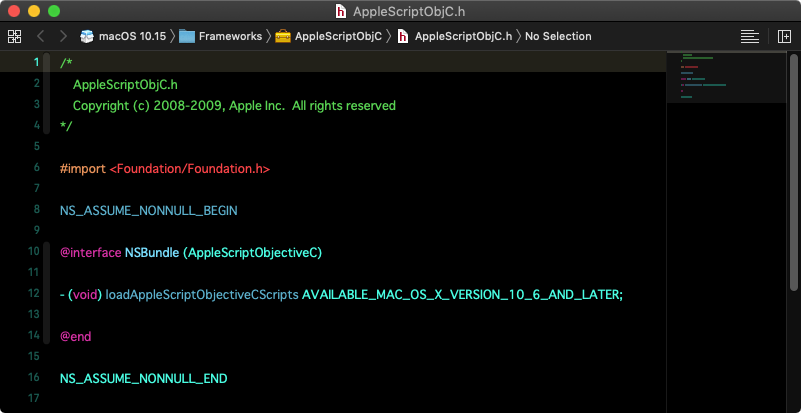
| AppleScript名:AppDelegate.applescript |
| — — AppDelegate.applescript — GUI Animation — — Created by Takaaki Naganoya on 2017/02/13. — Copyright 2017 Takaaki Naganoya. All rights reserved. — — http://liu044100.blogspot.jp/2013/07/cabasicanimation.html script AppDelegate property parent : class "NSObject" — IBOutlets property theWindow : missing value property aPopup : missing value property gui1 : missing value property gui2 : missing value property gui3 : missing value property gui4 : missing value property gui5 : missing value property gui6 : missing value property gui7 : missing value property gui8 : missing value property gui9 : missing value property guiA : missing value property guiB : missing value property guiC : missing value on applicationWillFinishLaunching:aNotification — Insert code here to initialize your application before any files are opened end applicationWillFinishLaunching: on applicationShouldTerminate:sender return current application’s NSTerminateNow end applicationShouldTerminate: on clicked:sender set aInd to aPopup’s indexOfSelectedItem() set guiList to {gui1, gui2, gui3, gui4, gui5, gui6, gui7, gui8, gui9, guiA, guiB, guiC} repeat with i in guiList if aInd = 0 then (my blinkObject:i) else if aInd = 1 then (my scaleObject:i) else if aInd = 2 then (my rotateObject:i forAxis:"x") else if aInd = 3 then (my rotateObject:i forAxis:"y") else if aInd = 4 then (my rotateObject:i forAxis:"z") else if aInd = 5 then (my moveObject:i) else if aInd = 6 then –my mixtureAnimeObject:i end if delay 0.1 end repeat end clicked: on blinkObject:aObject set animation to current application’s CABasicAnimation’s animationWithKeyPath:"opacity" animation’s setDuration:0.1 animation’s setAutoreverses:true animation’s setRepeatCount:4 animation’s setFromValue:(current application’s NSNumber’s numberWithFloat:1.0) animation’s setToValue:(current application’s NSNumber’s numberWithFloat:0.0) aObject’s layer()’s addAnimation:animation forKey:"blink" end blinkObject: on scaleObject:aObject set animation to current application’s CABasicAnimation’s animationWithKeyPath:"transform.scale" animation’s setDuration:0.1 animation’s setAutoreverses:true animation’s setRepeatCount:2 animation’s setFromValue:(current application’s NSNumber’s numberWithFloat:1.0) animation’s setToValue:(current application’s NSNumber’s numberWithFloat:2.0) aObject’s layer()’s addAnimation:animation forKey:"scale-layer" end scaleObject: on rotateObject:aObject forAxis:anAxis set animation to current application’s CABasicAnimation’s animationWithKeyPath:("transform.rotation." & anAxis) animation’s setDuration:2.0 –animation’s setAutoreverses:false animation’s setRepeatCount:1 animation’s setFromValue:(current application’s NSNumber’s numberWithFloat:0.0) animation’s setToValue:(current application’s NSNumber’s numberWithFloat:4.0 * 3.1415926) aObject’s layer()’s addAnimation:animation forKey:"rotate-layer" end rotateObject:forAxis: on moveObject:aObject set aFrame to aObject’s frame() copy aFrame to {{fx1, fy1}, {fx2, fy2}} set animation to current application’s CABasicAnimation’s animationWithKeyPath:"position" animation’s setDuration:0.4 animation’s setAutoreverses:false animation’s setRepeatCount:1 animation’s setFromValue:(current application’s NSValue’s valueWithCGRect:(aObject’s frame())) animation’s setToValue:(current application’s NSValue’s valueWithCGRect:(current application’s CGRectMake(100, 100, fx2, fy2))) aObject’s layer()’s addAnimation:animation forKey:"move-layer" end moveObject: –Not Work Yet….. (* on mixtureAnimeObject:aObject set animation1 to current application’s CABasicAnimation’s animationWithKeyPath:"transform.translation.x" animation1’s setToValue:(current application’s NSNumber’s numberWithFloat:80.0) animation1’s setDuration:3.0 set animation2 to current application’s CABasicAnimation’s animationWithKeyPath:"transform.rotation.z" animation2’s setFromValue:(current application’s NSNumber’s numberWithFloat:0.0) animation2’s setToValue:(current application’s NSNumber’s numberWithFloat:4.0 * 3.1415926) animation2’s setDuration:3.0 set aGroup to current application’s CAAnimationGroup’s animation() aGroup’s setDuration:3.0 aGroup’s setRepeatCount:1.0 aGroup’s setAnimations:(current application’s NSArray’s arrayWithObjects:{animation1, animation2, missing value}) aObject’s layer()’s addAnimation:aGroup forKey:"move-rotate-layer" end mixtureAnimeObject: *) end script |


