—
– Created by: Takaaki Naganoya
– Created on: 2024/11/21
—
– Copyright © 2024 Piyomaru Software, All Rights Reserved
—
use AppleScript
use framework "Foundation"
use framework "AppKit"
use scripting additions
property NSData : a reference to current application’s NSData
property |NSURL| : a reference to current application’s |NSURL|
property NSColor : a reference to current application’s NSColor
property NSString : a reference to current application’s NSString
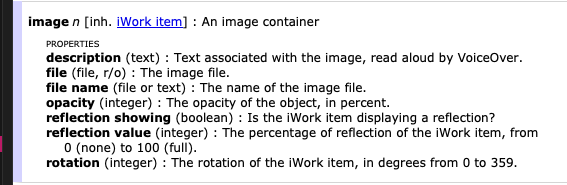
property NSImage : a reference to current application’s NSImage
property NSScreen : a reference to current application’s NSScreen
property NSBezierPath : a reference to current application’s NSBezierPath
property NSPNGFileType : a reference to current application’s NSPNGFileType
property NSMutableArray : a reference to current application’s NSMutableArray
property NSBitmapImageRep : a reference to current application’s NSBitmapImageRep
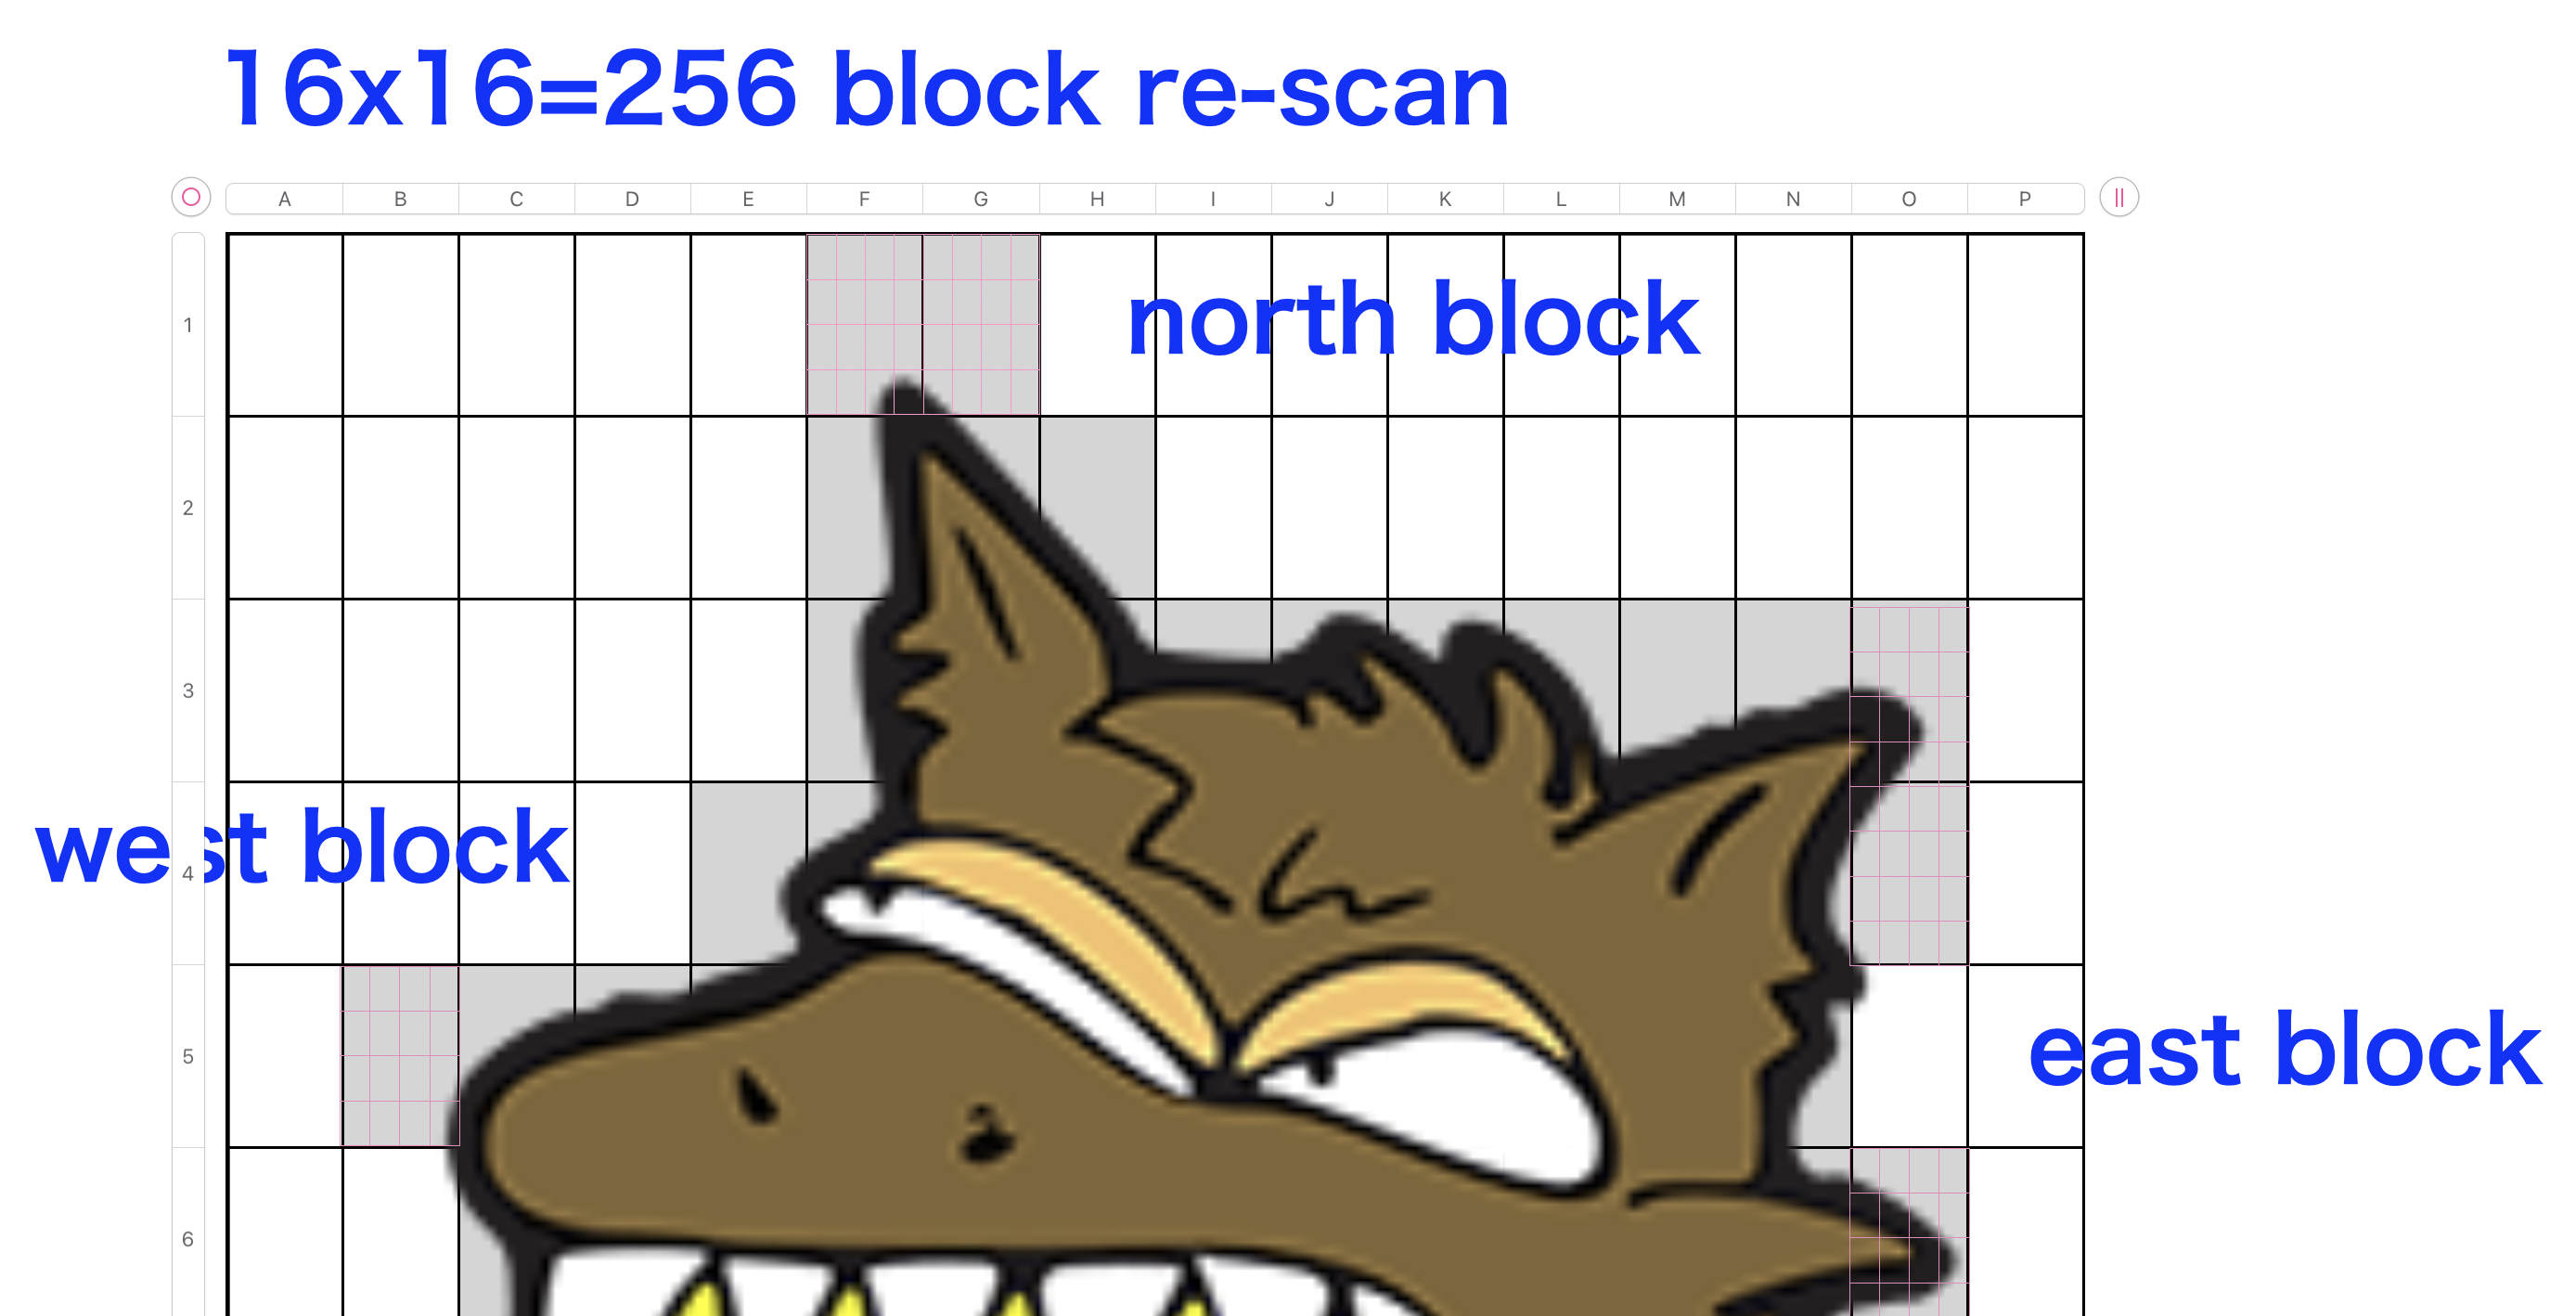
–画像分割ブロックサイズ
property imgDivXStep : 16
property imgDivYStep : 16
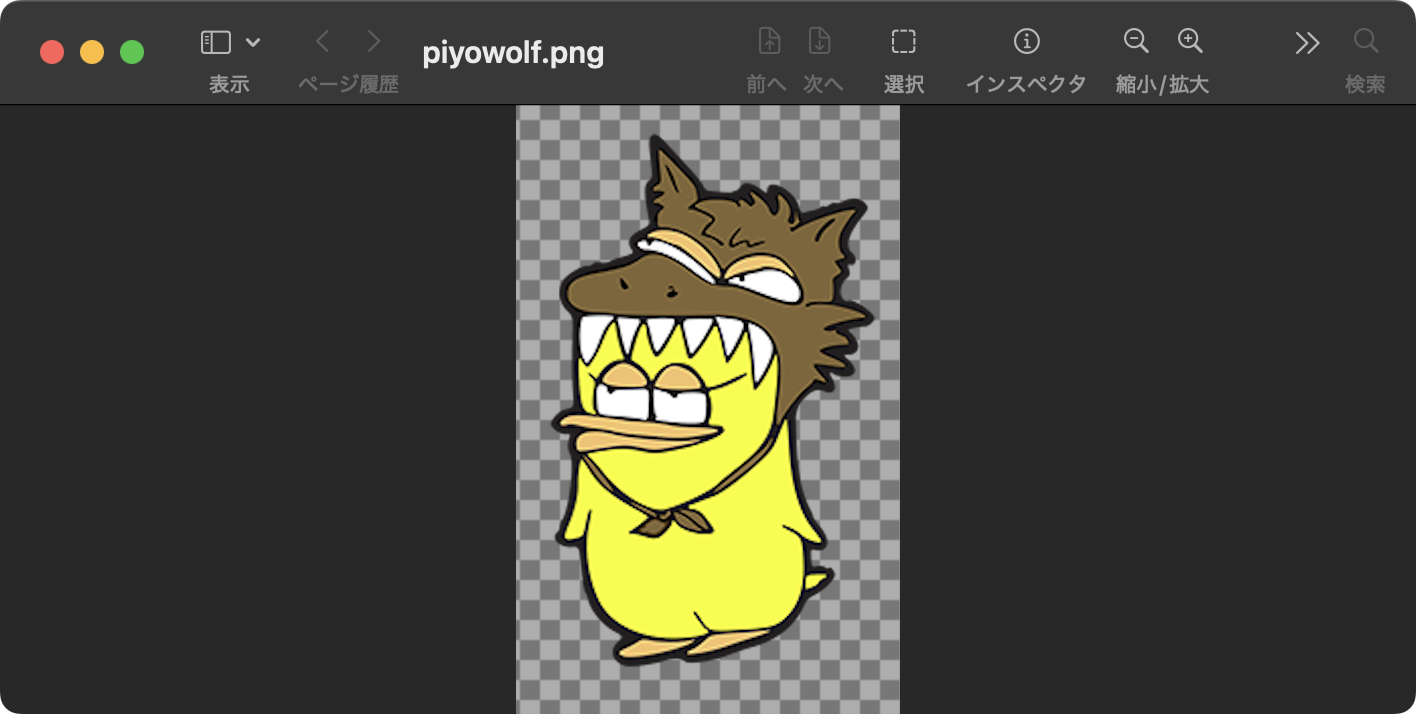
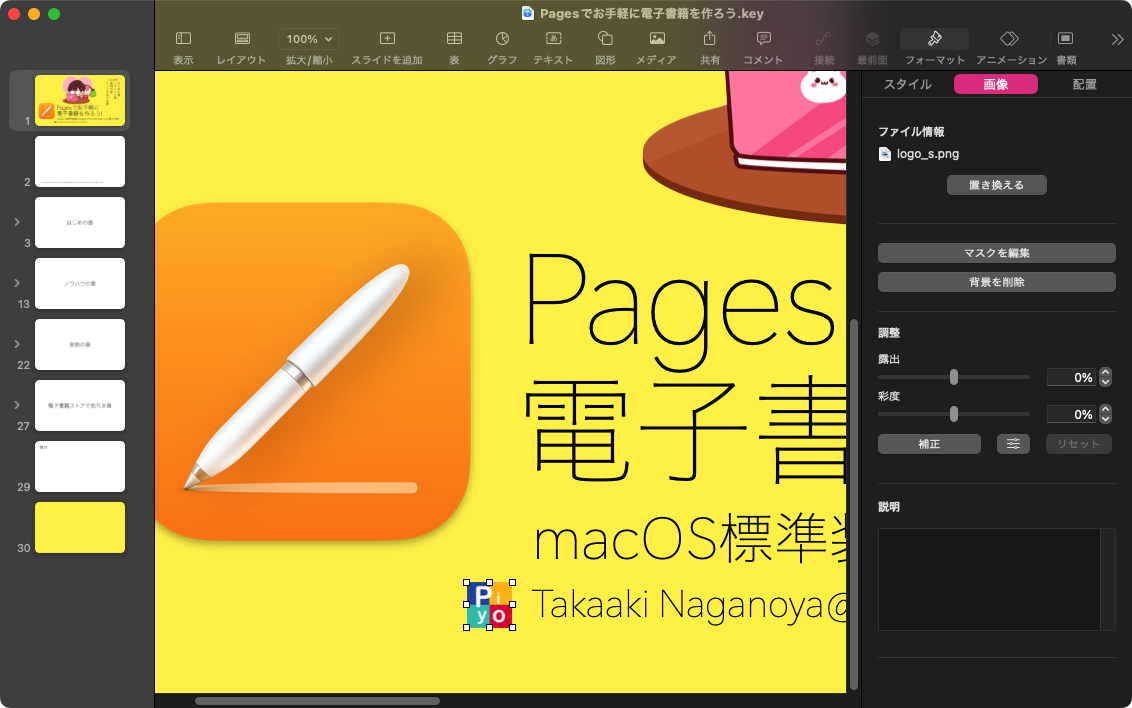
set aPOSIXpath to POSIX path of (choose file with prompt "PNG画像を選択")
–時間計測用
set a1Dat to current application’s NSDate’s timeIntervalSinceReferenceDate()
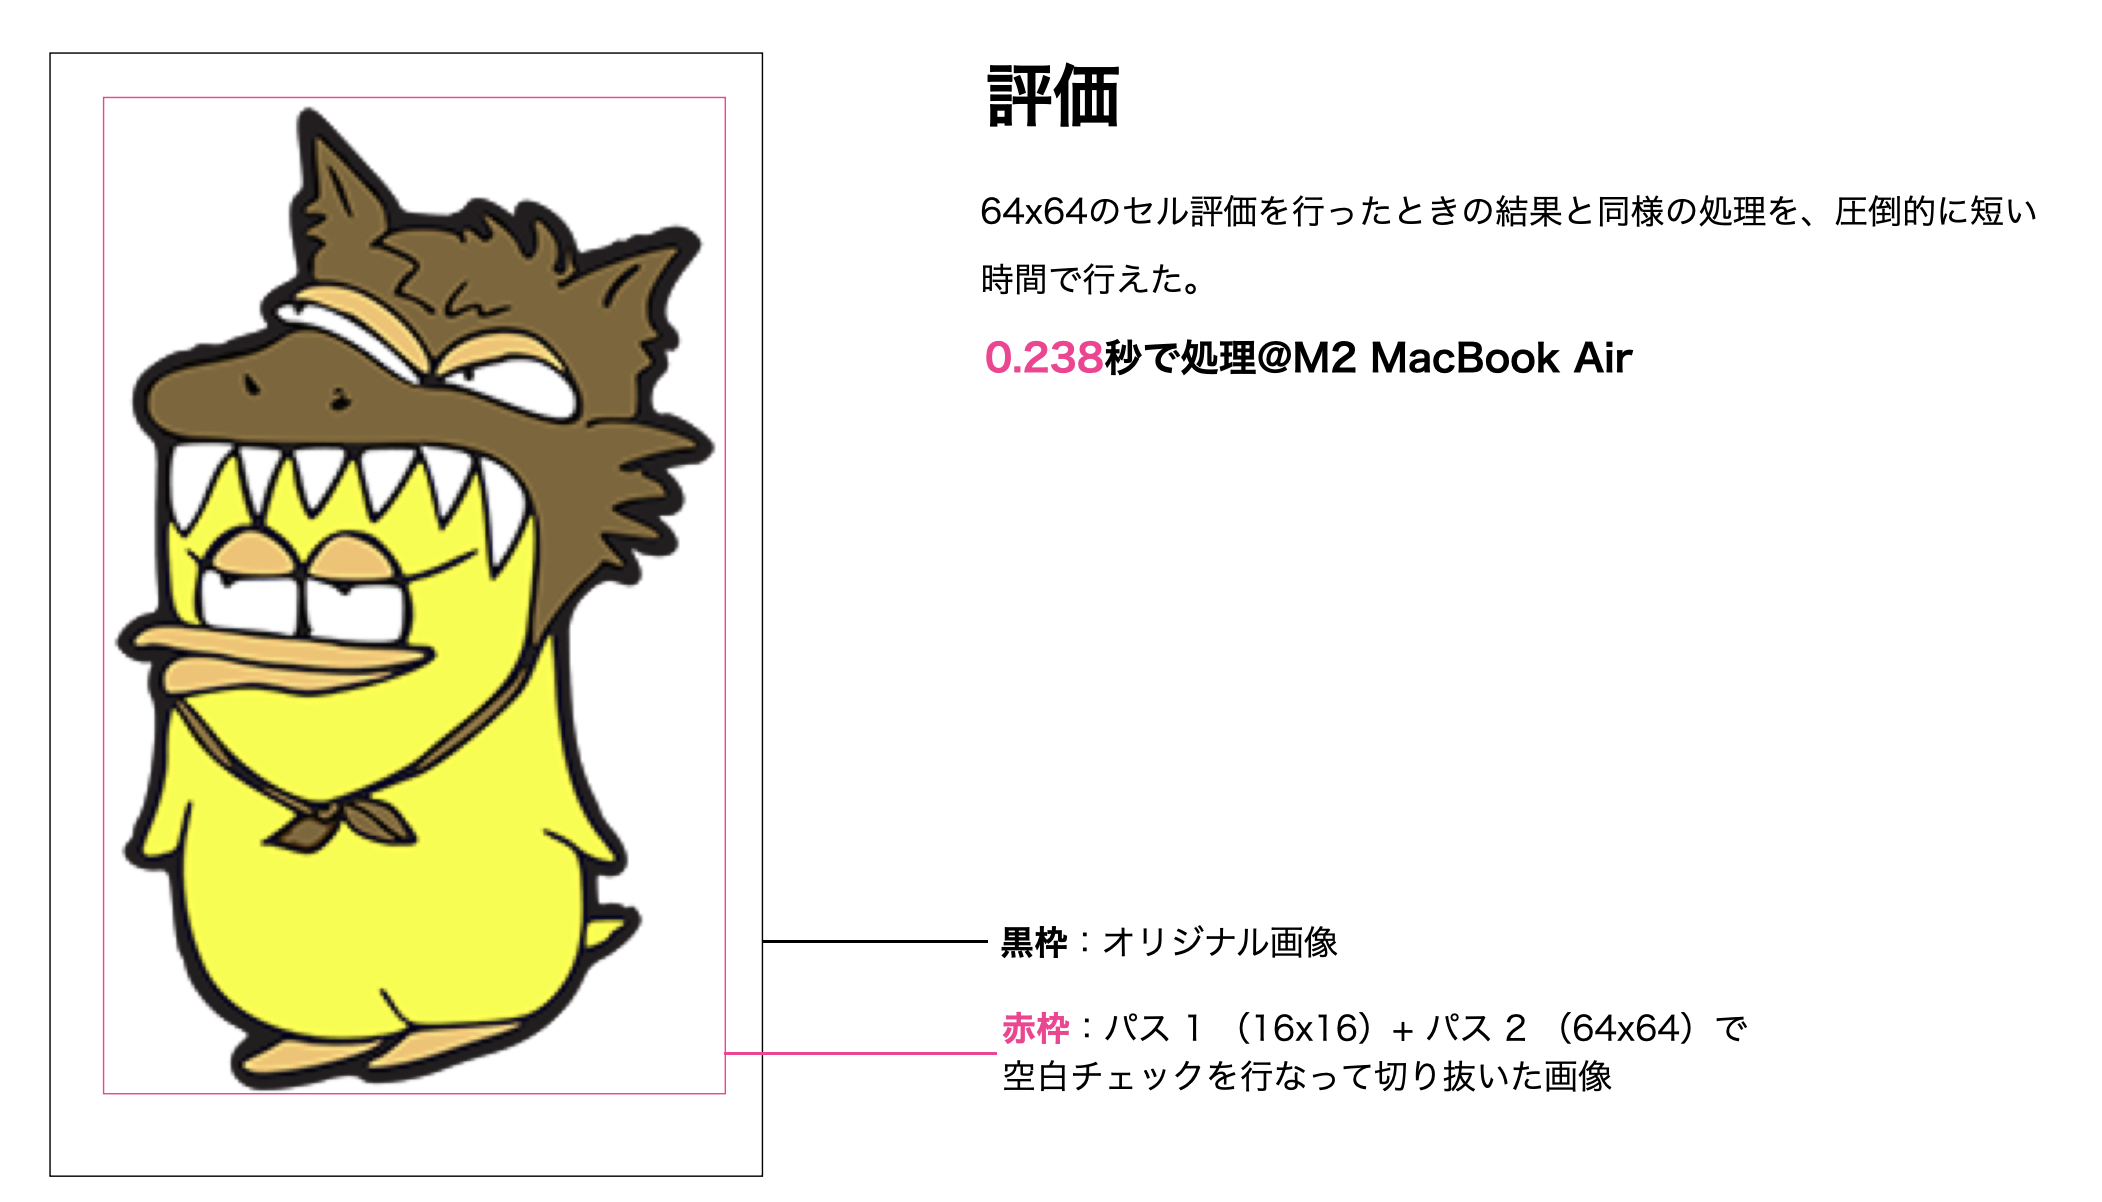
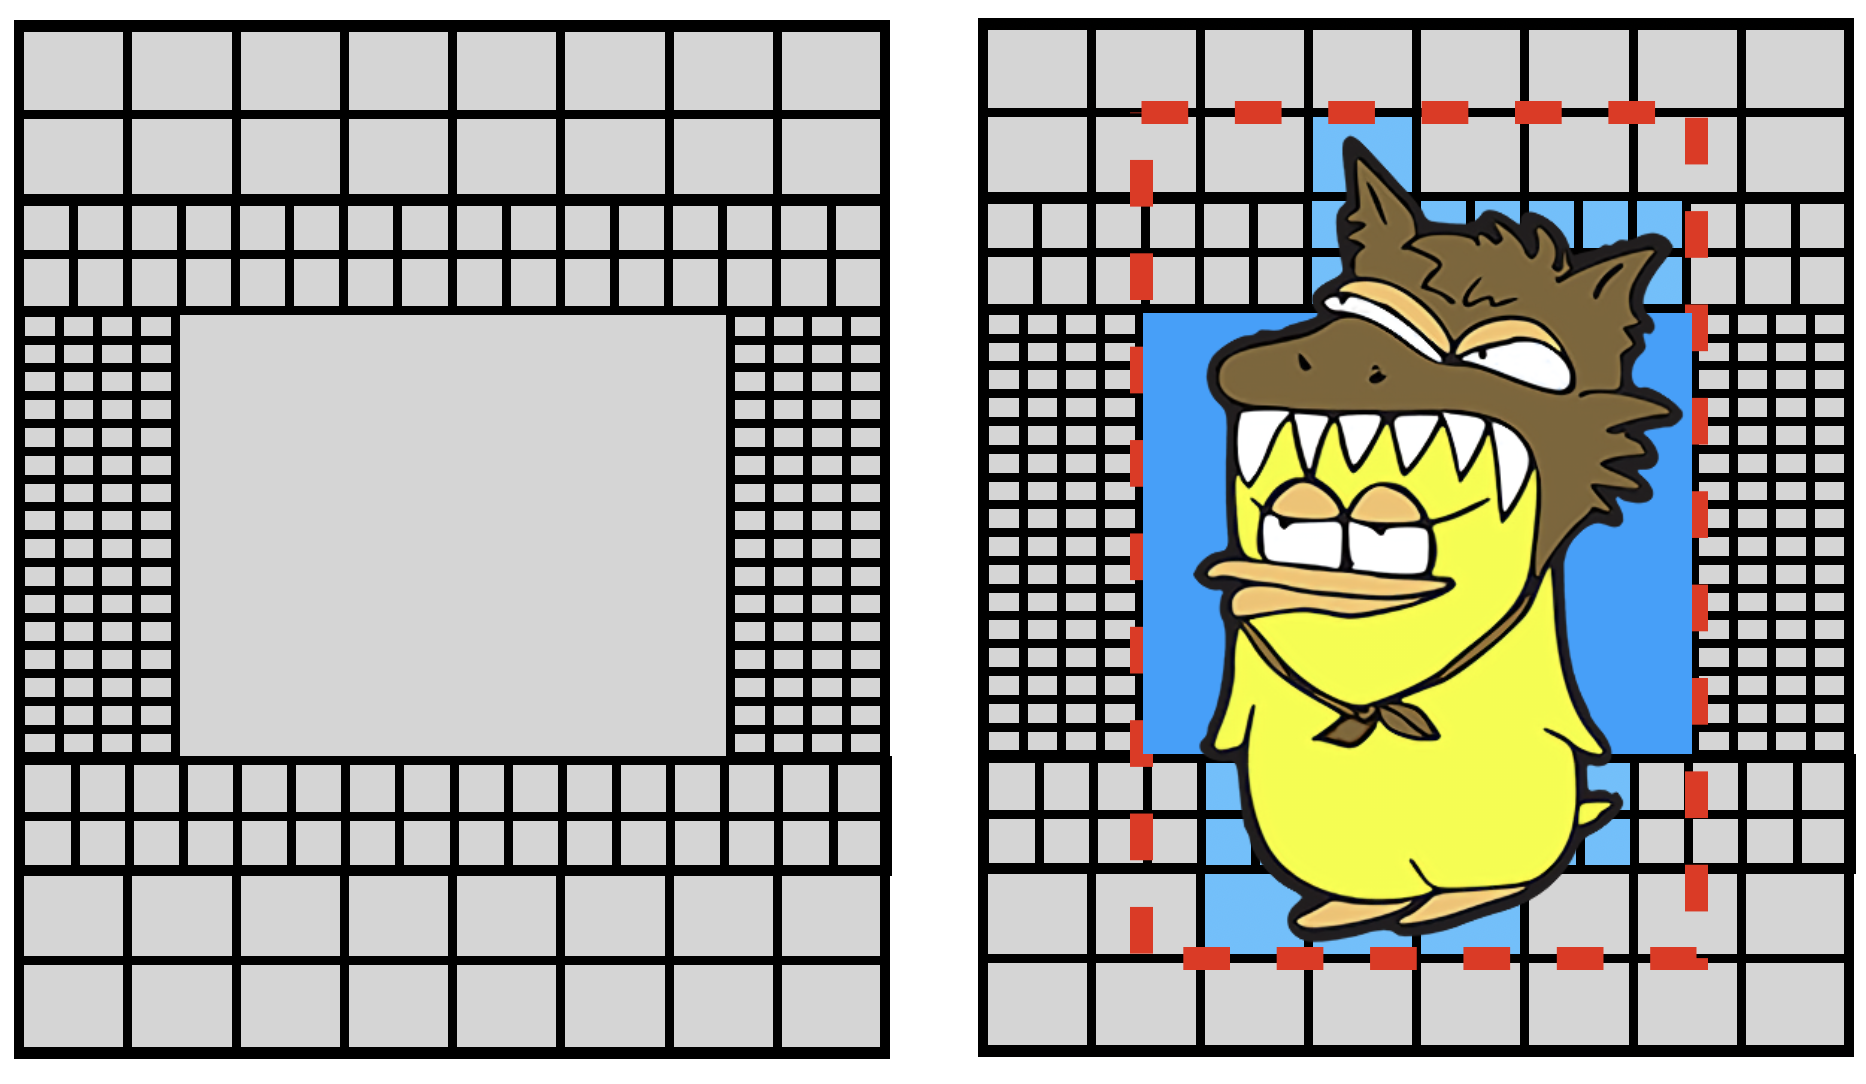
–画像自動切り抜き
set cImage to autoTrimImageFromPath(aPOSIXpath) of me
–時間計測用
set b1Dat to current application’s NSDate’s timeIntervalSinceReferenceDate()
set c1Dat to b1Dat – a1Dat
log c1Dat
–ファイル保存
set outPath to POSIX path of (choose file name with prompt "PNG画像の保存ファイル名を指定してください(拡張子入力必須)")
set sRes to saveImageRepAtPathAsPNG(cImage, outPath) of me
–POSIX pathで示したPNG画像(多分)の外周部の余白を自動トリミング
on autoTrimImageFromPath(aPOSIXpath)
set aURL to |NSURL|’s fileURLWithPath:aPOSIXpath
set aImage to NSImage’s alloc()’s initWithContentsOfURL:aURL
return autoTrimImage(aImage) of me –return NSImage
end autoTrimImageFromPath
–NSImageの外周部の余白を自動トリミング
on autoTrimImage(aImage)
script spd
property outList : {} –Pass 1用
property pass2Res : {} –Pass 2用
end script
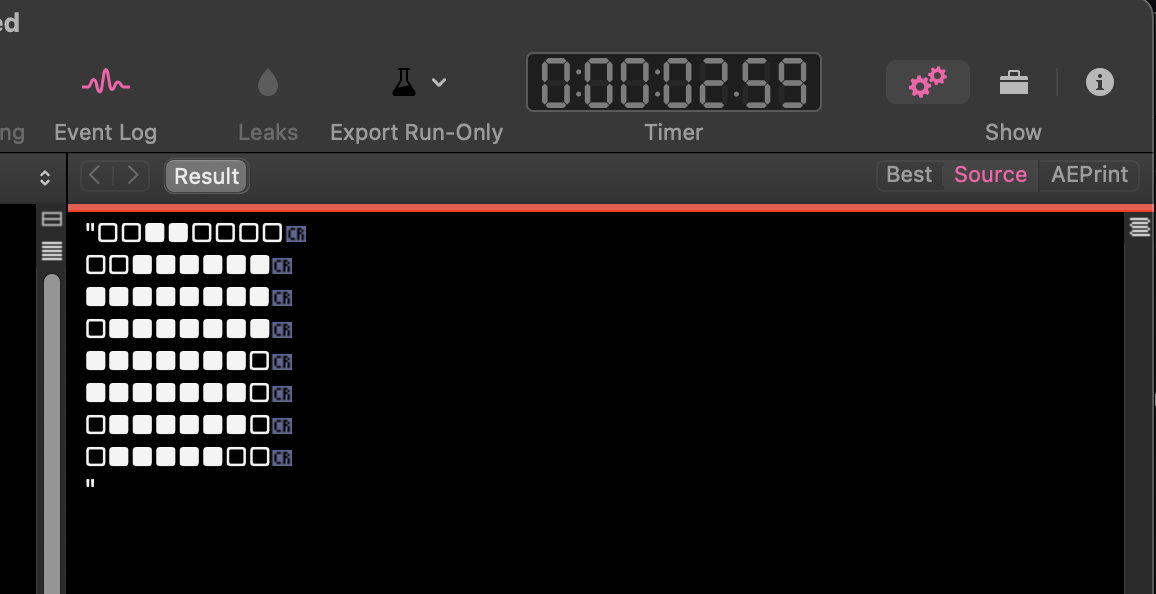
–PASS 1 16 x 16 Whole Area Scan
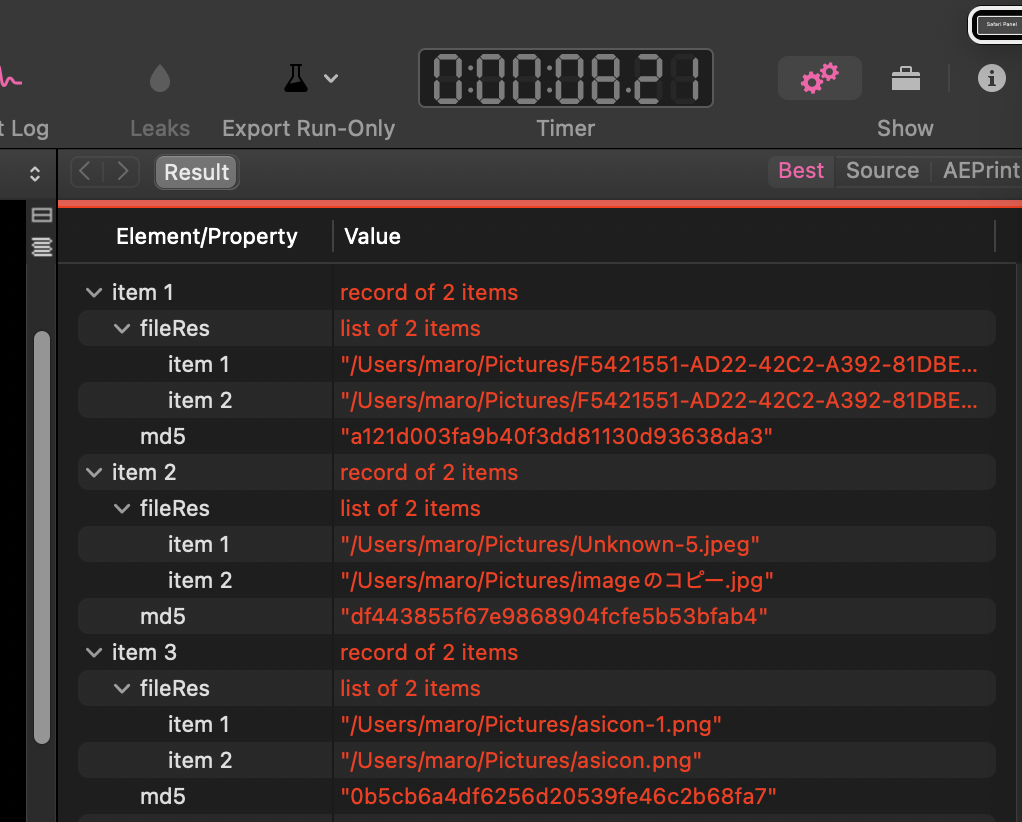
set sRes to aImage’s |size|()
–> example: {width:196.0, height:309.0}
set aHeight to height of sRes
set aWidth to width of sRes
set xBlockSize to (aWidth div imgDivXStep)
set yBlockSize to (aHeight div imgDivYStep)
–transparent block sample for PASS 1
set blankImg1 to makeNSImageWithFilledWithColor(xBlockSize, yBlockSize, current application’s NSColor’s clearColor()) of me
set blankBit1 to blankImg1’s TIFFRepresentation()
set (outList of spd) to {}
repeat with yy from 0 to (aHeight – yBlockSize) by yBlockSize
set oneLine to ""
repeat with xx from 0 to (aWidth – xBlockSize) by xBlockSize
–crop a part of image and check transparent
set tmpImg to (my cropNSImageBy:{xx, yy, xBlockSize, yBlockSize} fromImage:aImage)
set tmpBit to tmpImg’s TIFFRepresentation()
set chkTrans to (blankBit1’s isEqualToData:tmpBit) as boolean
if chkTrans = false then –Not transparent block
set the end of (outList of spd) to {xPos:xx, yPos:yy}
end if
end repeat
end repeat
–最大値、最小値を取得
set nArray to (NSMutableArray’s arrayWithArray:(outList of spd))
set xMin to calcMin("xPos", nArray) of me
set xMax to calcMax("xPos", nArray) of me
set yMin to calcMin("yPos", nArray) of me
set yMax to calcMax("yPos", nArray) of me
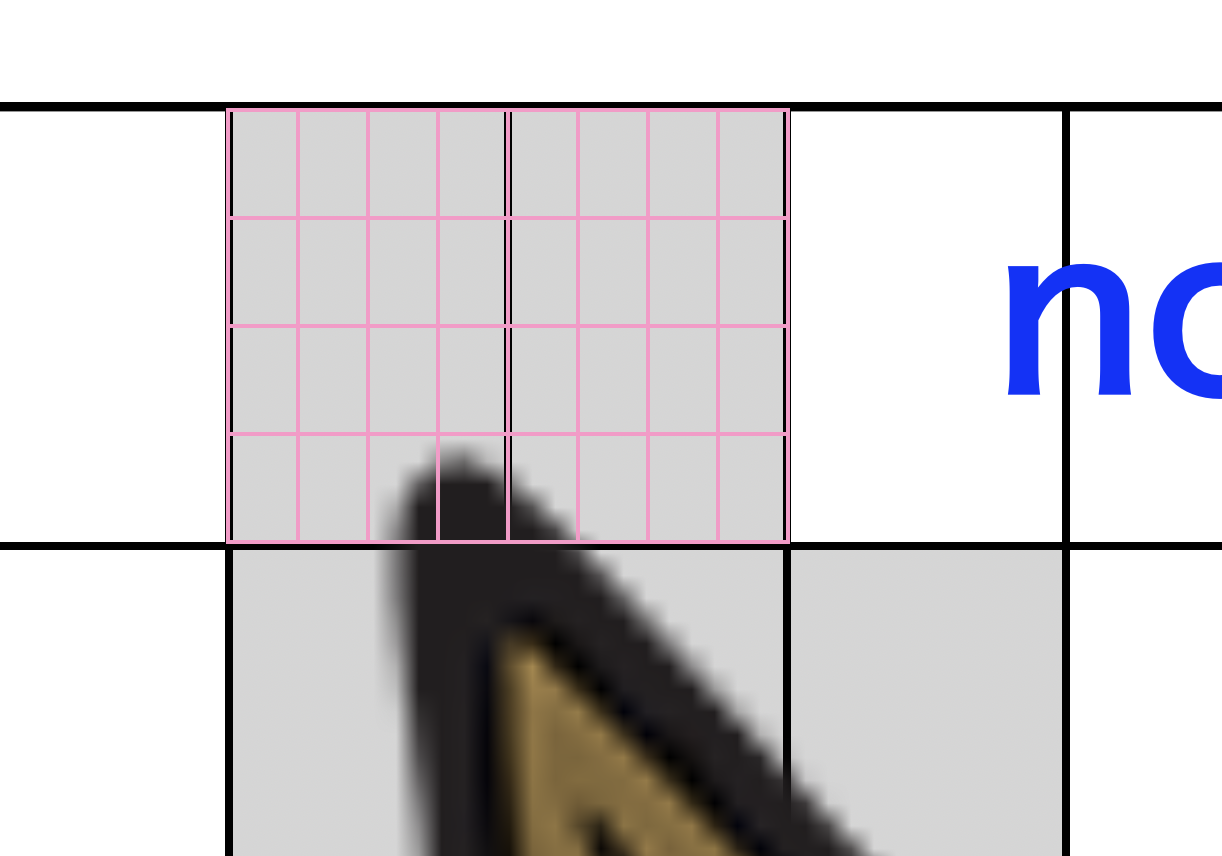
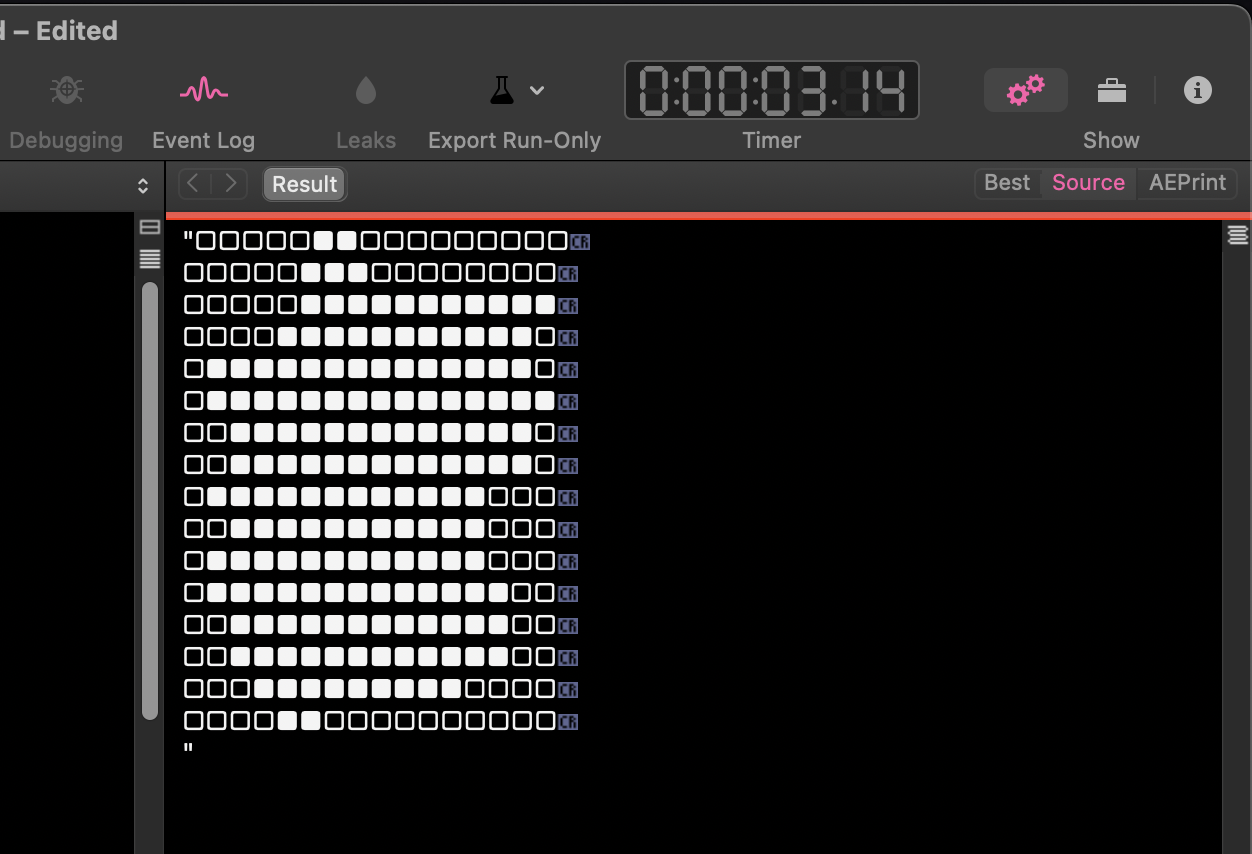
–PASS 2: Edge Blocks 64 x 64 scan Most Edge blocks only
–transparent block sample for PASS 2 (1/4 size)
set blankImg2 to makeNSImageWithFilledWithColor(xBlockSize div 4, yBlockSize div 4, current application’s NSColor’s clearColor()) of me
set blankBit2 to blankImg2’s TIFFRepresentation()
set aArray to current application’s NSArray’s arrayWithArray:(outList of spd)
set westList to filterRecListByLabel1(aArray, "xPos == %@", xMin) of me as list
set eastList to filterRecListByLabel1(aArray, "xPos == %@", xMax) of me as list
set northLIst to filterRecListByLabel1(aArray, "yPos == %@", yMax) of me as list
set southLIst to filterRecListByLabel1(aArray, "yPos == %@", yMin) of me as list
set pass2List to westList & eastList & northLIst & southLIst
set (pass2Res of spd) to {}
repeat with i in pass2List
set origPX to xPos of i
set origPY to yPos of i
repeat with y from 0 to 3
repeat with x from 0 to 3
set tmpPX to origPX + (xBlockSize div 4) * x
set tmpPY to origPY + (yBlockSize div 4) * y
set tmpImg to (my cropNSImageBy:{tmpPX, tmpPY, xBlockSize div 4, yBlockSize div 4} fromImage:aImage)
set tmpBit2 to tmpImg’s TIFFRepresentation()
set chkTrans to (blankBit2’s isEqualToData:tmpBit2) as boolean
if chkTrans = false then –Not transparent block
set the end of (pass2Res of spd) to {xPos:tmpPX, yPos:tmpPY}
end if
end repeat
end repeat
end repeat
set bArray to current application’s NSArray’s arrayWithArray:(pass2Res of spd)
set x2Min to calcMin("xPos", bArray) of me
set x2Max to calcMax("xPos", bArray) of me
set y2Min to calcMin("yPos", bArray) of me
set y2Max to calcMax("yPos", bArray) of me
–オリジナル画像を切り抜きして返す(NSImage)
return my cropNSImageTo:{x2Min, y2Min, x2Max + (xBlockSize div 4), y2Max + (yBlockSize div 4)} fromImage:aImage
end autoTrimImage
on calcMin(aLabel as string, nArray)
set aStr to "@min." & aLabel
set aRes to nArray’s valueForKeyPath:aStr
return aRes as anything
end calcMin
on calcMax(aLabel as string, nArray)
set aStr to "@max." & aLabel
set aRes to nArray’s valueForKeyPath:aStr
return aRes as anything
end calcMax
–指定サイズの画像を作成し、指定色で塗って返す
on makeNSImageWithFilledWithColor(aWidth, aHeight, fillColor)
set retinaF to 1.0 —(NSScreen’s mainScreen()’s backingScaleFactor()) as real
–> 2.0 (Retina) / 1.0 (Non Retina)
set anImage to current application’s NSImage’s alloc()’s initWithSize:(current application’s NSMakeSize(aWidth, aHeight))
anImage’s lockFocus()
—
set theRect to {{x:0, y:0}, {height:aHeight / retinaF, width:aWidth / retinaF}}
set theNSBezierPath to current application’s NSBezierPath’s bezierPath
theNSBezierPath’s appendBezierPathWithRect:theRect
—
fillColor’s |set|() –色設定
theNSBezierPath’s fill() –ぬりつぶし
—
anImage’s unlockFocus()
—
return anImage
end makeNSImageWithFilledWithColor
on cropNSImageTo:{x1, y1, x2, y2} fromImage:theImage
set newWidth to x2 – x1
set newHeight to y2 – y1
set newRect to {{x:x1, y:y1}, {width:newWidth, height:newHeight}}
theImage’s lockFocus()
set theRep to NSBitmapImageRep’s alloc()’s initWithFocusedViewRect:newRect
theImage’s unlockFocus()
set outImage to NSImage’s alloc()’s initWithSize:(theRep’s |size|())
outImage’s addRepresentation:theRep
return outImage
end cropNSImageTo:fromImage:
–NSImageを指定の大きさでトリミング
on cropNSImageBy:{x1, y1, newWidth, newHeight} fromImage:theImage
set theSize to (theImage’s |size|()) as record
set oldHeight to height of theSize
set newRect to {{x:x1, y:y1}, {width:newWidth, height:newHeight}}
theImage’s lockFocus()
set theRep to NSBitmapImageRep’s alloc()’s initWithFocusedViewRect:newRect
theImage’s unlockFocus()
set outImage to NSImage’s alloc()’s initWithSize:(theRep’s |size|())
outImage’s addRepresentation:theRep
return outImage
end cropNSImageBy:fromImage:
–画像を指定パスにPNG形式で保存
on saveImageRepAtPathAsPNG(anImage, outPath)
set imageRep to anImage’s TIFFRepresentation()
set aRawimg to NSBitmapImageRep’s imageRepWithData:imageRep
–パスのチルダ展開処理
set pathString to NSString’s stringWithString:outPath
set newPath to pathString’s stringByExpandingTildeInPath()
set myNewImageData to (aRawimg’s representationUsingType:(NSPNGFileType) |properties|:(missing value))
return (myNewImageData’s writeToFile:newPath atomically:true) as boolean
end saveImageRepAtPathAsPNG
–リストに入れたレコードを、指定の属性ラベルの値で抽出
on filterRecListByLabel1(aArray, aPredicate as string, aVal)
set aPredicate to current application’s NSPredicate’s predicateWithFormat_(aPredicate, aVal)
set filteredArray to aArray’s filteredArrayUsingPredicate:aPredicate
return filteredArray
end filterRecListByLabel1
|