# Because this information contains important content, linking to macscripter.net or reproduction is prohibited. This is because the macscripter.net administrator’s policy prohibits links to Japanese articles.
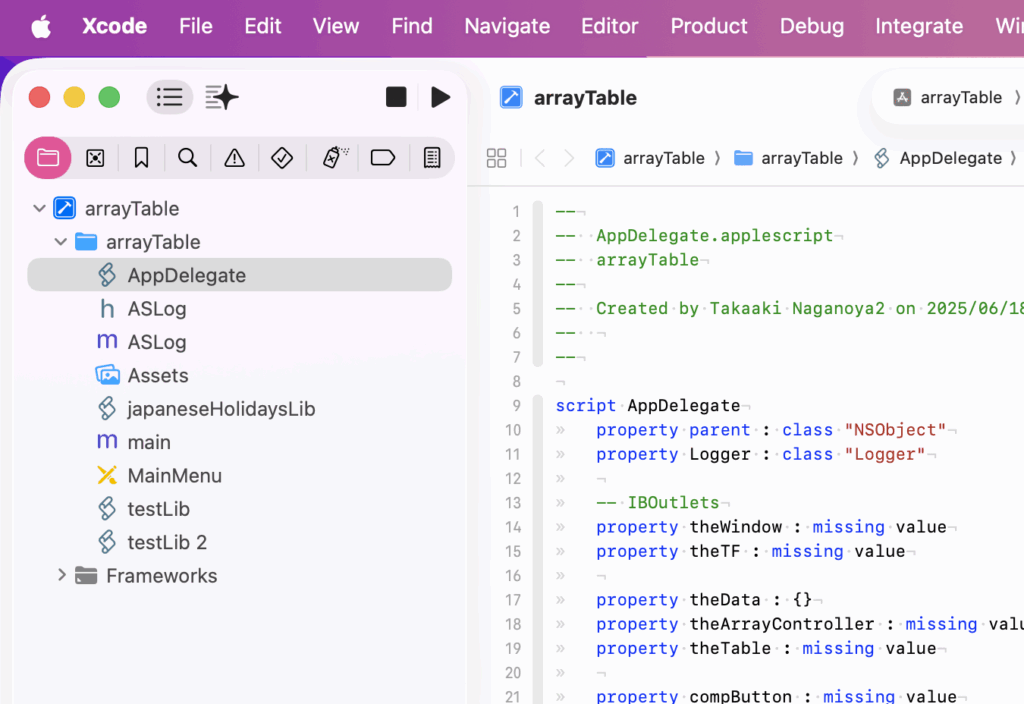
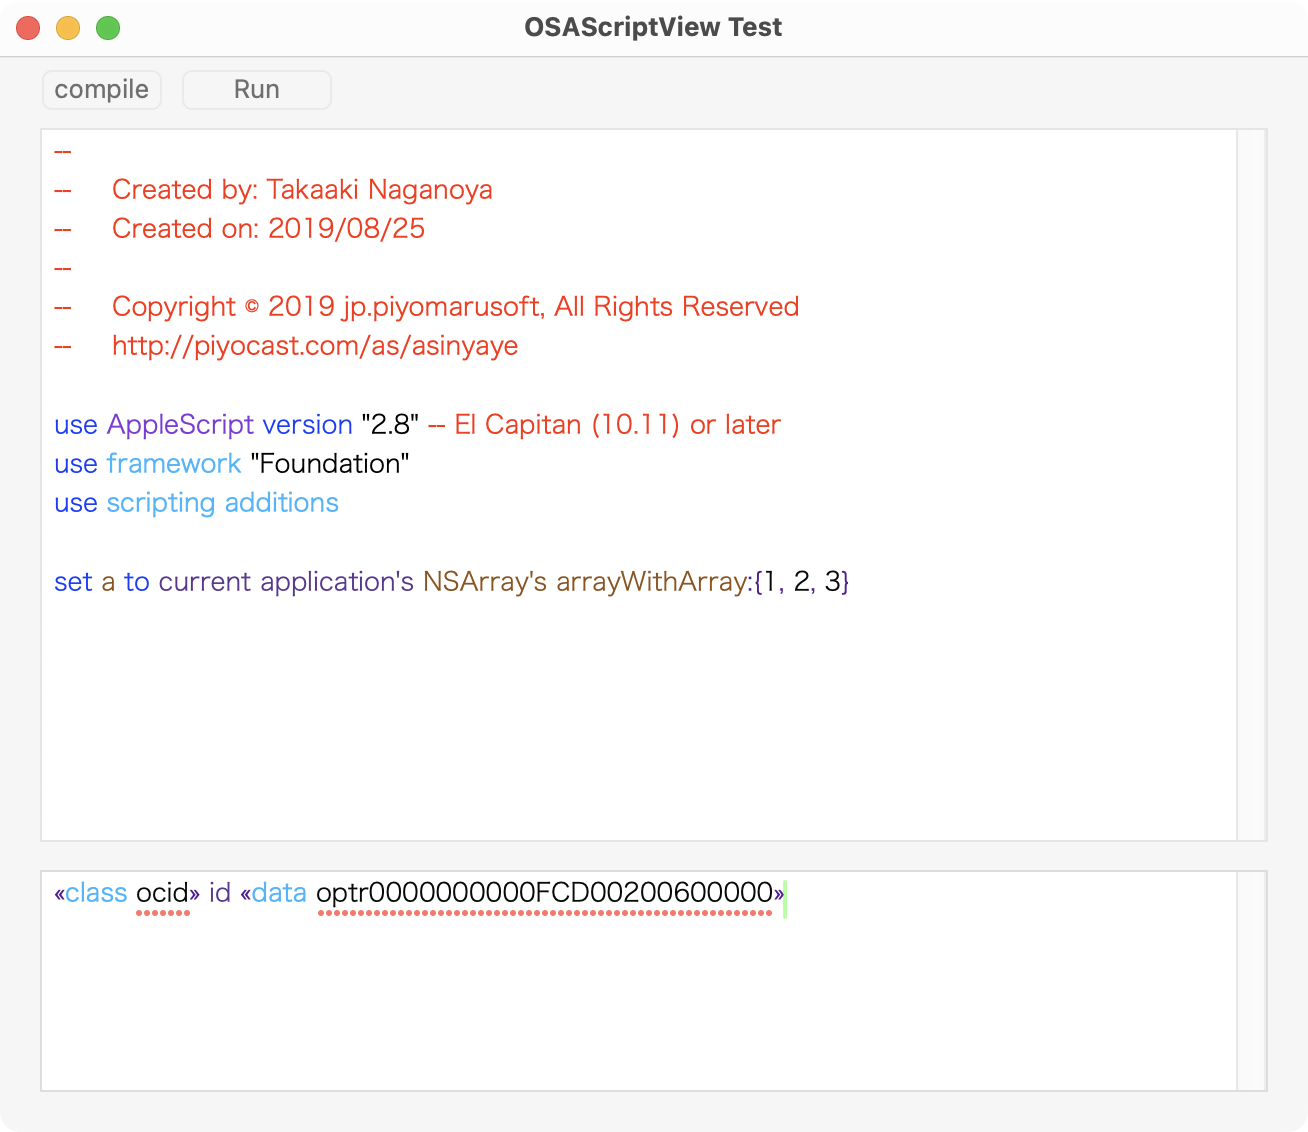
Xcode上で作成したAppleScript App Project(AppleScriptObjC)において、Projectに組み込んだ.scpt/.scptdを呼び出したときに、
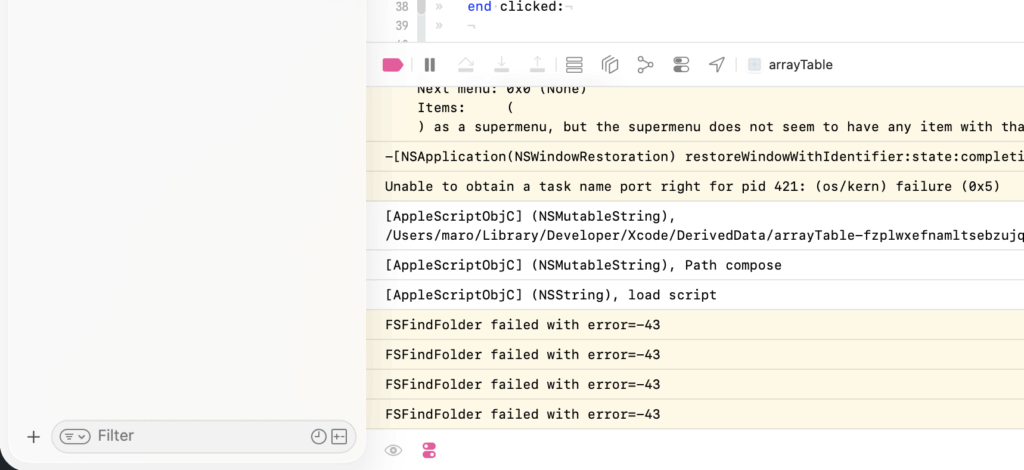
のように、「FSFindFolder failed with error=-43」のエラーが出て実行できない問題に直面しました。
同エラーは特定のフォルダが見つからない、というCarbon由来のエラーのようですが、とくに呼び出しているScriptではファイルパスの処理は一切していません(カレンダー計算しているだけです)。
このエラーは電子書籍「AppleScript+Xcode GUIアプリソース集」の執筆時に、
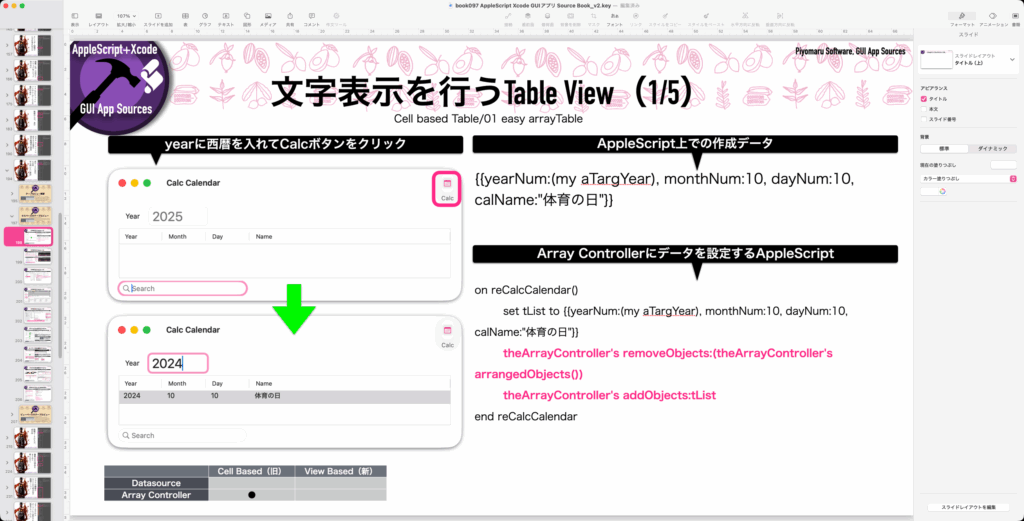
本来はTable Viewに指定年の日本の祝祭日をすべて掲載するつもりだったのですが、その計算Scriptをバンドル内に組み込んで呼び出すとエラーに。
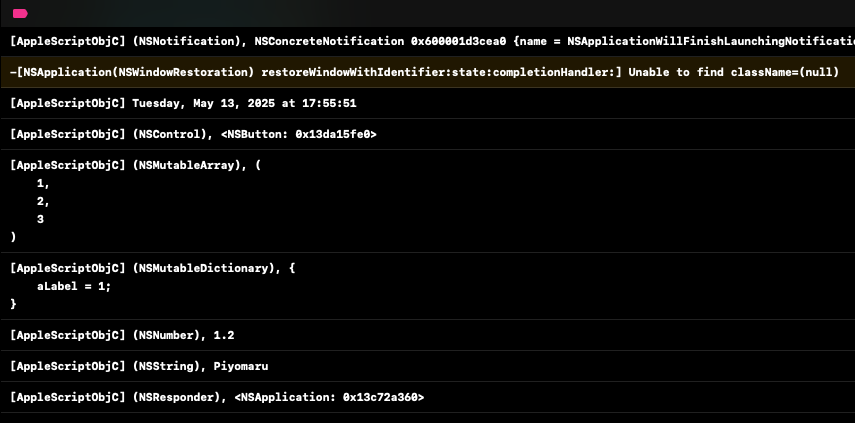
引数を単に返してくるだけの単純なハンドラ(testMeハンドラ)を呼び出す分にはエラーにならず、もちろんXcode Projectに組み込むAppleScriptはスクリプトエディタ/Script Debugger上で実行するとエラーになりません。
同書籍の執筆時には「とても解決するための時間が取れない」と考えて祝祭日の計算ライブラリを外して収録・掲載していました。ちょうど、Xcode 26+macOS 26に合わせた内容のアップデート作業を行なっていたところ、本来の計算機能を組み込んでみたところ、やはり動かないことからAppleにバグ(AppleScriptObjC.framework側?)として報告したものです。
組み込んだScriptを呼び出しても、シンプルなテストハンドラでは実行を妨げられないのですが、複雑な処理を行うと問題になります。