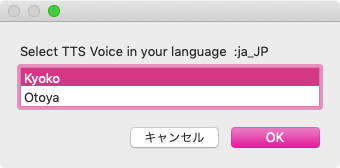
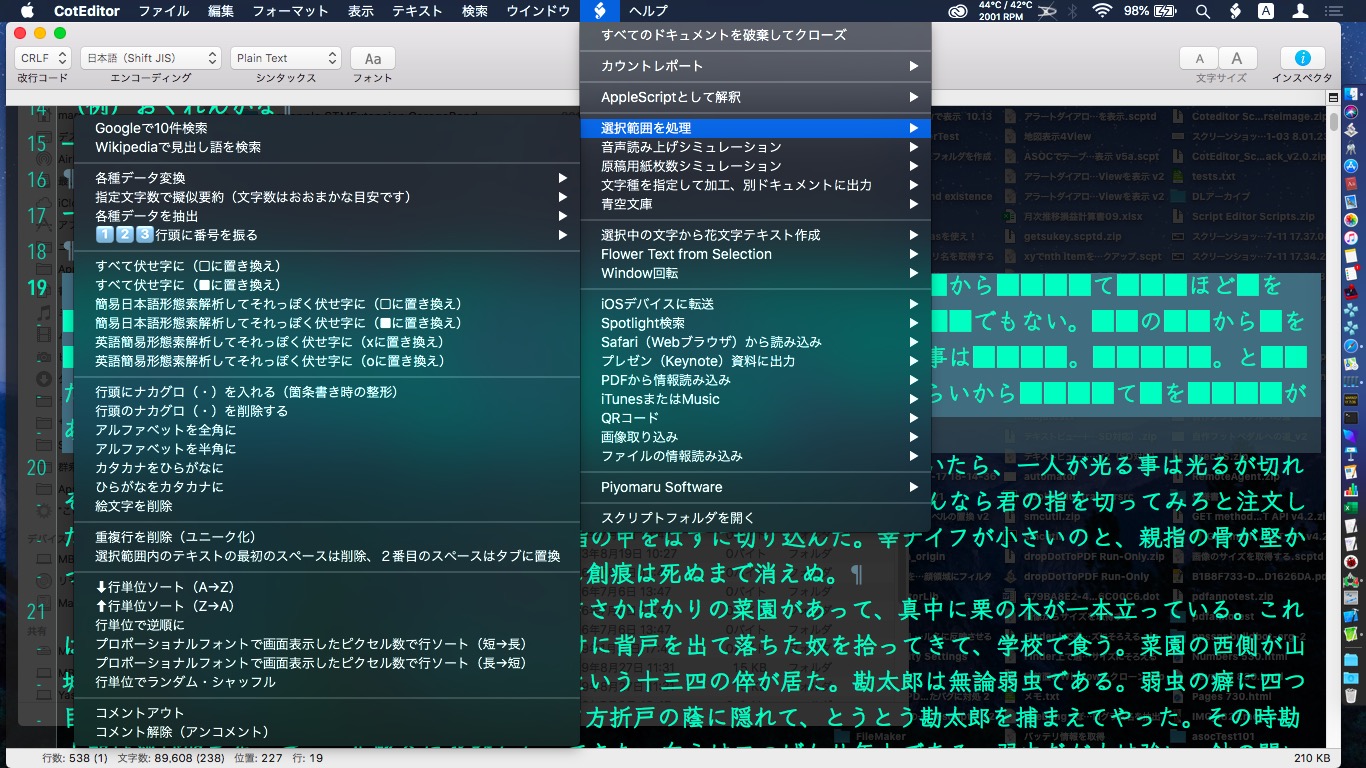
読み上げ対象のテキストをコピーした状態で実行するAppleScriptです。クリップボード内のテキストをSayコマンドで読み上げて、音声ファイルにレンダリングします。出力後、読み上げ所要時間を出力ファイルから求めてダイアログ表示します。
音声レンダリング処理は実際の音声読み上げ処理よりも短い時間で完了します。
–> Downlad Script With library within its bundle
掲載のリストを実行しても、スライダー入力ライブラリが含まれていないため、そのままでは実行できません。↑のScriptをまるごとダウンロードして展開すると、ライブラリ入りのScriptになります。実行にはダウンロードしたScriptをご利用ください。プログラムリスト掲載は参考のために行なっているものです。
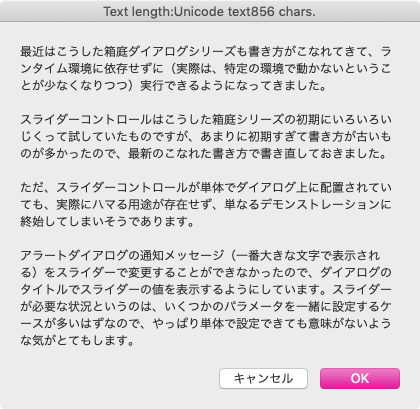
▲ステップ1:念のために、読み上げ対象テキストをダイアログ表示
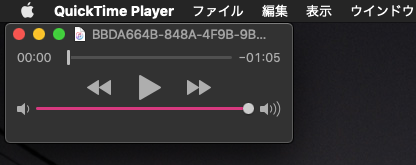
▲ステップ5:音声レンダリングしたファイルをQuickTime Playerでオープン
| AppleScript名:クリップボード内のテキストをSayコマンドで読み上げて音声ファイル化.scptd |
| — – Created by: Takaaki Naganoya – Created on: 2020/05/27 — – Copyright © 2020 Piyomaru Software, All Rights Reserved — use AppleScript version "2.4" — Yosemite (10.10) or later use framework "Foundation" use framework "AppKit" use framework "AVFoundation" use scripting additions use slLib : script "sliderLib" property |NSURL| : a reference to current application’s |NSURL| property NSDate : a reference to current application’s NSDate property NSUUID : a reference to current application’s NSUUID property NSFileManager : a reference to current application’s NSFileManager property AVAudioPlayer : a reference to current application’s AVAudioPlayer property NSDateFormatter : a reference to current application’s NSDateFormatter property NSSpeechSynthesizer : a reference to current application’s NSSpeechSynthesizer set aInfo to clipboard info set uCount to (clipboard info for Unicode text) if uCount = {} then display dialog "There is no text information in the clipboard" with title "Terminate information" buttons {"OK"} default button 1 with icon 2 return end if set totalCount to item 2 of item 1 of uCount set aStr to the clipboard as text –読み上げ内容の確認 display dialog aStr with title "Text length:" & (uCount as string) & " chars." –読み上げ速度をSliderで入力 set rRes to slLib’s chooseBySlider(180, 220, "Select TTS reading pitch (small number:slow)") –読み上げTTSキャラクタの選択 set aLoc to (current application’s NSLocale’s currentLocale()’s identifier()) as string –> "ja_JP" set vList to getTTSVoiceNameWithLanguage(aLoc) of me set vRes to choose from list vList with prompt ("Select TTS Voice in your language :" & aLoc) without empty selection allowed if vRes = false then return set vCharacter to contents of first item of vRes –音声ファイルの作成先パスを求める set aUUID to NSUUID’s UUID()’s UUIDString() as string set aPath to (((path to movies folder) as string) & aUUID & ".aif") set aPOSIX to POSIX path of aPath –音声レンダリング tell current application say aStr using vCharacter saving to (aPOSIX) speaking rate rRes without waiting until completion end tell –レンダリングした音声の読み上げ所要時間を計算 set aDur to getDuration(aPath as alias) of me –レンダリングした音声ファイルをオープン tell application "QuickTime Player" open aPath end tell –完了報告 display dialog "読み上げ所要時間:" & my formatHMS(aDur) on getTTSVoiceNameWithLanguage(voiceLang) set outArray to current application’s NSMutableArray’s new() set aList to NSSpeechSynthesizer’s availableVoices() set bList to aList as list repeat with i in bList set j to contents of i set aDIc to (NSSpeechSynthesizer’s attributesForVoice:j) (outArray’s addObject:aDIc) end repeat set aPredicate to current application’s NSPredicate’s predicateWithFormat_("VoiceLocaleIdentifier == %@", voiceLang) set filteredArray to outArray’s filteredArrayUsingPredicate:aPredicate set aResList to (filteredArray’s valueForKey:"VoiceName") as list return aResList end getTTSVoiceNameWithLanguage on getDuration(aFile) set aURL to |NSURL|’s fileURLWithPath:(POSIX path of aFile) repeat 1000 times set aAudioPlayer to AVAudioPlayer’s alloc()’s initWithContentsOfURL:aURL |error|:(missing value) set aRes to aAudioPlayer’s prepareToPlay() if aRes as boolean = true then exit repeat delay 0.5 end repeat set channelCount to aAudioPlayer’s numberOfChannels() set aDuration to aAudioPlayer’s duration() return aDuration as real end getDuration on retAvailableTTSnames() set outList to {} set aList to NSSpeechSynthesizer’s availableVoices() set bList to aList as list repeat with i in bList set j to contents of i set aInfo to (NSSpeechSynthesizer’s attributesForVoice:j) set aInfoRec to aInfo as record set aName to VoiceName of aInfoRec set the end of outList to aName end repeat return outList end retAvailableTTSnames on formatHMS(aTime) set aDate to NSDate’s dateWithTimeIntervalSince1970:aTime set aFormatter to NSDateFormatter’s alloc()’s init() —This formatter text is localized in Japanese. if aTime < hours then aFormatter’s setDateFormat:"mm分ss秒" else if aTime < days then aFormatter’s setDateFormat:"HH時間mm分ss秒" else aFormatter’s setDateFormat:"DD日HH時間mm分ss秒" end if set timeStr to (aFormatter’s stringFromDate:aDate) as string return timeStr end formatHMS |


