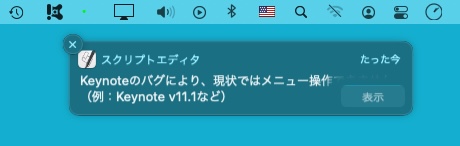
 GUI Scriptingを用いてスクリプトエディタ上でコンテクストメニューを表示させて、コンテクストメニューのキャプチャを行うAppleScriptです。macOS 10.14.6上で試しただけなので、10.15上では試していません(たぶん動くと思うのですが)。
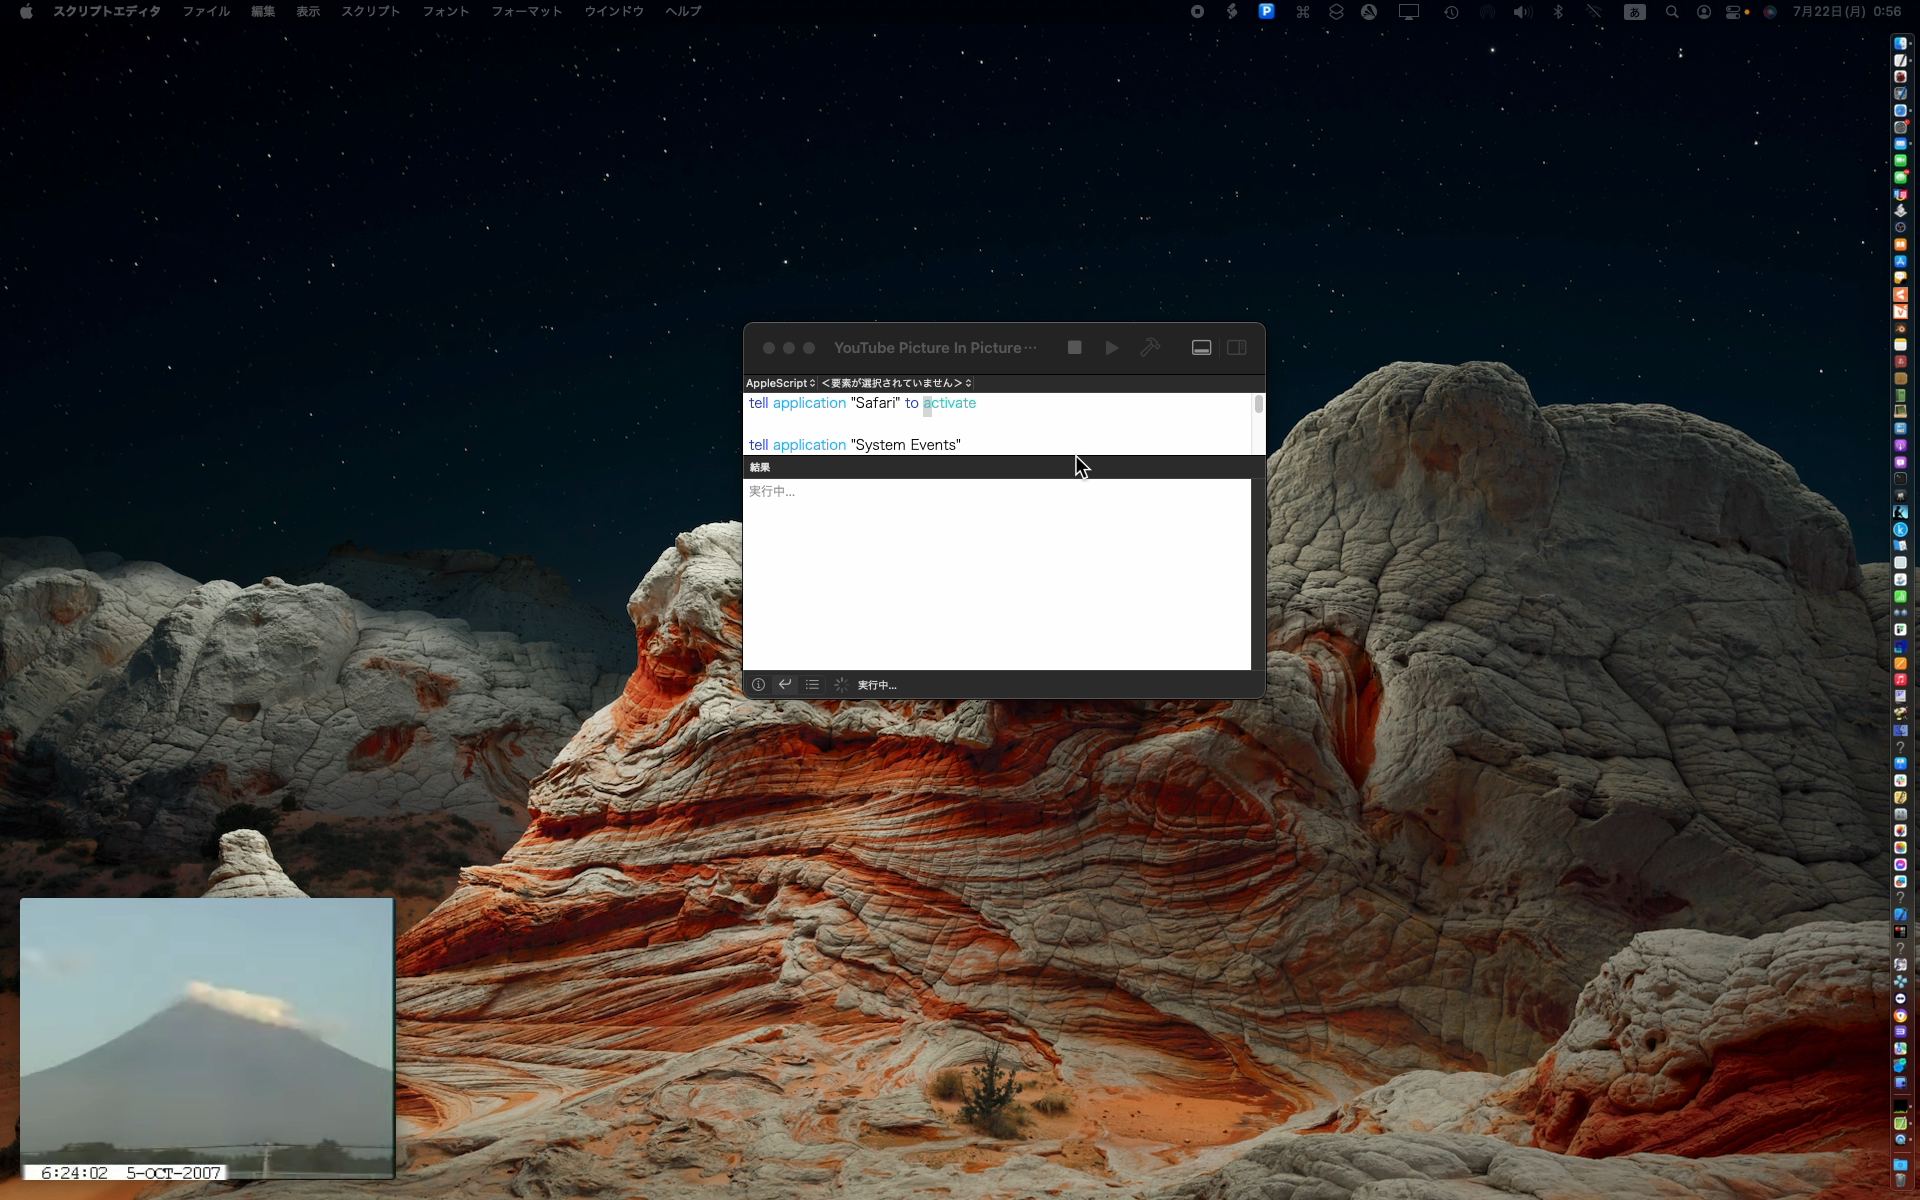
–> Watch Demo Movie
画面キャプチャをNSImageに取得する機能については、DSCapture.frameworkをビルドして、AppleScript(実行環境はScript Debugger)から呼び出しています。
–> Download DSCapture.framework (To ~/Library/Frameworks/)
AppleScriptの鬼っ子機能である「GUI Scripting」。ある顧客が「キーボードショートカットとキーボード操作をそのままScript化することでこれを作れ」という仕様を出してきて、とても実現できない内容がまだらに含まれていたので「ナイスジョーク!」と却下した記憶があります。
「できること」(キーボードショートカット操作)に「できないこと」(目視で当該データの位置確認)を混ぜて仕様を出されると悪夢でしかありません。
あと、GUI Scriptingで操作を行うと信頼性がないうえに、信頼性を確保するためには「待つ」という処理が必要だったり、本来のAppleScriptの処理速度よりも100倍以上遅くなるので、本当に必要な箇所にだけ使う&可能なかぎり使用しないというのが自分の基本的なスタンスです。
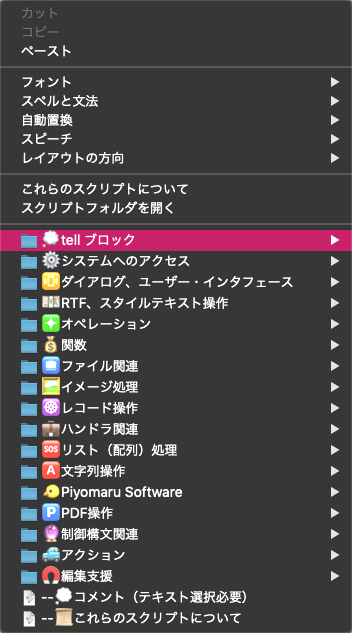
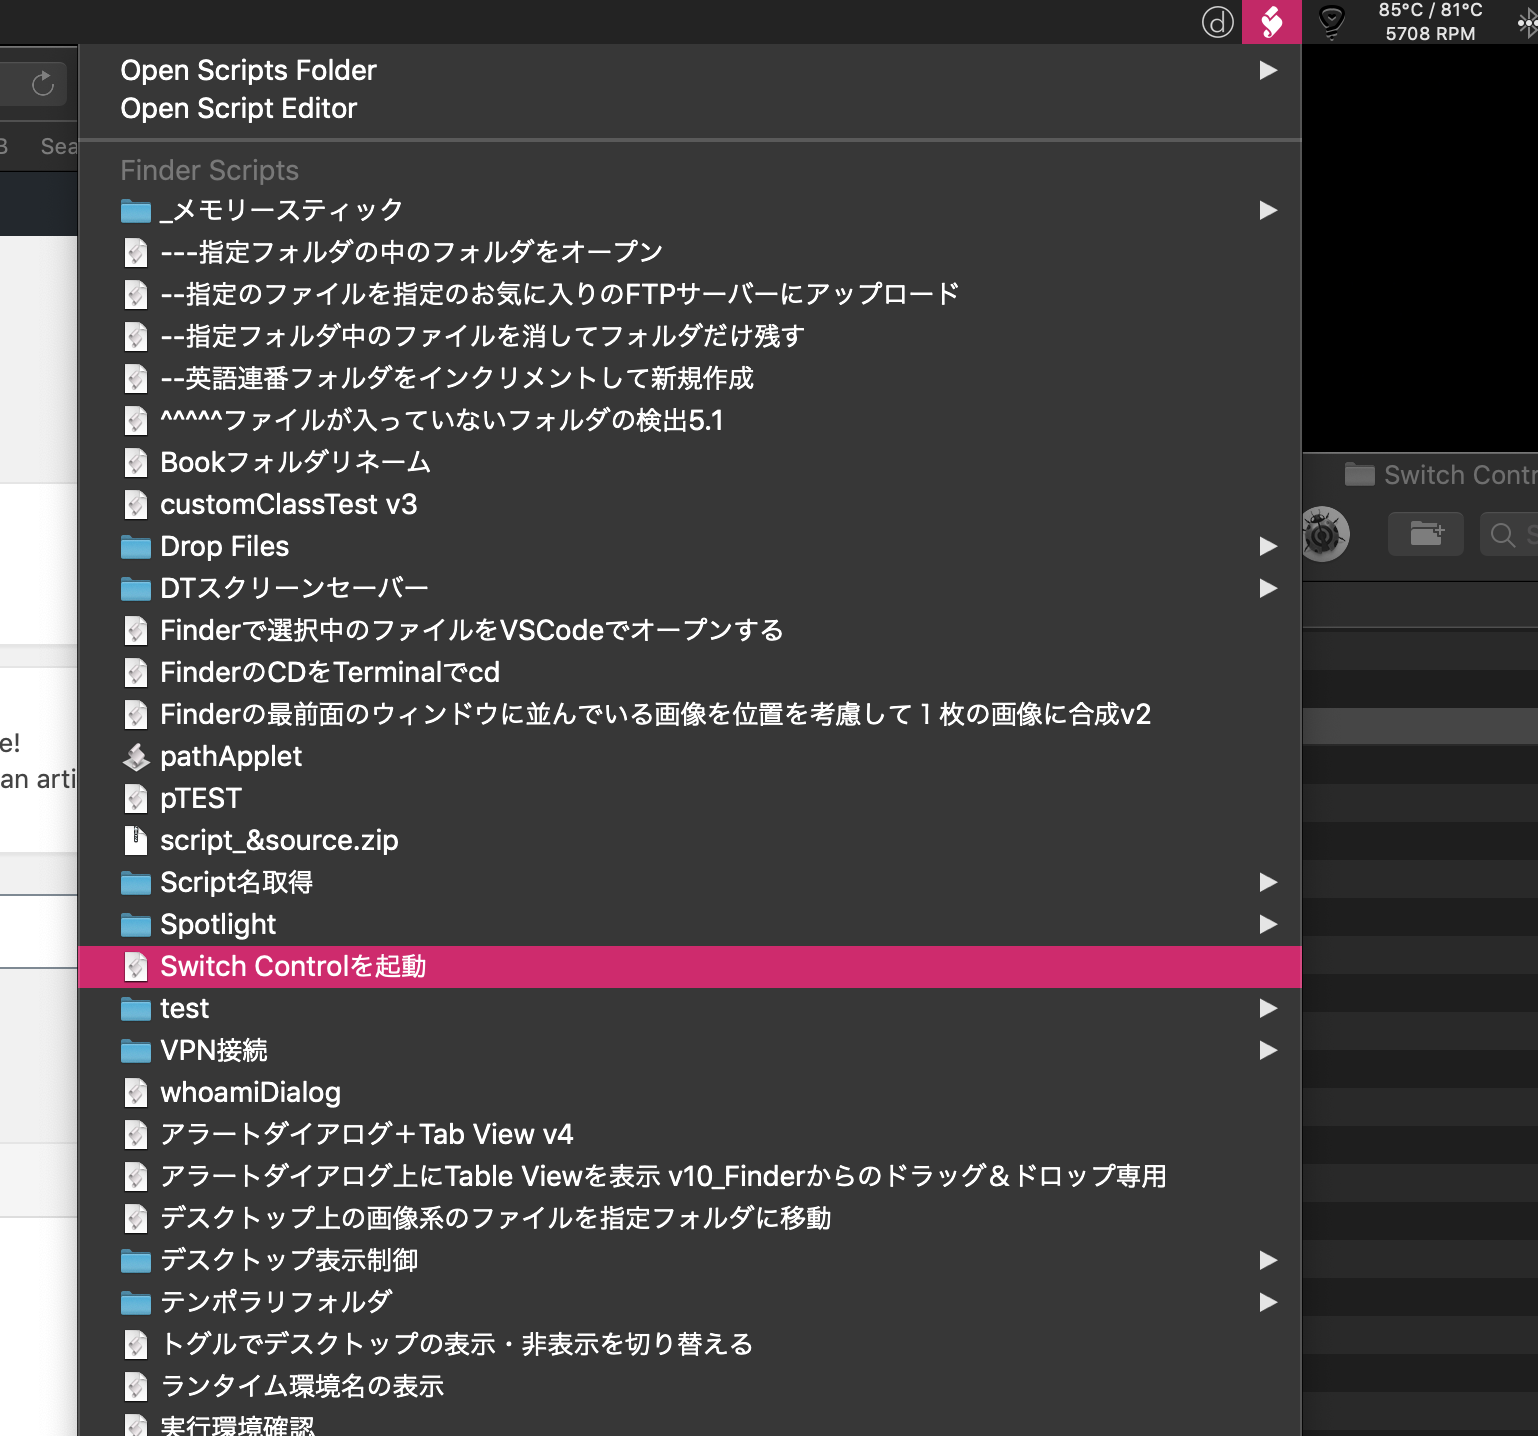
コンテクストメニューの画面キャプチャを自動で
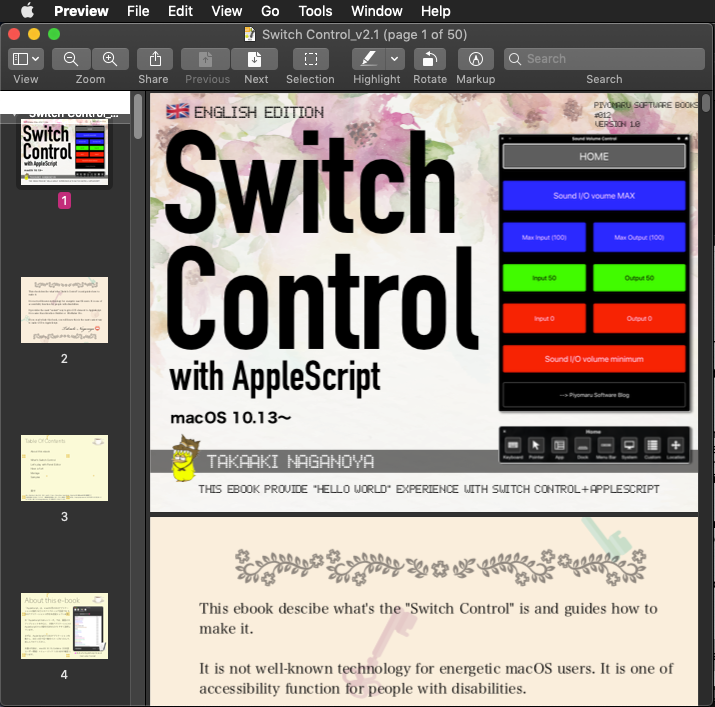
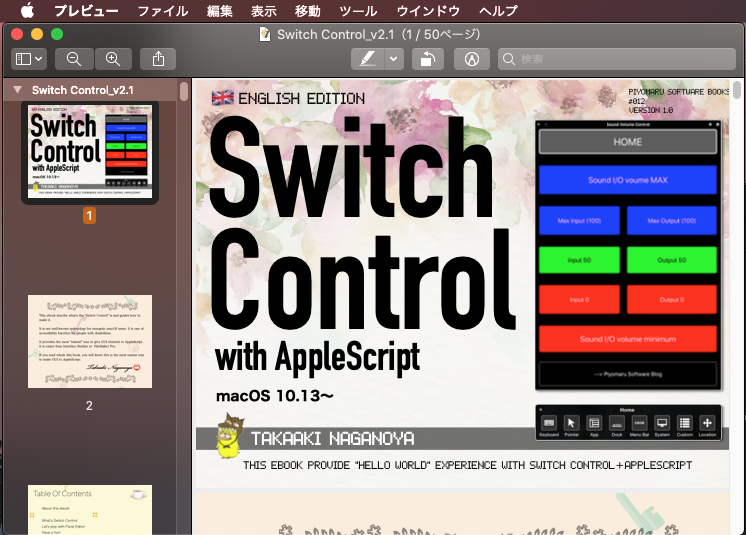
そんな中、新型Piyomaru Script Assistant(macOS 10.14以降対応。10.13は無視)の資料を作るために、コンテクストメニューの内容を画面キャプチャする必要に迫られました。
AppleScriptが500個ぐらい、階層化されたメニューに入っているので、これの画面キャプチャを撮るだけで一仕事です。テストで1階層分の資料を作ってみたのですが、けっこうかかります。
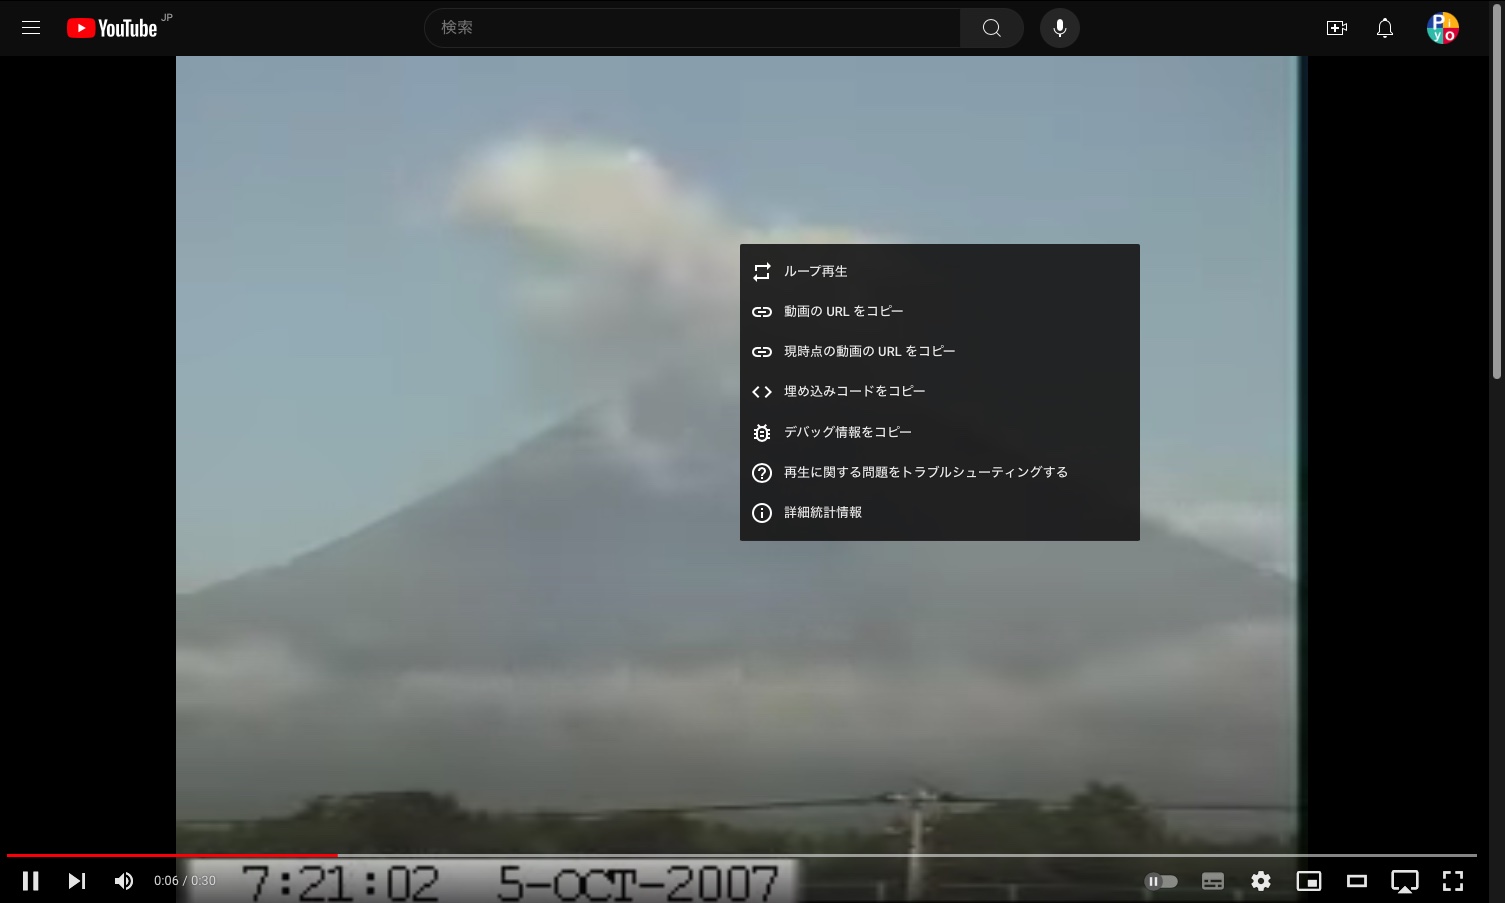
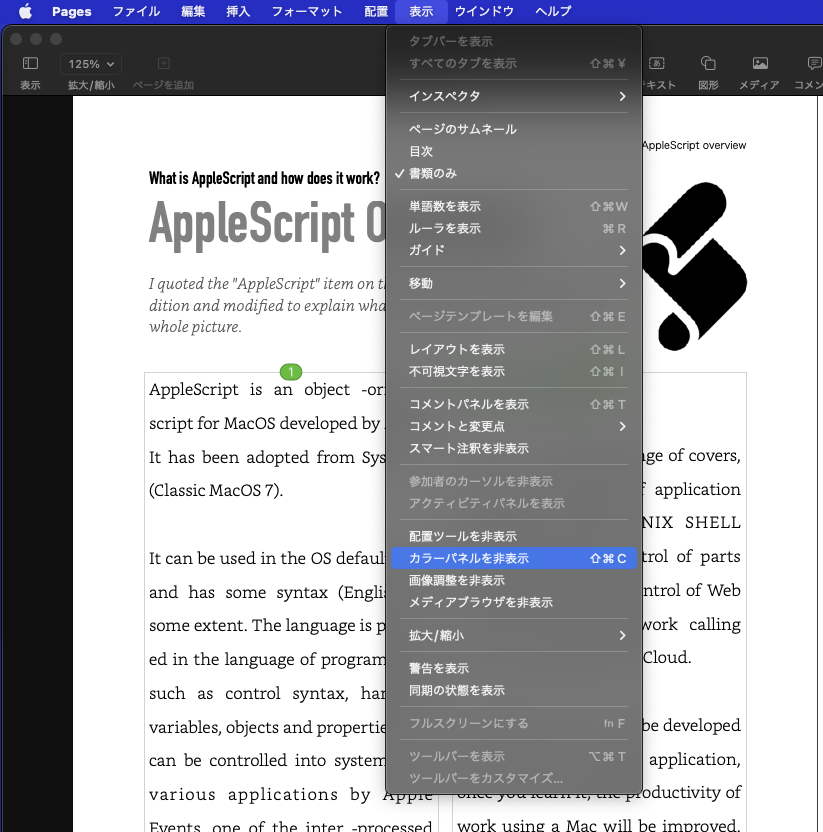
そこで、スクリプトエディタ上で表示させたコンテクストメニューをプログラムで撮れないかを検討することになります。
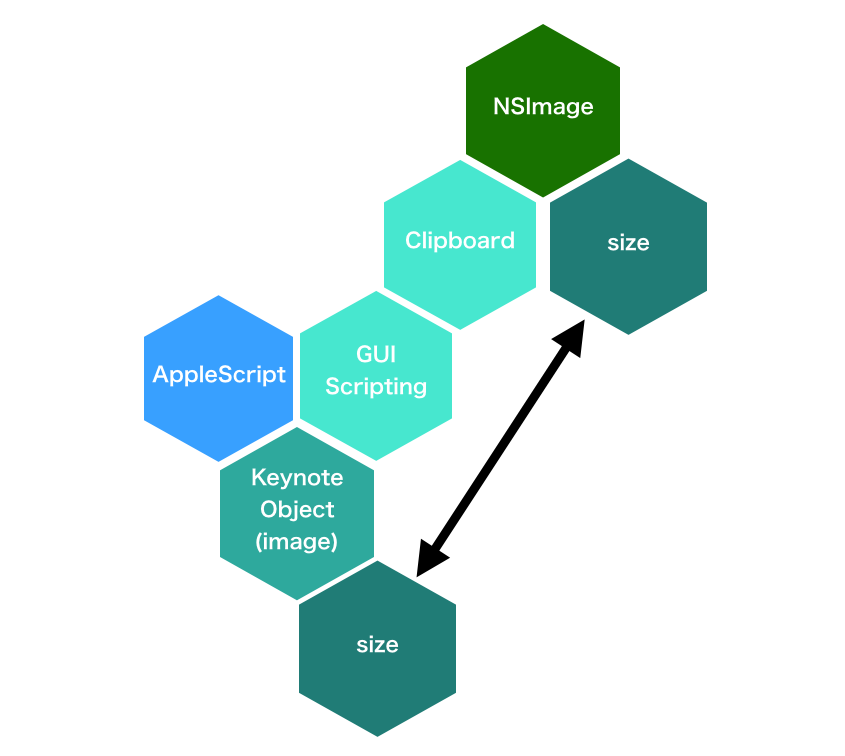
真っ先に調べたのはCocoaにそういう機能がないかどうか。自前のプログラムのビューの内容をキャプチャすることはできますが、他のアプリケーションのビューをキャプチャする機能は見つかりませんでした。
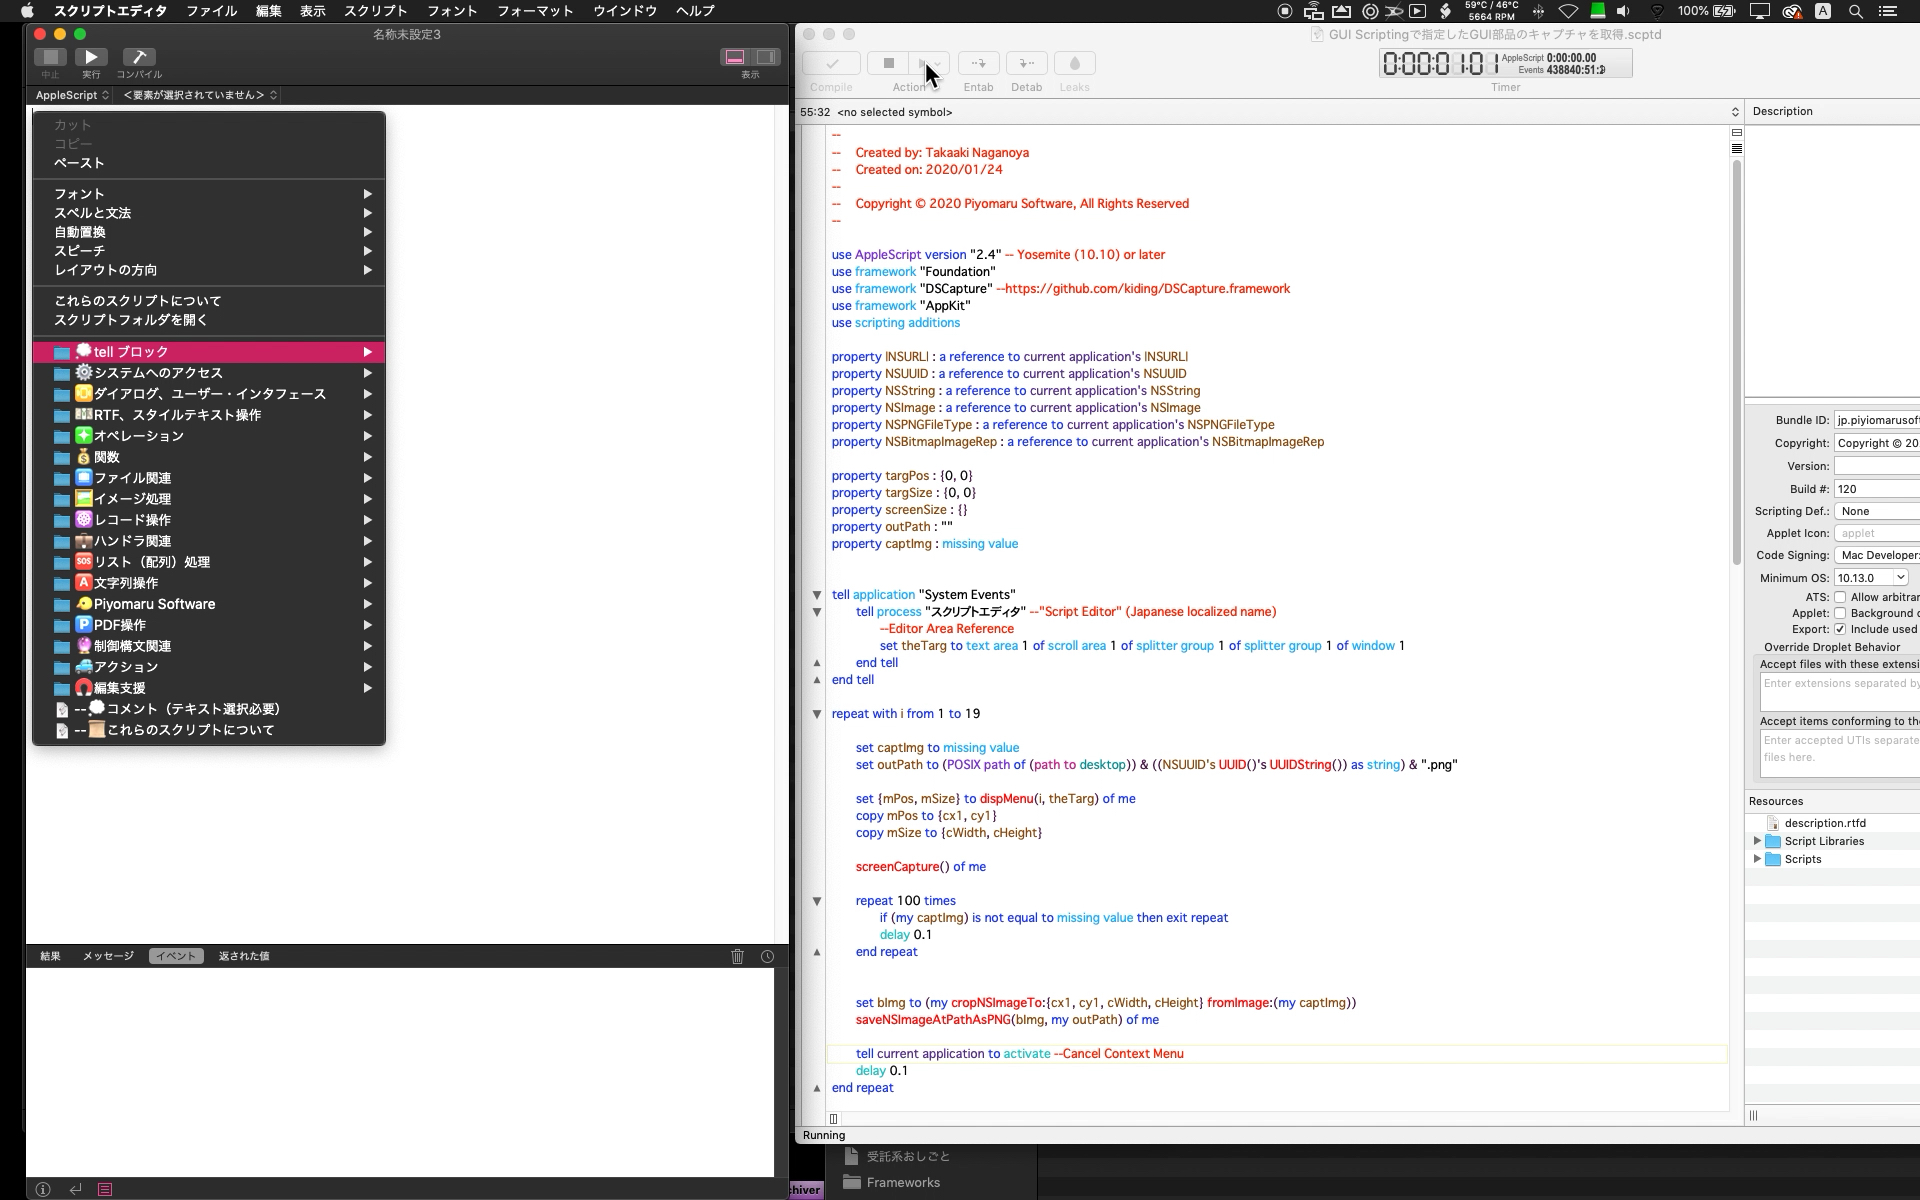
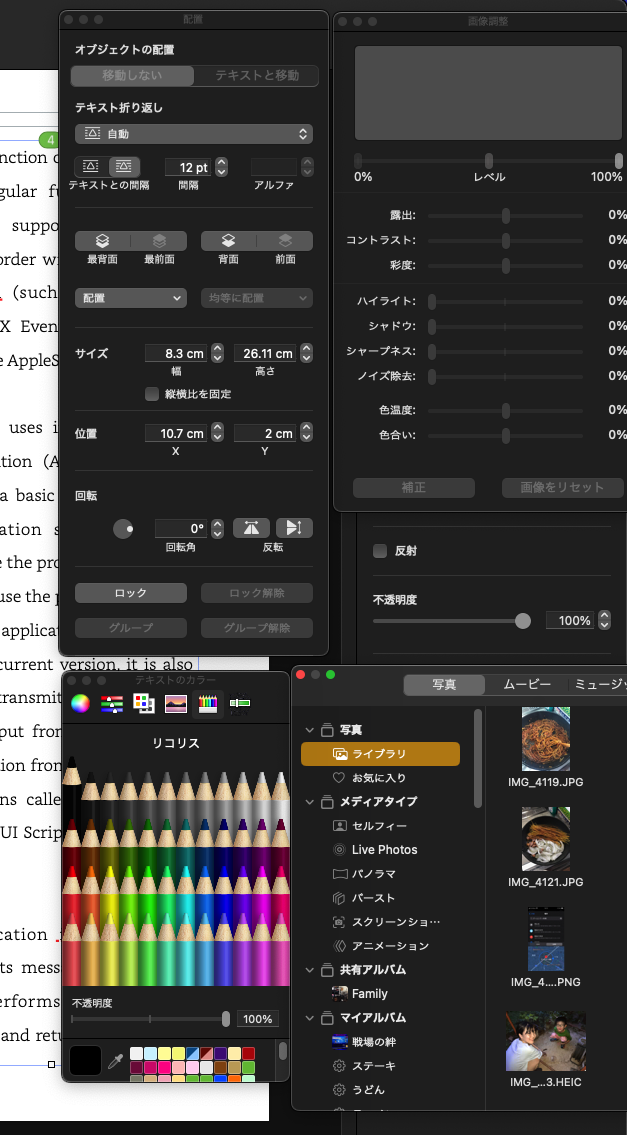
仕方がないので、画面のキャプチャをまるごと取得して、撮影対象のビューの座標から画像の切り抜きを行うようにしてみました。
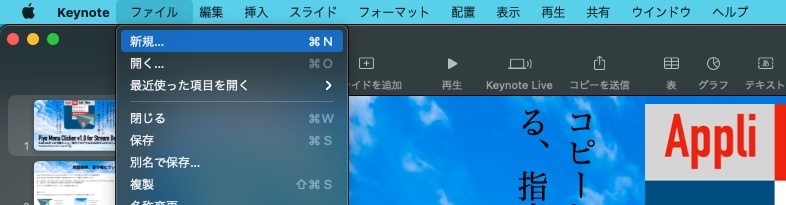
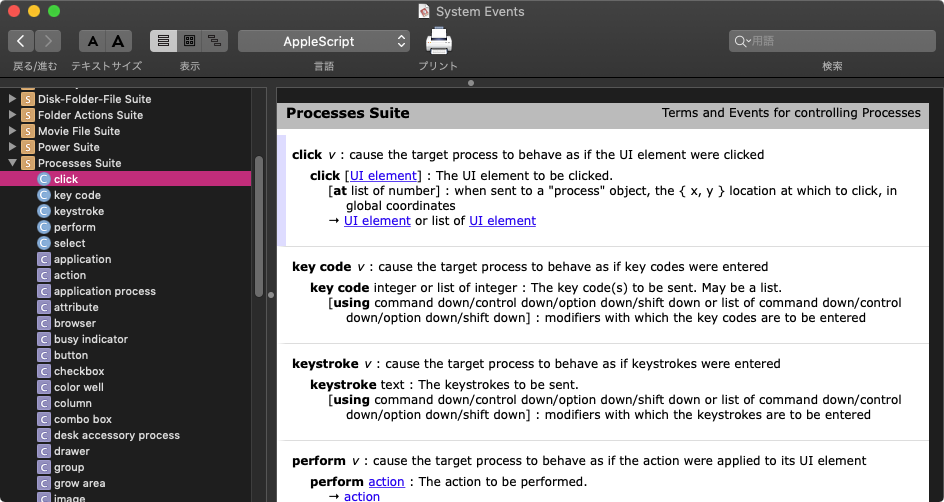
GUI Scriptingでコンテクストメニューを表示させるのは無理かと思っていたのですが、できるんですね。これも冗談半分で探してみたらあっけなく方法が見つかって、
tell theTarget to perform action "AXShowMenu" --コンテクストメニューの表示
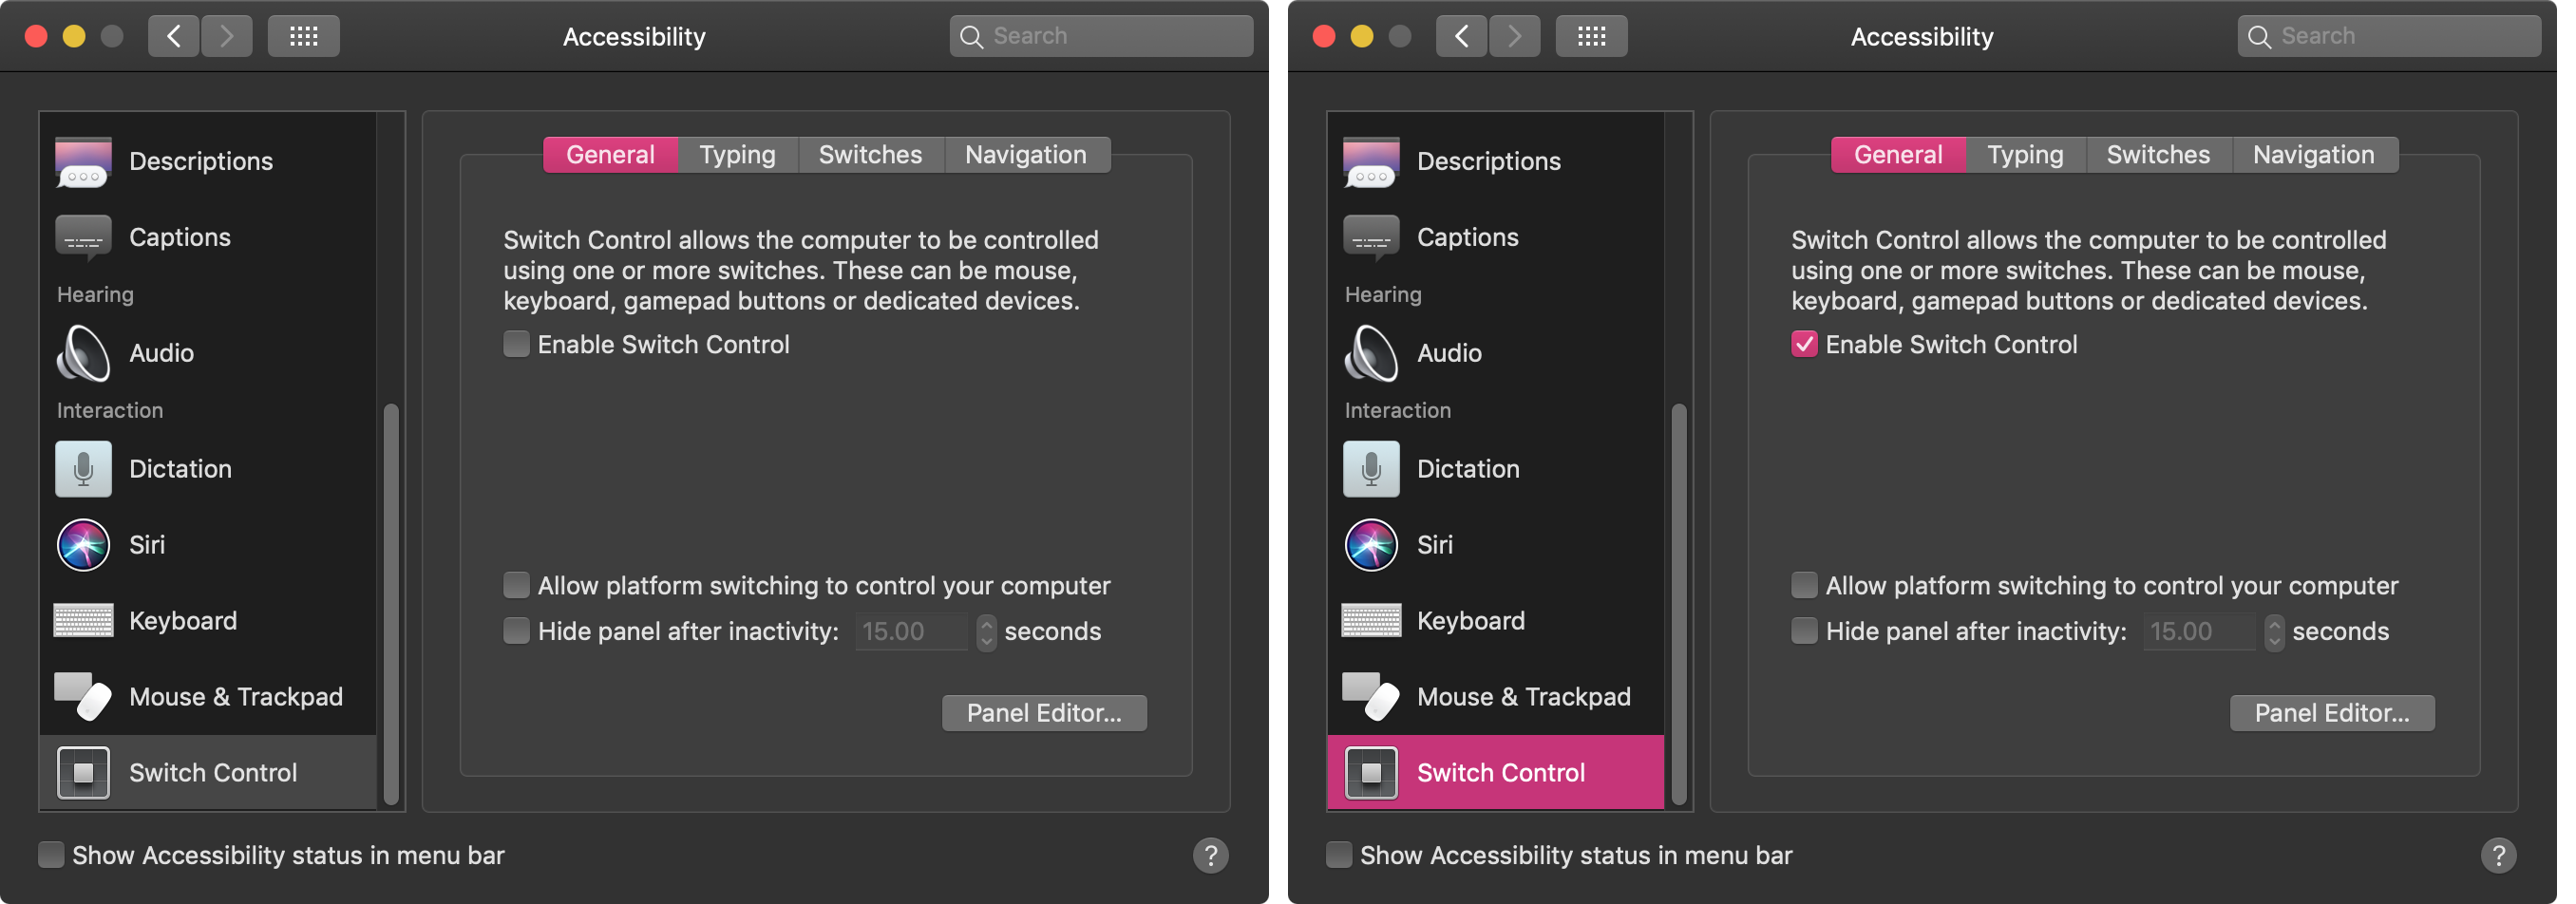
これで実際にコンテクストメニューの表示を行えました。
実現はいろいろ大変
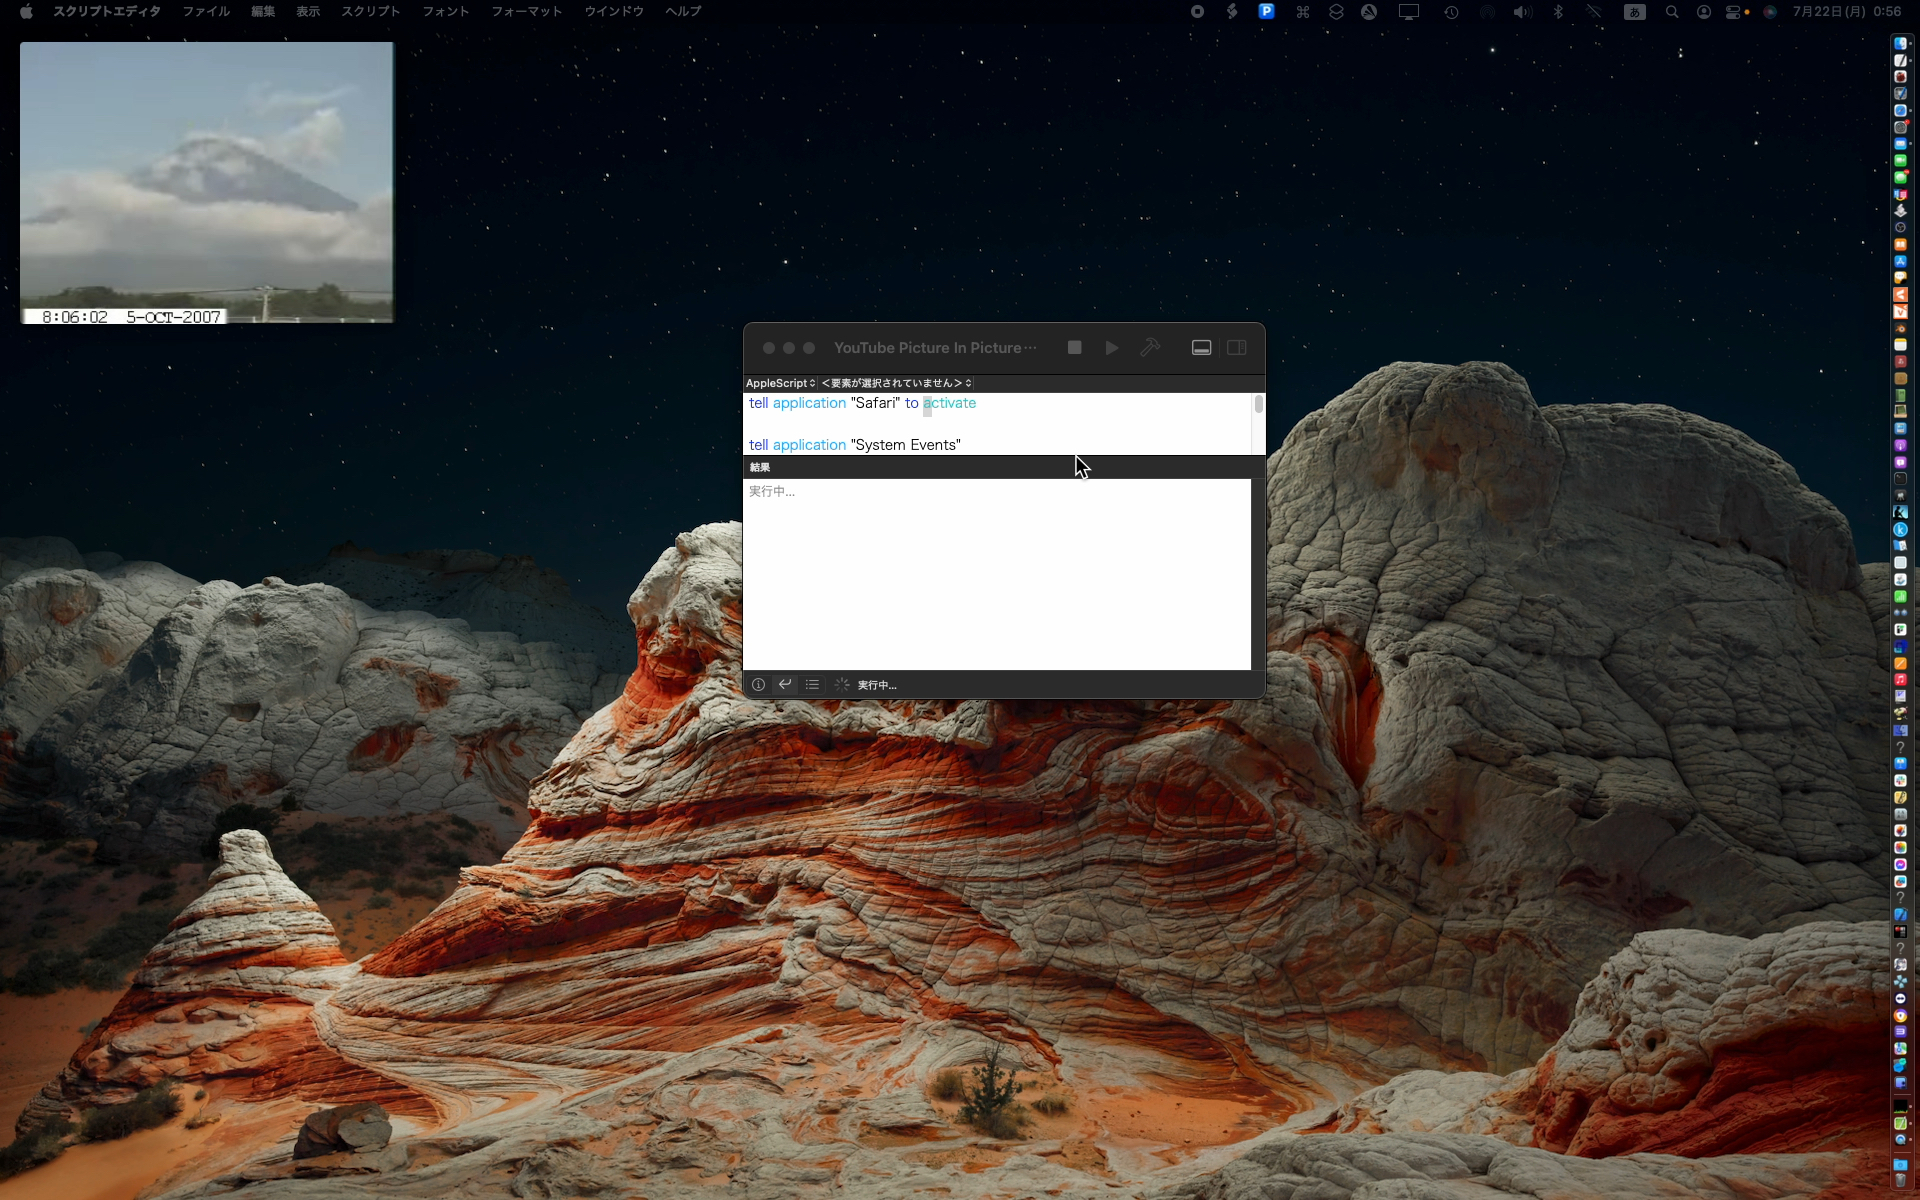
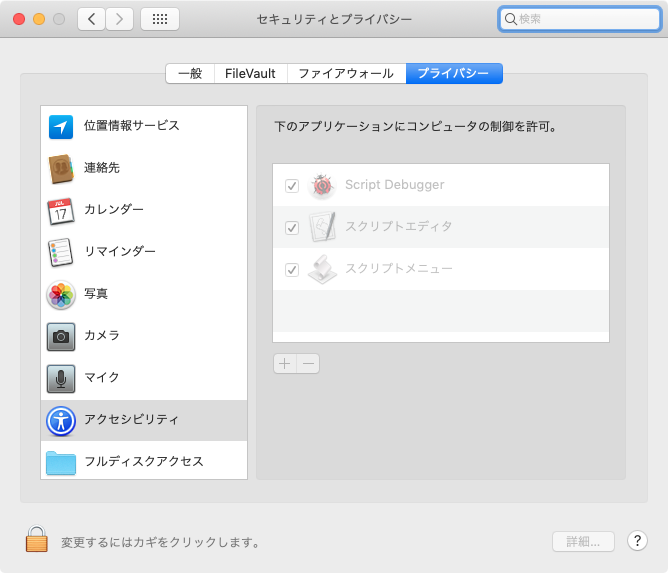
スクリプトエディタ上の画面撮影を行うので、Scriptの実行そのものはScript Debuggerで実行。
問題になったのは2点。
1つは、画面キャプチャの撮影を行うフレームワークでメインディスプレイから画面イメージをNSImageで取得し、その結果をメイン側(暗黙のrunハンドラといったほうがいいのか)のプロパティに返しているのですが、すぐに反映されないらしくて、クラッシュを頻発。
結局、プロパティに内容が反映されたことをループで時間待ちして受信。
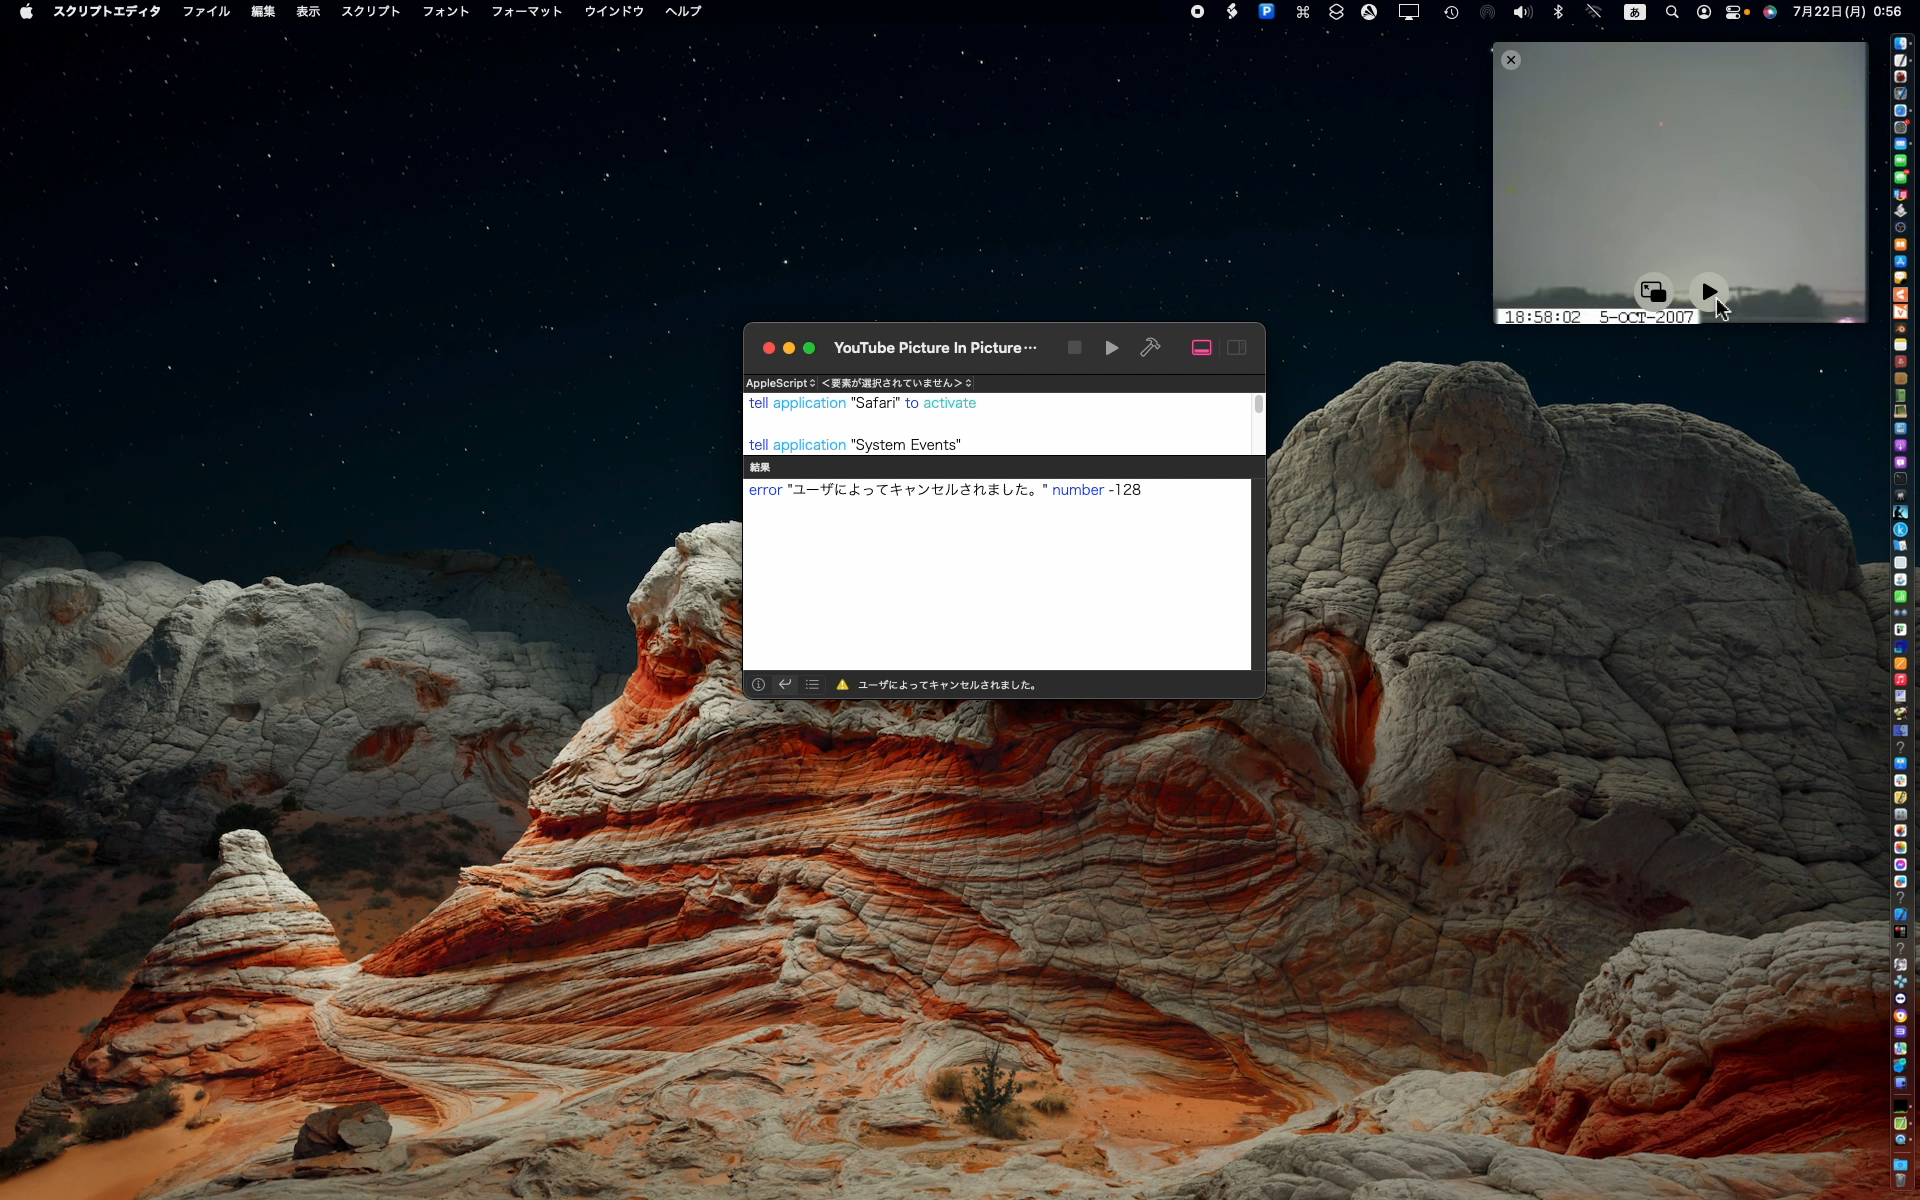
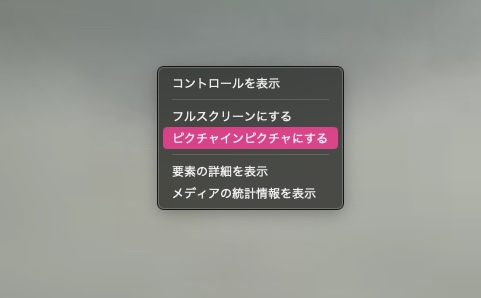
もう1つ困った点は、コンテクストメニューの表示解除(キャンセル)。1つのコンテクストメニュー表示&キャプチャ撮影だけでは意味がありません。選択メニュー項目を変更して、複数のコンテクストメニューのキャプチャを順次行えなくてはなりません。
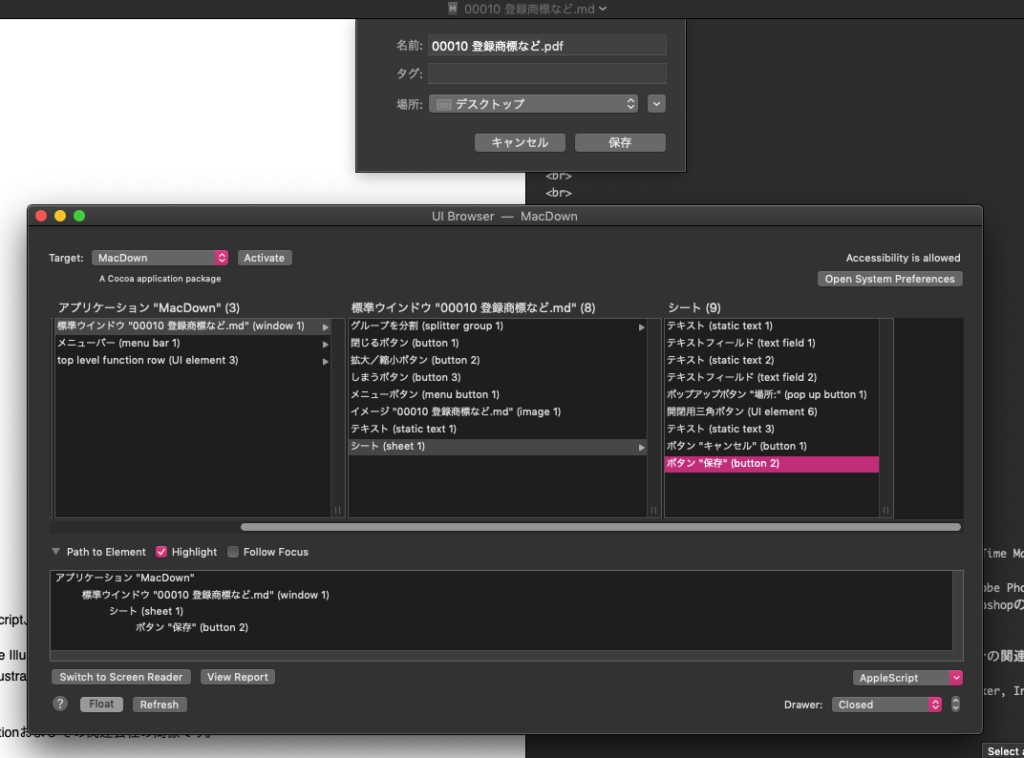
いろいろな方法を試してみたものの、最前面のアプリケーションを「スクリプトエディタ」でない状態を作ればコンテクストメニュー表示状態は解除されます(このあたり、AppleScriptが純粋なプログラマーに苦手とされる理由。実際に使っているユーザーでないとこういう発想自体が出てこない)。Script Debugger側で実行しているので、Script Debuggerをactivateすることでその状態(コンテクストメニュー表示解除)を作ってみました。

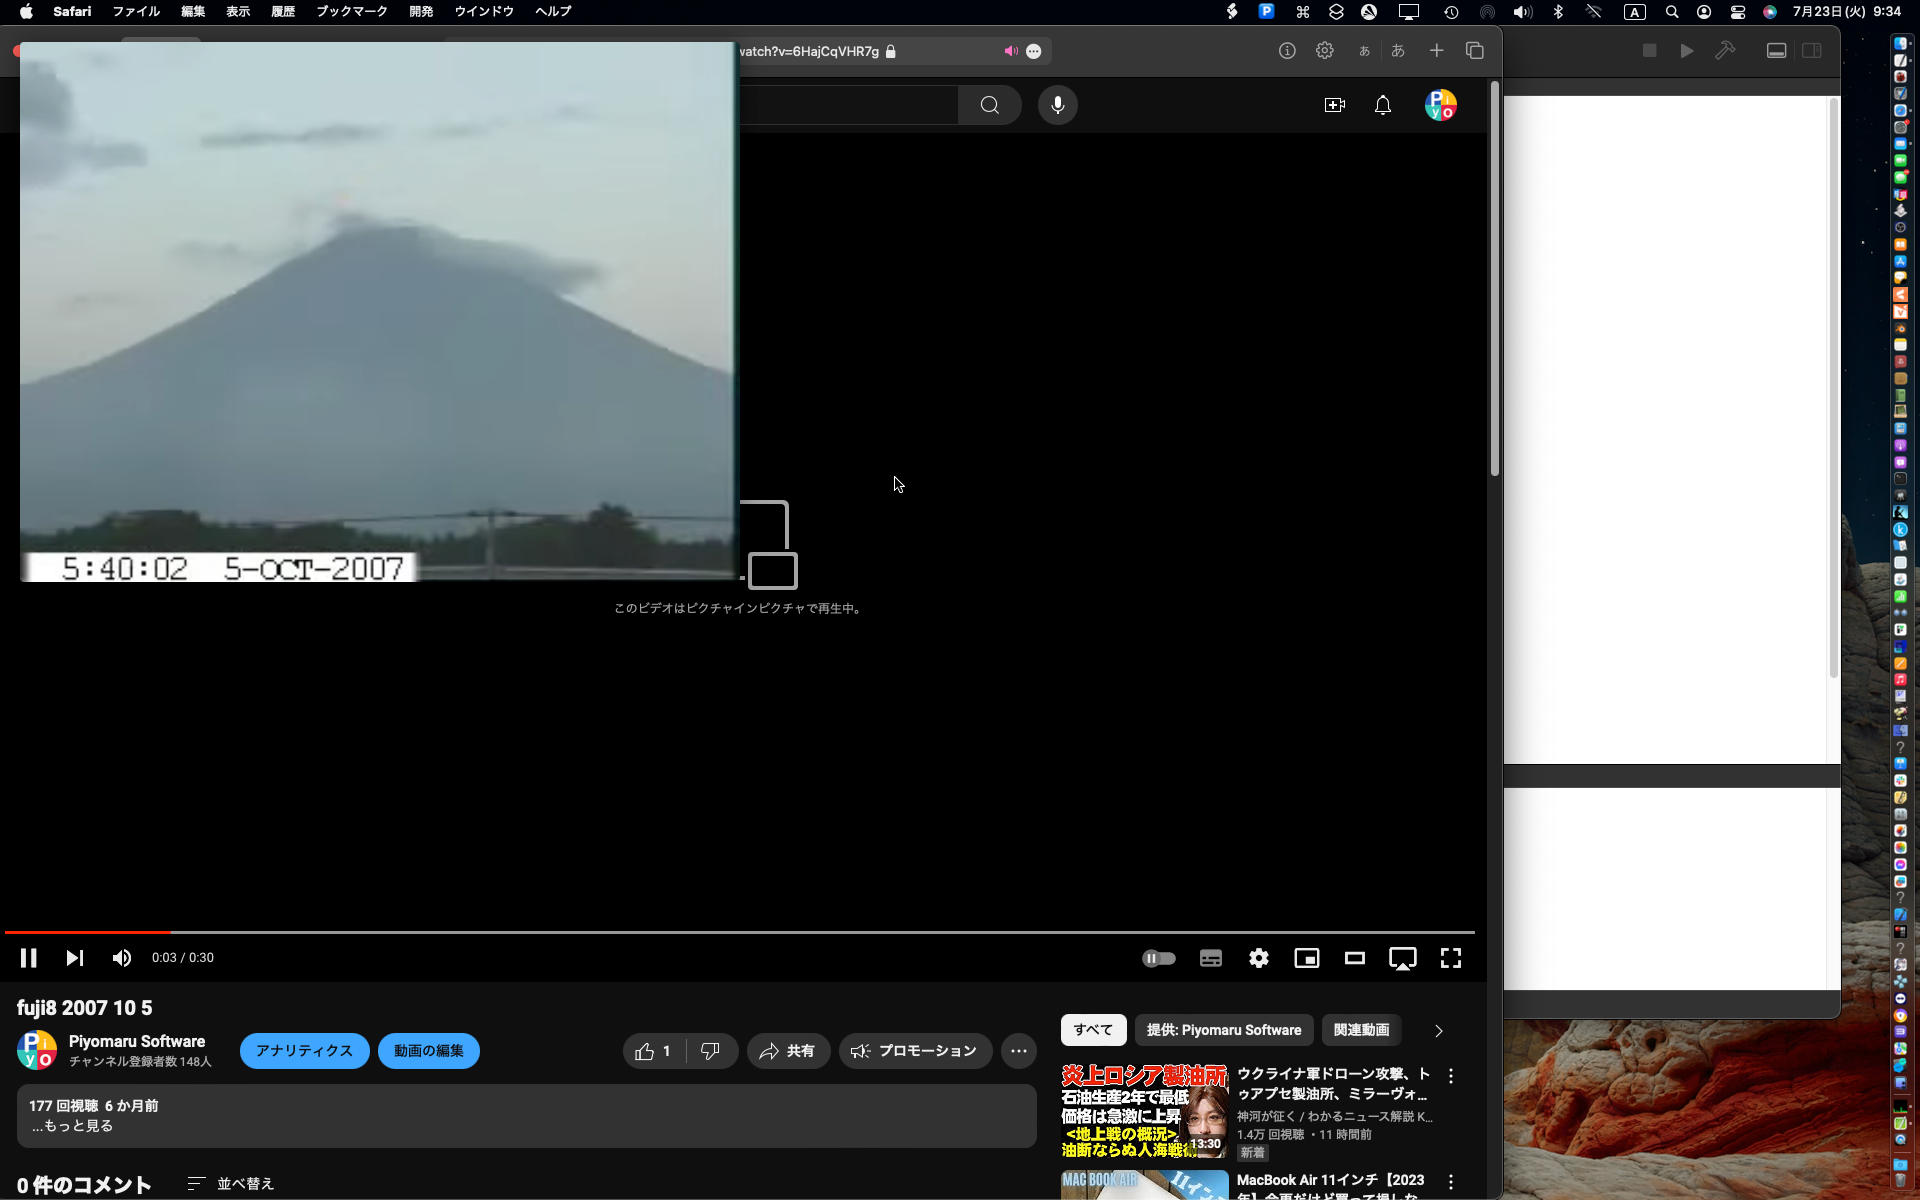
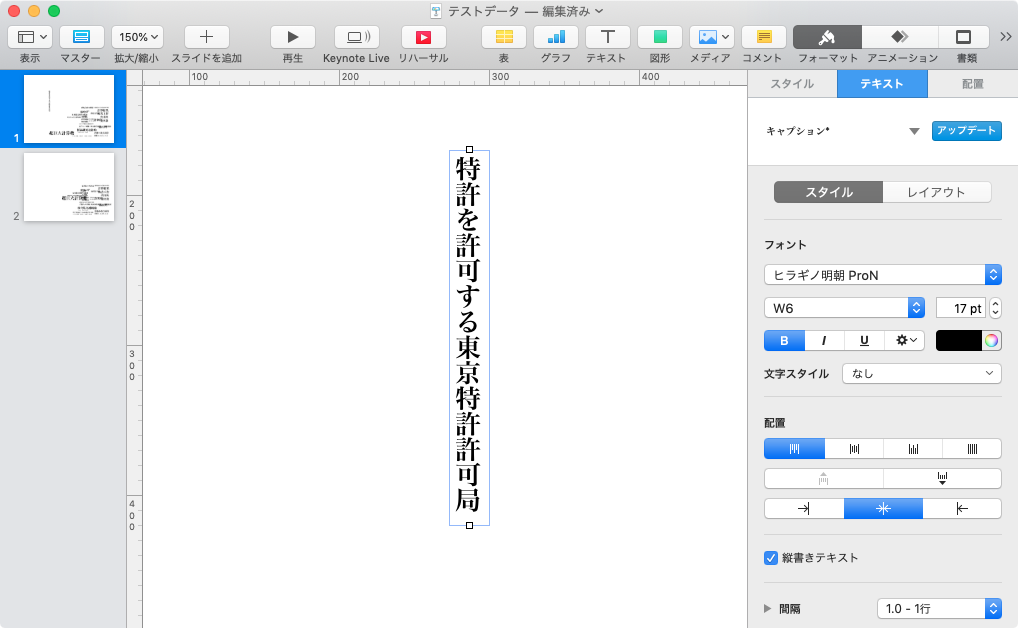
そんなわけでコンテクストメニューの(選択項目を変更して全項目を選択状態にした)画面キャプチャができました。
現在は1階層分のコンテクストメニューの撮影を行なっていますが、メニュー階層をすべてAppleScript側からスキャンして、それぞれのメニューに対して、各メニュー項目を表示した状態で巡回キャプチャできるとよさそうです。
cropNSImageTo:{x1, y1, x2, y2} fromImage:theImage ハンドラは、Y座標の変換をこの用途(全画面キャプチャしたNSImageの切り抜き)の帳尻合わせのために書き換えています。この用途以外では使えないはずです。
| AppleScript名:GUI Scriptingで指定したGUI部品のキャプチャを取得.scptd |
—
– Created by: Takaaki Naganoya
– Created on: 2020/01/24
—
– Copyright © 2020 Piyomaru Software, All Rights Reserved
—
use AppleScript version "2.4" — Yosemite (10.10) or later
use framework "Foundation"
use framework "DSCapture" –https://github.com/kiding/DSCapture.framework
use framework "AppKit"
use scripting additions
property |NSURL| : a reference to current application’s |NSURL|
property NSUUID : a reference to current application’s NSUUID
property NSString : a reference to current application’s NSString
property NSImage : a reference to current application’s NSImage
property NSPNGFileType : a reference to current application’s NSPNGFileType
property NSBitmapImageRep : a reference to current application’s NSBitmapImageRep
property targPos : {0, 0}
property targSize : {0, 0}
property screenSize : {}
property outPath : ""
property captImg : missing value
set (my captImg) to missing value
tell application "System Events"
tell process "スクリプトエディタ" –"Script Editor" (Japanese localized name)
–Editor Area Reference
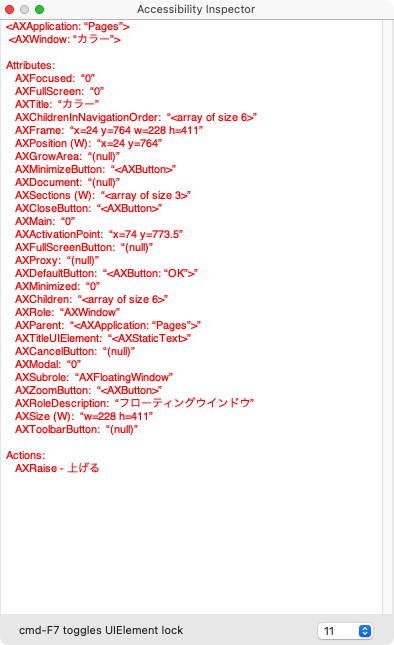
set theTarg to text area 1 of scroll area 1 of splitter group 1 of splitter group 1 of window 1
end tell
end tell
repeat with i from 1 to 19
set captImg to missing value
set outPath to (POSIX path of (path to desktop)) & ((NSUUID’s UUID()’s UUIDString()) as string) & ".png"
set {mPos, mSize} to dispMenu(i, theTarg) of me
copy mPos to {cx1, cy1}
copy mSize to {cWidth, cHeight}
screenCapture() of me
repeat 100 times
if (my captImg) is not equal to missing value then exit repeat
delay 0.1
end repeat
set bImg to (my cropNSImageTo:{cx1, cy1, cWidth, cHeight} fromImage:(my captImg))
saveNSImageAtPathAsPNG(bImg, my outPath) of me
tell current application to activate –Cancel Context Menu
delay 0.1
end repeat
on screenCapture()
current application’s DSCapture’s sharedCapture()’s |full|()’s captureWithTarget:me selector:"displayCaptureData:" useCG:false
end screenCapture
–Delegate Handler
on displayCaptureData:aSender
set aCount to aSender’s |count|()
set anImage to (aSender’s imageAtIndex:0)
set my captImg to anImage
–saveNSImageAtPathAsPNG(anImage, my outPath) of me
end displayCaptureData:
on cropNSImageTo:{x1, y1, x2, y2} fromImage:theImage
set newWidth to x2
set newHeight to y2
set theSize to (theImage’s |size|())
set oldHeight to height of theSize
— transpose y value for Cocoa coordintates
set y1 to oldHeight – newHeight – y1
set newRect to {{x:x1, y:y1}, {width:x2, height:y2}}
theImage’s lockFocus()
set theRep to NSBitmapImageRep’s alloc()’s initWithFocusedViewRect:newRect
theImage’s unlockFocus()
set outImage to NSImage’s alloc()’s initWithSize:(theRep’s |size|())
outImage’s addRepresentation:theRep
return outImage
end cropNSImageTo:fromImage:
–NSImageを指定パスにPNG形式で保存
on saveNSImageAtPathAsPNG(anImage, outPath)
set imageRep to anImage’s TIFFRepresentation()
set aRawimg to current application’s NSBitmapImageRep’s imageRepWithData:imageRep
set pathString to current application’s NSString’s stringWithString:outPath
set newPath to pathString’s stringByExpandingTildeInPath()
set myNewImageData to (aRawimg’s representationUsingType:(current application’s NSPNGFileType) |properties|:(missing value))
set aRes to (myNewImageData’s writeToFile:newPath atomically:true) as boolean
return aRes –成功ならtrue、失敗ならfalseが返る
end saveNSImageAtPathAsPNG
on dispMenu(selInd, theTarget)
activate application "Script Editor"
tell application "System Events"
tell process "スクリプトエディタ" –"Script Editor" (Japanese localized name)
ignoring application responses
tell theTarget to perform action "AXShowMenu" –コンテクストメニューの表示
end ignoring
tell text area 1 of scroll area 1 of splitter group 1 of splitter group 1 of window 1
tell menu 1
set mPos to position
set mSize to size
set mList to every menu item
tell menu item (13 + selInd)
set aRes to properties
set selected to true
end tell
end tell
end tell
end tell
end tell
return {mPos, mSize}
end dispMenu
|
|
★Click Here to Open This Script
|


