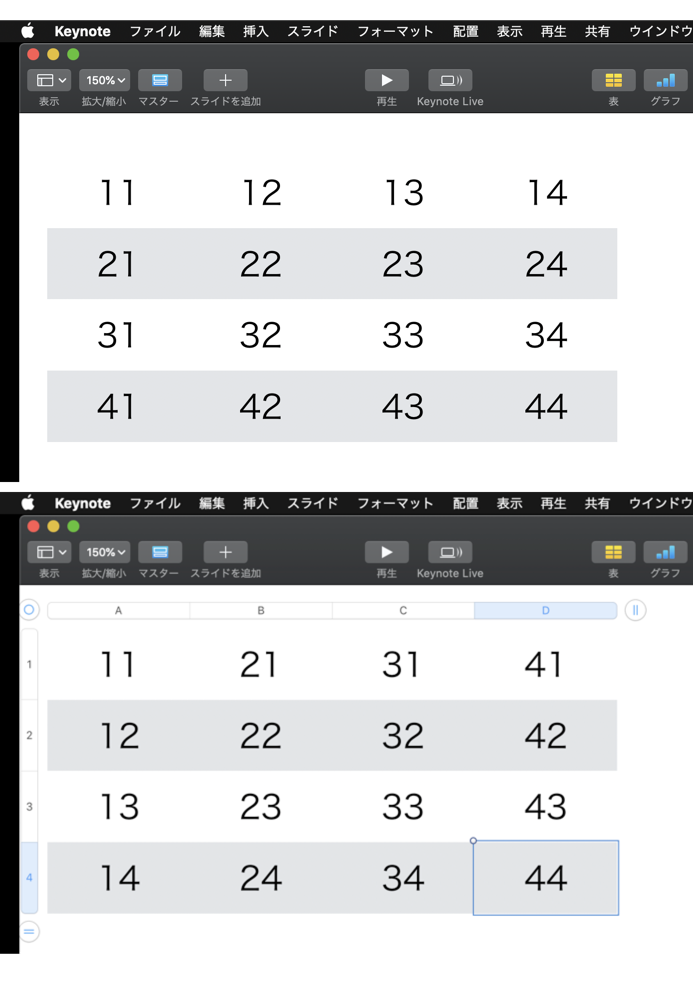
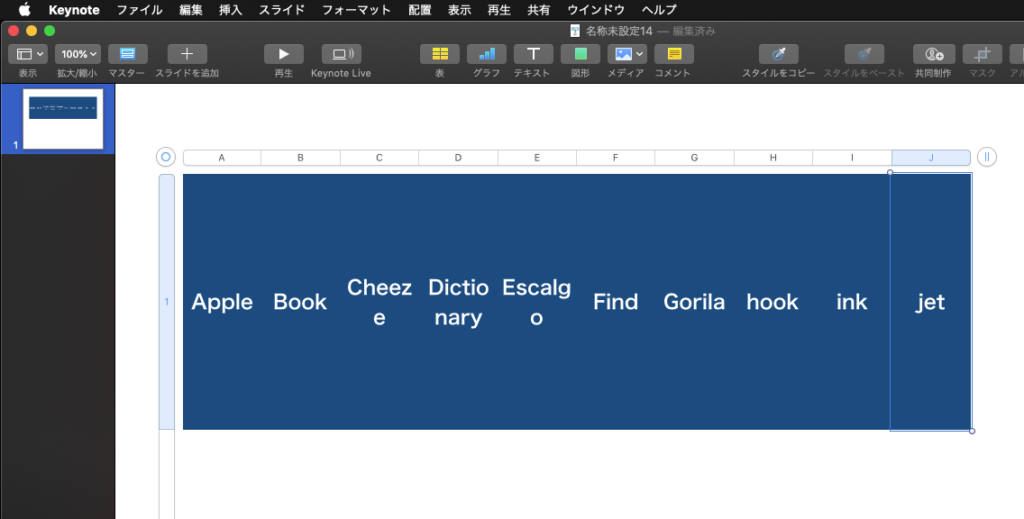
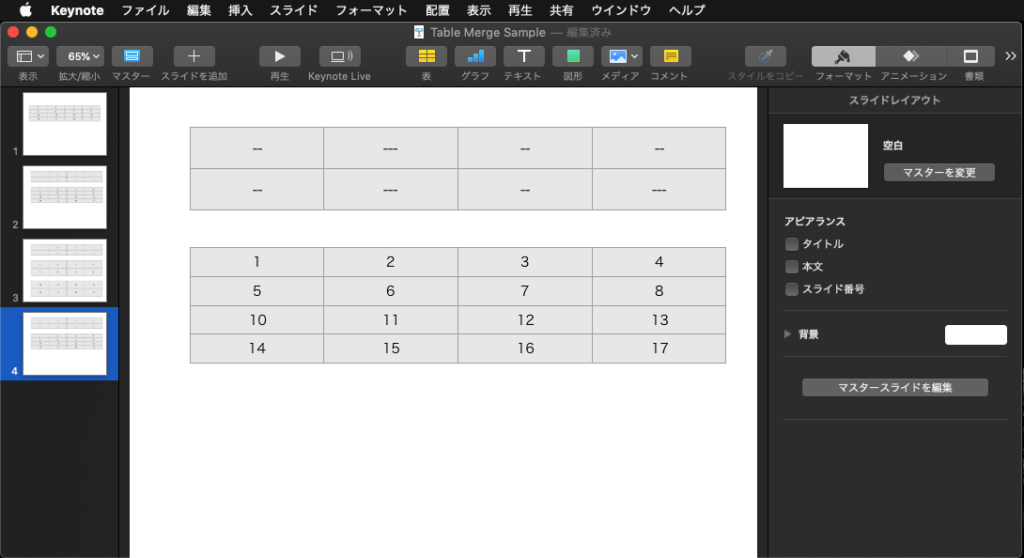
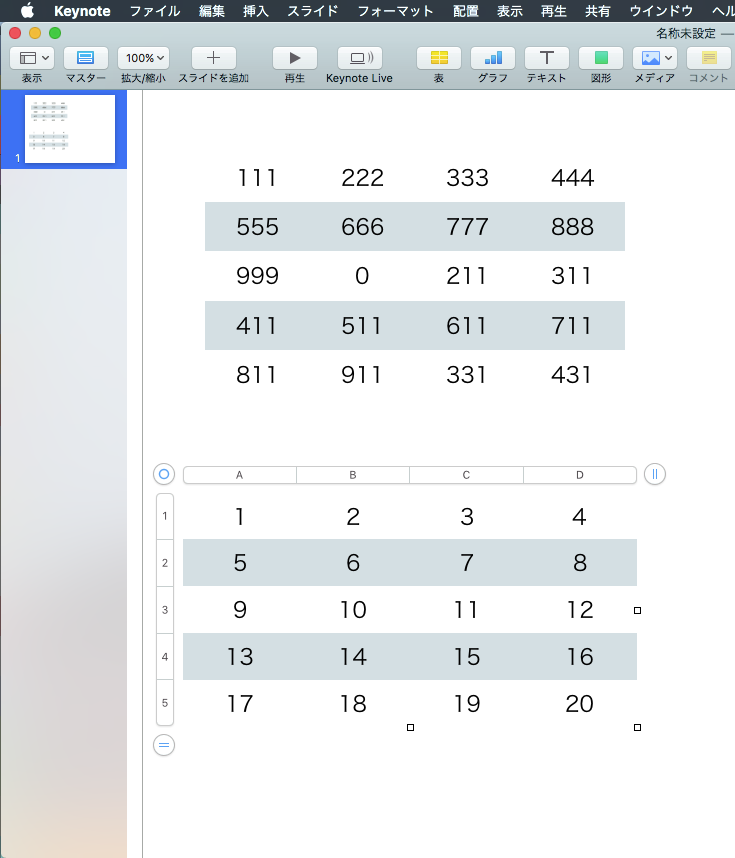
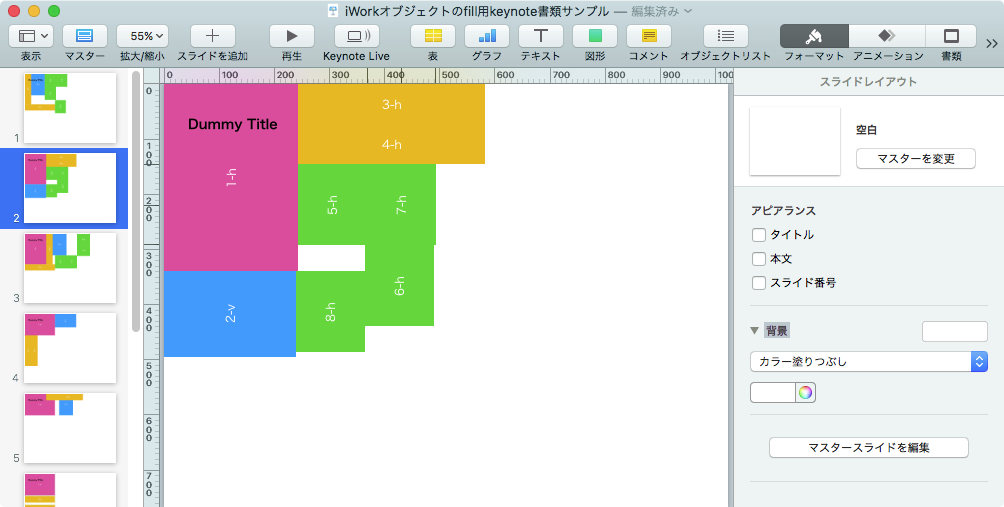
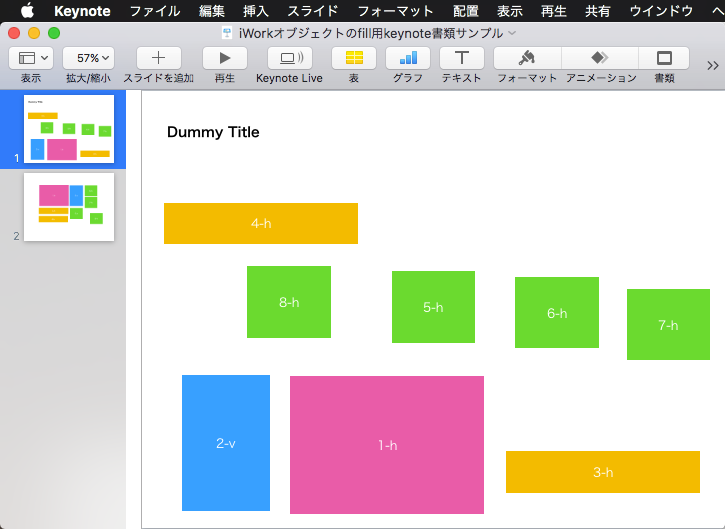
Keynoteでオープン中の書類の現在表示中のページ(スライド)上にある表のデータを回転(transpose)する、行列入れ替えするAppleScriptです。
–> Download tableTransposer (Code Signed Applet)
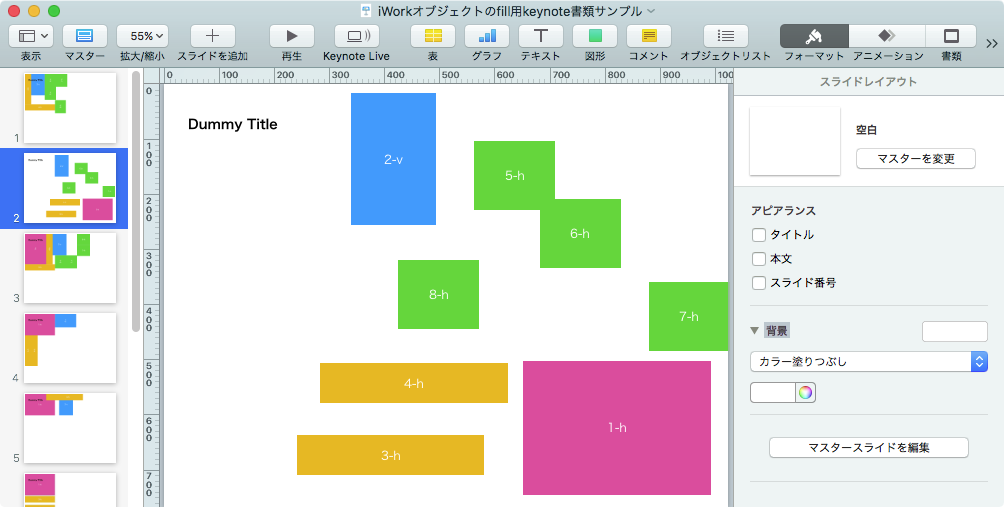
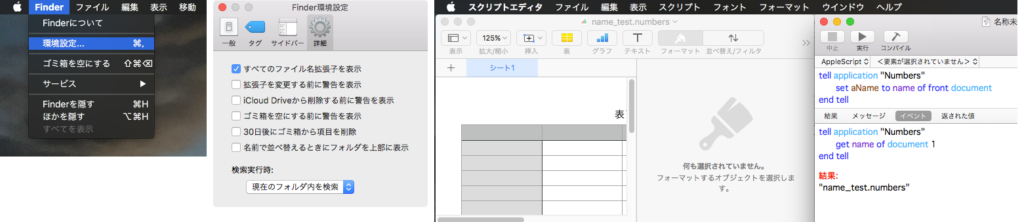
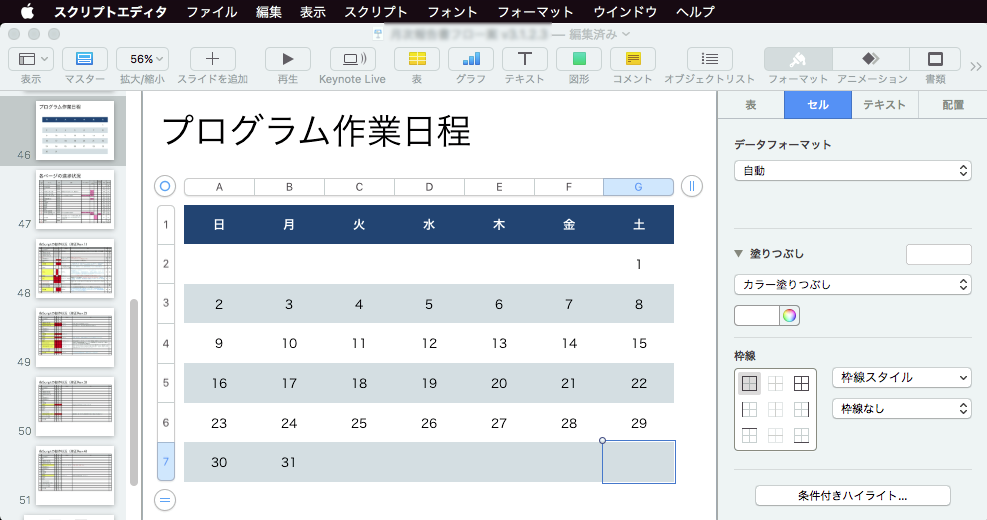
Numbersでは、指定の表データの縦横転置のためのコマンド「行と列を転置」(transpose)がありますが、Keynoteにはありません。
![]()
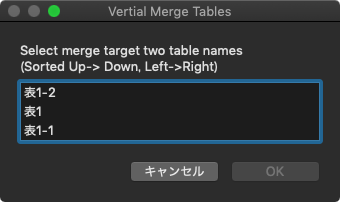
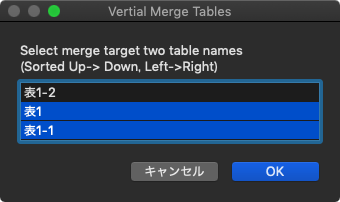
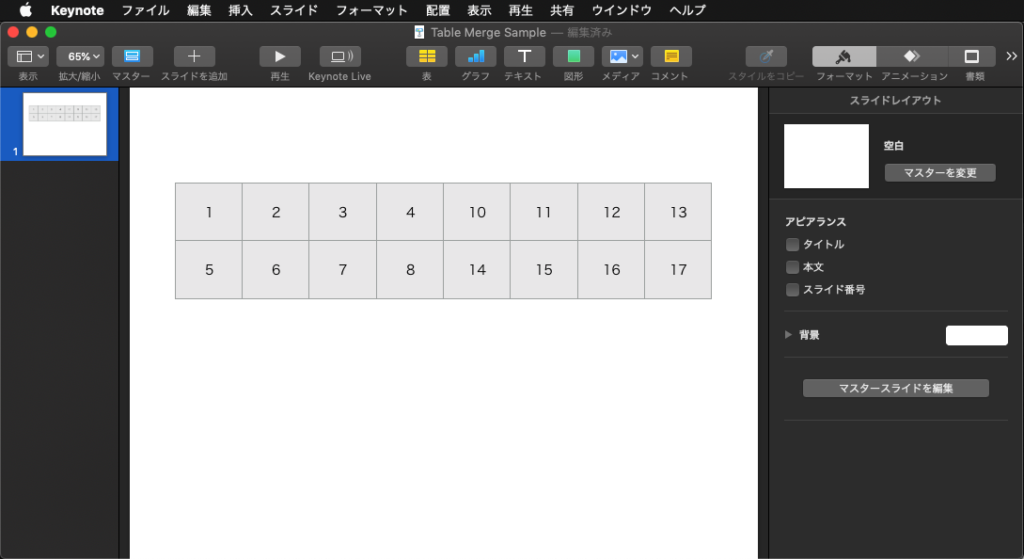
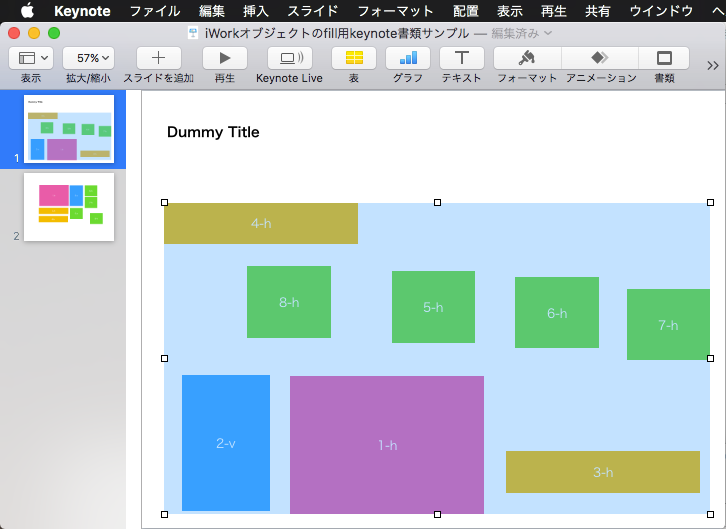
Keynoteの表データをコピーしてNumbersに持って行って転置してKeynoteに戻していますが、メニュー操作で一発で転置できるようにしてみたものです。
回転(転置)前にテーブルの縦横のセル数をカウントして、高さと幅が同じでない場合には処理を行いません。ただ、これでは明らかに使い勝手がよくありません。いっそ、表のセル数を変更して転置したデータ形状に表の方を合わせるべきです。
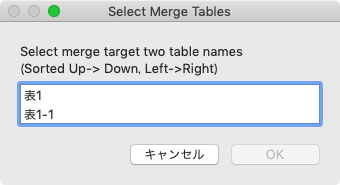
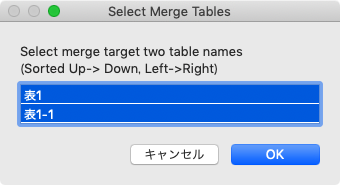
Script Menuから実行させてみる場合には、コード署名してアプレット書き出しする必要があります。上記のリンクから、コード署名したアプレットをダウンロードして実行してみてください。
| AppleScript名:表の内容を回転(Transpose) |
| — – Created by: Takaaki Naganoya – Created on: 2019/05/16 — – Copyright © 2019 Piyomaru Software, All Rights Reserved — use AppleScript version "2.4" — Yosemite (10.10) or later use framework "Foundation" use scripting additions use script "BridgePlus" –https://www.macosxautomation.com/applescript/apps/BridgePlus.html set tName to getTargetTableName() of me if tName = false then return –Get Table Values as 2D List set t1List to getValuesOfATableBy2DList(tName) of me –Check Table width and height is same or not set tRes to countElementsOf2DList(t1List) of me if tRes = false then display notification "Table width and height is not same….." return end if –Transpose 2D List set t2List to transpose2DList(t1List) of me –Set values to a table setValuesToATableBy2DList(tName, t2List) of me –Keynoteの現在の最前面の書類の現在のスライド上の指定名称の表に2D Listの値を入れる on setValuesToATableBy2DList(tName, tList) tell application "Keynote" tell front document tell current slide tell table tName set rCount to count every row set cCount to count every column repeat with i from 1 to rCount tell row i repeat with ii from 1 to cCount tell cell ii ignoring application responses –Sync Mode set value of it to getItemByXY(ii, i, tList, "") of me end ignoring end tell end repeat end tell end repeat end tell end tell end tell end tell end setValuesToATableBy2DList –Keynoteの現在の最前面の書類の現在のスライド上の指定名称の表から2D Listで値を取り出す on getValuesOfATableBy2DList(tName) set a2Dlist to {} tell application "Keynote" tell front document tell current slide tell table tName set rCount to count every row repeat with i from 1 to rCount tell row i set tList to value of every cell end tell set the end of a2Dlist to tList end repeat end tell end tell end tell end tell return a2Dlist end getValuesOfATableBy2DList –処理対象となる表の名称を取得する on getTargetTableName() tell application "Keynote" tell front document tell current slide set tCount to count every table if tCount = 0 then display notification "There is no Table" return false else if tCount > 1 then set tList to name of every table set tRes to choose from list tList with prompt "Chose target Table" if tRes = false then return false set tName to first item of tRes else set tName to name of table 1 end if return tName end tell end tell end tell end getTargetTableName –2D ListをTransposeする on transpose2DList(aList as list) load framework return (ASify from (current application’s SMSForder’s colsToRowsIn:aList |error|:(missing value))) end transpose2DList —-リストに対して、一般的な配列添字っぽくアクセスするサブルーチン(ただし、要素は1はじまり) on getItemByXY(aX, aY, aList, aBlankItem) try set aContents to contents of (item aX of item aY of aList) on error set aContents to aBlankItem end try return aContents end getItemByXY on setItemByXY(aX, aY, aList, aContents) set (item aX of item aY of aList) to aContents return aList end setItemByXY –空白の2D Array を出力する on make2DBlankArray(curLen, curMax) set outArray to {} repeat curMax times set aList to {} repeat curLen times set the end of aList to "" end repeat set the end of outArray to aList end repeat return outArray end make2DBlankArray –配列のサイズを数えるサブルーチン –2D Listの要素数カウント on countElementsOf2DList(aList) set aDim to getDimension given tArray:aList if aDim is not equal to 2 then return false set aHeight to count every item of aList set aWidth to count every item of item 1 of aList return {xWidth:aWidth, yHeight:aHeight} end countElementsOf2DList –指定Listの次元を再帰で取得する on getDimension given tArray:aList as list : {}, curDim:aNum as integer : 1 set anItem to contents of first item of aList set aClass to class of anItem if aClass = list then set aNum to aNum + 1 set aRes to getDimension given tArray:anItem, curDim:aNum else return aNum end if end getDimension |


