WordPressで稼働しているBlog(AppleScriptの穴)の、指定記事IDの本文を取得し、本文内でリンクしているURLのうち指定schemeのものを抽出し、URLリンクされているAppleScriptのソースをデコードしてproperty宣言文のうちCocoa Classの宣言を行っているものを抽出するAppleScriptです。
HTMLReader.frameworkを用いてBlog本文からのリンク抽出、リンクURL抽出を行っています。
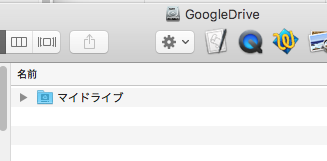
–> HTMLReader.framework(To ~/Library/Frameworks/)
本Blogで、Tagの運用を変更しようと思い立ち、手作業で修正をはじめました。アプリケーション名のほかにCocoa Class名をTagにしようという試みです。
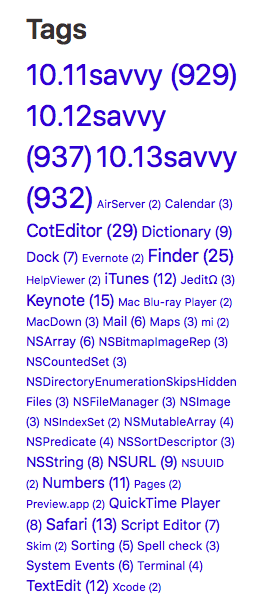
ただ、数個の記事のTag付け直しを行っただけで「手作業では終わらない」ことが判明。2月に再構築をはじめて1,000本ぐらいの記事をアップしているので、手作業ではとても無理です
本Blogの記事にURLリンクされているAppleScriptソースプログラムを(XML-RPC経由で)AppleScriptから自動で取得し、
その中のproperty宣言文を抽出して、
Cocoa Classの宣言文のみをリストアップして、

Blog記事のTagに自動で指定できないか、と試してみたものです。
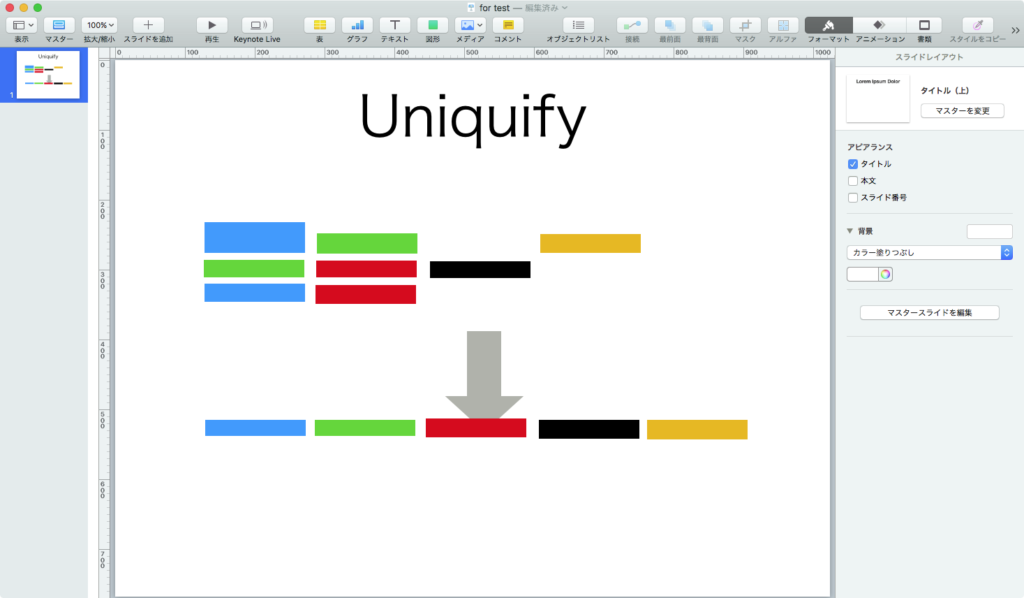
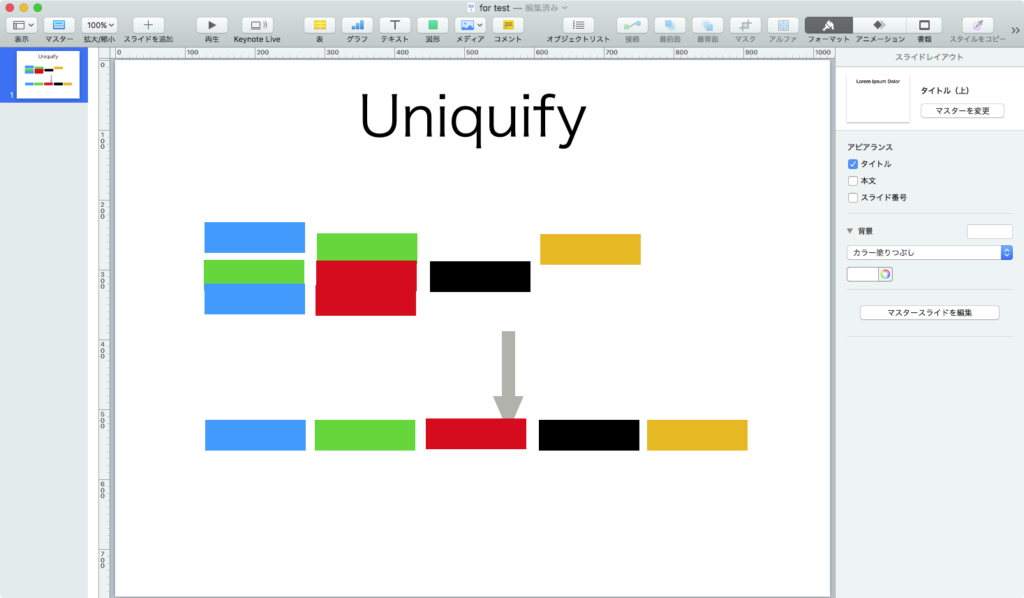
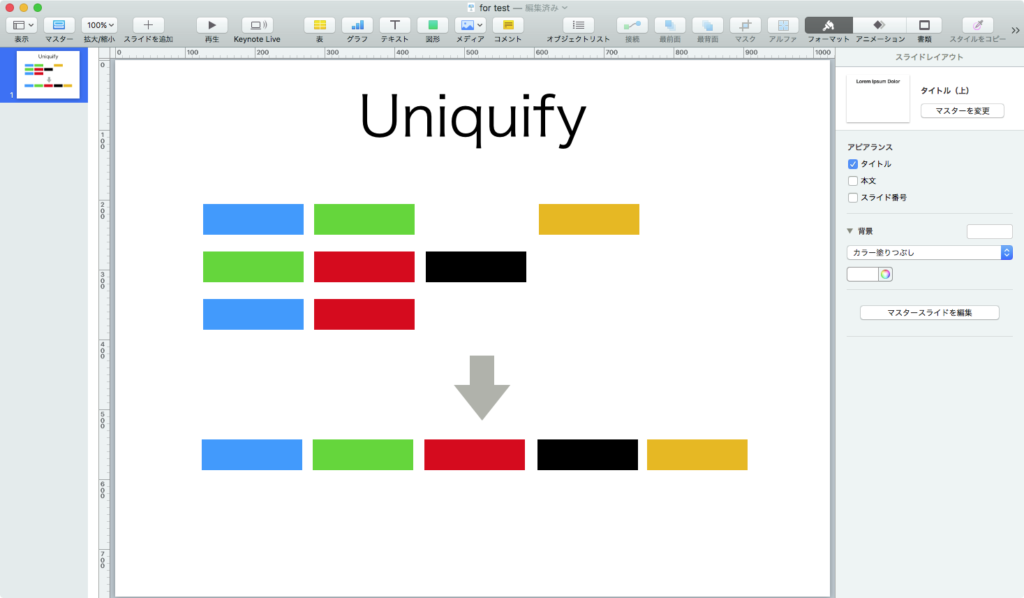
現時点で、
(1)指定Blog記事の本文を取得
(2)(1)から指定URL SchemeのリンクURLを抽出
(3)(2)のURL EncodeされているAppleScriptソースをDecode
(4)property宣言文のみ抽出
(5)property宣言ラベルがCocoa Classのものかをチェックして抽出
というところまでできています。本プログラムは、BlogのUser NameとPasswordが必要なので、リストのまま動かしてもエラーになり動作しません。同様にWordPressで運用されているBlogがあれば、そちらで試してみるのもよいでしょう。
XML-RPCでWordPressと通信するのには、記事アップロード自動化に使ったFrameworkもありますが、ためしにAppleScript標準搭載のcall xmlrpcコマンドを使ってみました。記事新規投稿コマンドだとクラッシュを起こしますが、この程度の用途ならクラッシュせずに使えるようです。
また、property文の抽出は構文要素を考慮していないため、コメントアウトされているものも拾ってくる可能性があります(単に行頭のproperty宣言文を拾っているだけなので、複数行コメントになっているものは拾われてくることでしょう)。
(*
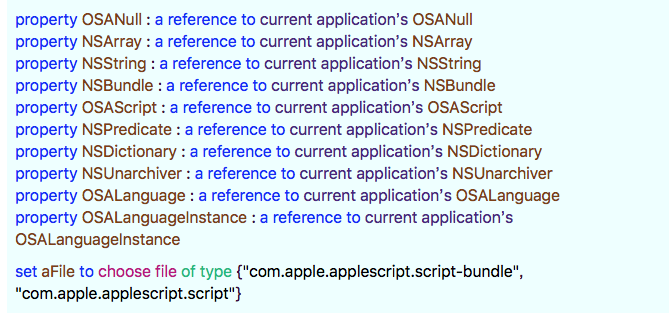
property NSArray: a reference to current application’s NSArray
property NSString: a reference to current application’s NSString
*)
これを防ぐために、URLリンクされたAppleScriptをデコードした後で、いったんAppleScriptとして構文確認(コンパイル)を実施して、実際のAppleScriptとして評価すべきなのでしょう。
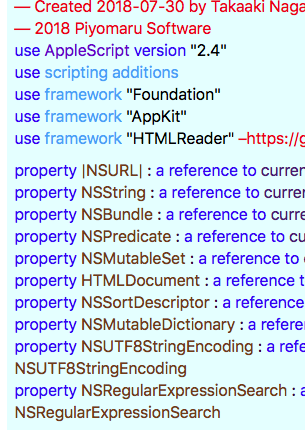
| AppleScript名:WordPressの指定IDの記事にリンクされているapplescriptからCocoa Classのproperty宣言を抽出 v2 |
— Created 2018-07-30 by Takaaki Naganoya
— Modified 2018-07-31 by Takaaki Naganoya
— 2018 Piyomaru Software
use AppleScript version "2.4"
use scripting additions
use framework "Foundation"
use framework "AppKit"
use framework "HTMLReader" –https://github.com/nolanw/HTMLReader
property |NSURL| : a reference to current application’s |NSURL|
property NSString : a reference to current application’s NSString
property NSBundle : a reference to current application’s NSBundle
property NSPredicate : a reference to current application’s NSPredicate
property NSDictionary : a reference to current application’s NSDictionary
property NSMutableArray : a reference to current application’s NSMutableArray
property NSMutableDictionary : a reference to current application’s NSMutableDictionary
property NSUTF8StringEncoding : a reference to current application’s NSUTF8StringEncoding
–PostID
set postID to 3826
set aScheme to "applescript://"
–WordPressの指定Post IDの記事を取得してリンクされているURLからURL Schemeでフィルタして、リンクされているAppleScriptのソースを
–取得し、AS Sourceからproperty宣言文のみ抽出
set pList to getASSouceLinkedInWordPressPost(postID, aScheme) of me
–> {"property NSBundle : a reference to current application’s NSBundle", "property |NSURL| : a reference to current application’s |NSURL|", "property HTMLDocument : a reference to current application’s HTMLDocument", "property NSMutableDictionary : a reference to current application’s NSMutableDictionary", "property NSPredicate : a reference to current application’s NSPredicate", "property NSUTF8StringEncoding : a reference to current application’s NSUTF8StringEncoding", "property NSMutableSet : a reference to current application’s NSMutableSet", "property NSRegularExpressionSearch : a reference to current application’s NSRegularExpressionSearch", "property NSString : a reference to current application’s NSString", "property NSSortDescriptor : a reference to current application’s NSSortDescriptor"}
–property宣言文リストから、propetyがCocoa Classの宣言であるものだけを抽出
set p2List to filterPropertySentenseWhetherCocoaOrNot(pList) of me
–> {"NSBundle", "HTMLDocument", "NSMutableDictionary", "NSPredicate", "NSMutableSet", "NSString", "NSSortDescriptor"}
on filterPropertySentenseWhetherCocoaOrNot(pList)
set outList to {}
repeat with i in pList
set j to contents of i
set j2 to repChar(j, "|", "") of me
–Parse String Into Words by Space
set aTmpStr to (NSString’s stringWithString:j2)
set wList to (aTmpStr’s componentsSeparatedByString:" ") as list
if wList contains {"a", "reference", "to", "current", "application’s"} then
–通常のクラス名の場合(クラス名以外のpropertyの場合もある)
set aTarg to contents of item 2 of wList
–property値がCocoa Classかどうかを判定
set fRes to searchClassInFrameworks(aTarg) of me
if fRes is not equal to false then
set the end of outList to aTarg
end if
end if
end repeat
return outList
end filterPropertySentenseWhetherCocoaOrNot
–指定クラスがいずれかのCocoa Frameworkに所属しているかを検索
on searchClassInFrameworks(aTarget)
set aClass to current application’s NSClassFromString(aTarget)
if aClass = missing value then return false
set theComponenents to (NSBundle’s bundleForClass:aClass)’s bundleURL’s pathComponents()
set thePred to NSPredicate’s predicateWithFormat:"pathExtension == ’framework’"
set aRes to (theComponenents’s filteredArrayUsingPredicate:thePred)’s firstObject() as list of string or string
return aRes
end searchClassInFrameworks
–指定Post IDのWordPress記事から、指定SchemeのURLを抽出し、AS Sourceをdecodeしてproperty行のみ抽出
on getASSouceLinkedInWordPressPost(postID, aScheme)
set {myUser, myPass} to getAcountData() of me
tell application "http://piyocast.com/as/xmlrpc.php"
set wRes to (call xmlrpc {method name:"wp.getPost", parameters:{"1", myUser, myPass, postID as string}})
end tell
set aBody to post_content of wRes –Blog本文
–記事中でリンクしているURLを取得し、指定のURL Schemeでフィルタする
set urlList to filterURLLinksByScheme(aBody, aScheme) of me
set propList to {}
repeat with i in urlList
set j to contents of i
set urlRec to parseQueryDictFromURLString(j) of me
set tmpScript to (urlRec’s |script|) as string –Get AppleScript Source
set tList to paragraphs of tmpScript
set pList to filterListUsingPredicate(tList, "SELF BEGINSWITH[c] %@", "property") –後方一致
set propList to propList & pList
end repeat
return propList
end getASSouceLinkedInWordPressPost
on filterListUsingPredicate(aList as list, aPredicateStr as string, targStr as string)
set setKey to current application’s NSMutableSet’s setWithArray:aList
set aPredicate to current application’s NSPredicate’s predicateWithFormat_(aPredicateStr, targStr)
set aRes to (setKey’s filteredSetUsingPredicate:aPredicate)
set bRes to aRes’s allObjects()
set cRes to bRes as {list, list of string or string}
return cRes
end filterListUsingPredicate
on parseQueryDictFromURLString(aURLStr as string)
if aURLStr = "" then error "No URL String"
set aURL to |NSURL|’s URLWithString:aURLStr
set aQuery to aURL’s query() –Get Query string part from URL
if aQuery’s |length|() = 0 then return false
set aDict to NSMutableDictionary’s alloc()’s init()
set aParamList to (aQuery’s componentsSeparatedByString:"&") as list
repeat with i in aParamList
set j to contents of i
if length of j > 0 then
set tmpStr to (NSString’s stringWithString:j)
set eList to (tmpStr’s componentsSeparatedByString:"=")
set anElement to (eList’s firstObject()’s stringByReplacingPercentEscapesUsingEncoding:(NSUTF8StringEncoding))
set aValStr to (eList’s lastObject()’s stringByReplacingPercentEscapesUsingEncoding:(NSUTF8StringEncoding))
(aDict’s setObject:aValStr forKey:anElement)
end if
end repeat
return aDict
end parseQueryDictFromURLString
–指定のHTML文字列から、Link URLを抽出し、schemeで再抽出する
on filterURLLinksByScheme(aBody, aScheme)
set conType to "text/html"
–HTML文字列をいったんNSDataにしているのは、HTMLReader.frameworkの仕様のため
set aData to (current application’s NSString’s stringWithString:aBody)’s dataUsingEncoding:(current application’s NSUTF8StringEncoding)
set aHTML to current application’s HTMLDocument’s documentWithData:aData contentTypeHeader:conType
set aTextArray to ((aHTML’s nodesMatchingSelector:"a")’s textContent) as list –リンク文字
set aLinkList to ((aHTML’s nodesMatchingSelector:"a")’s attributes’s valueForKeyPath:"href") as list –URL文字列
set outList to {}
repeat with i in aLinkList
set j to contents of i
if j begins with aScheme then
set the end of outList to j
end if
end repeat
return outList
end filterURLLinksByScheme
–文字置換
on repChar(origText as string, targChar as string, repChar as string)
set curDelim to AppleScript’s text item delimiters
set AppleScript’s text item delimiters to targChar
set tmpList to text items of origText
set AppleScript’s text item delimiters to repChar
set retText to tmpList as string
set AppleScript’s text item delimiters to curDelim
return retText
end repChar
on getAcountData()
return {"xxxxxxxx_xx", "XXXXXXXXXXXXXXXXXXXXXXXX"}
end getAcountData
|
|
★Click Here to Open This Script
|


