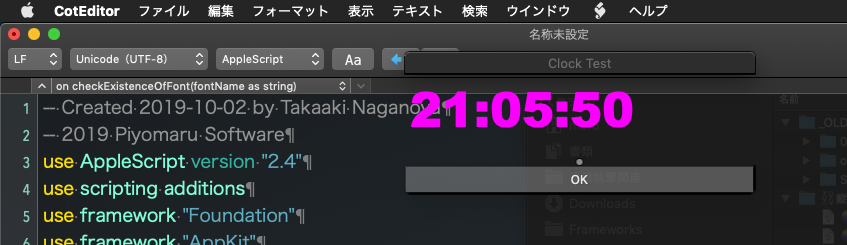
— Created 2018-09-26 by Takaaki Naganoya
— 2018 Piyomaru Software
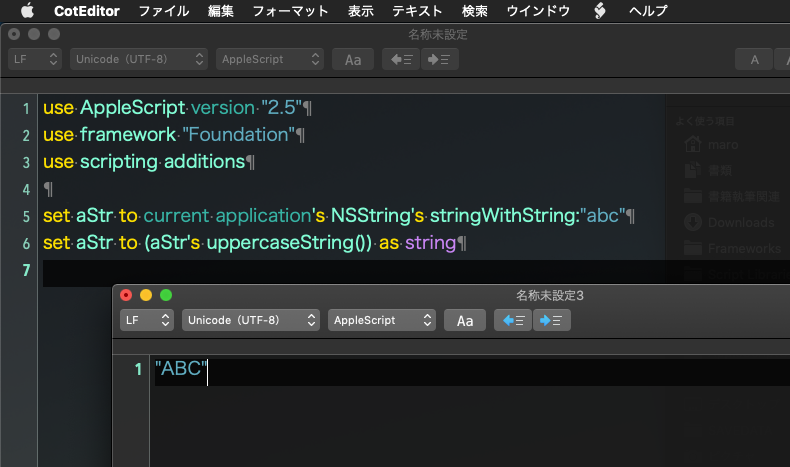
use AppleScript version "2.5" — El Capitan (10.11) or later
use framework "Foundation"
use scripting additions
use jParser : script "easyJParse"
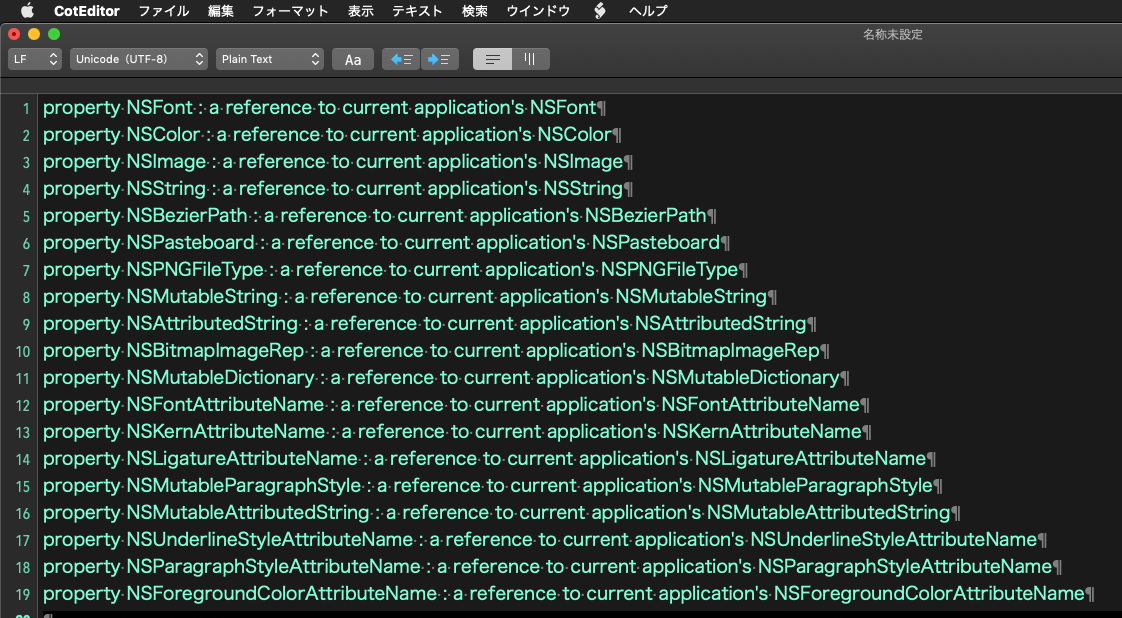
property NSArray : a reference to current application’s NSArray
property NSMutableSet : a reference to current application’s NSMutableSet
property NSSortDescriptor : a reference to current application’s NSSortDescriptor
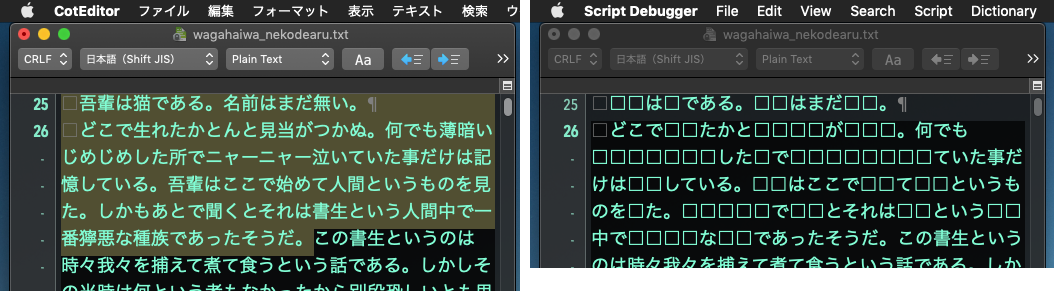
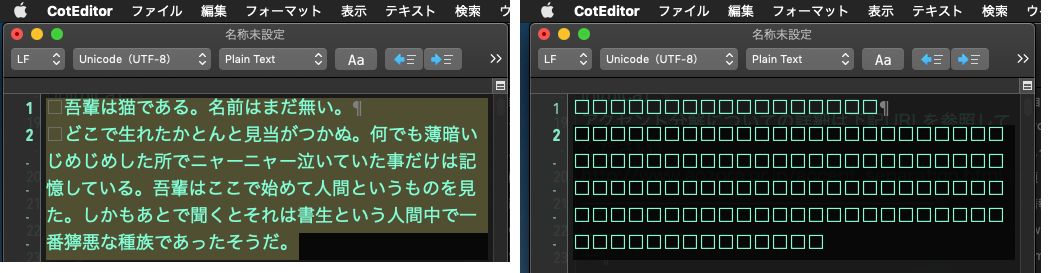
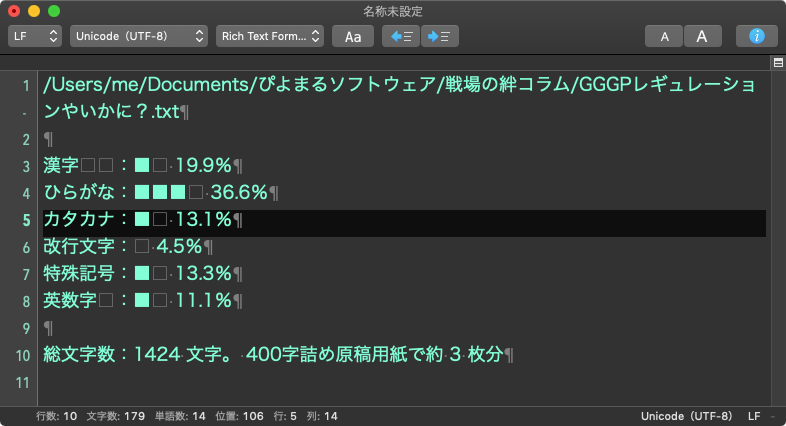
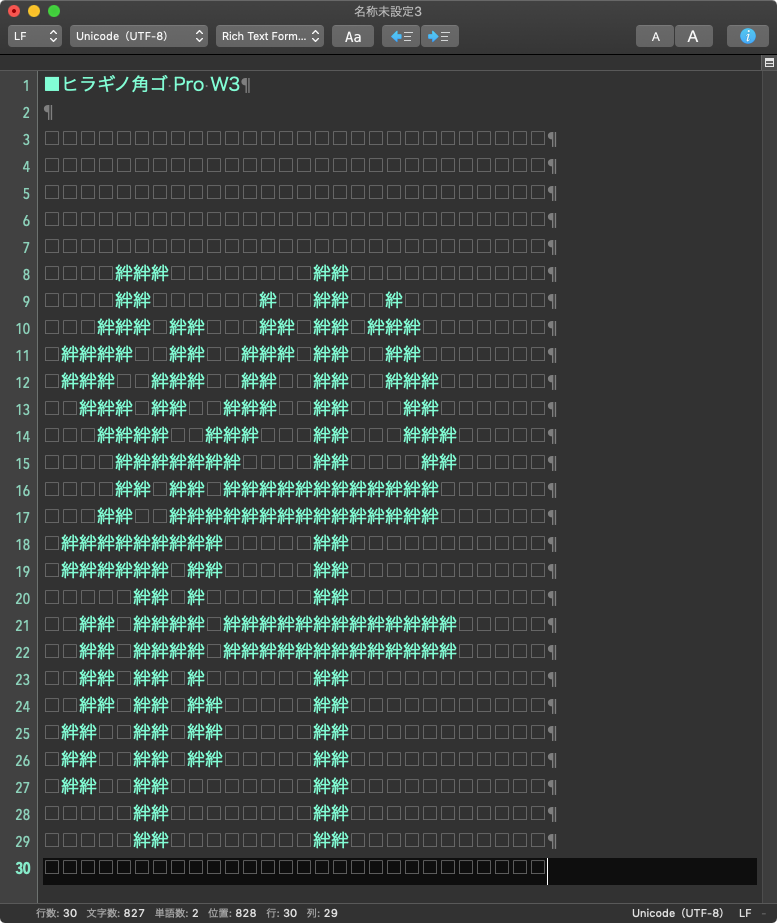
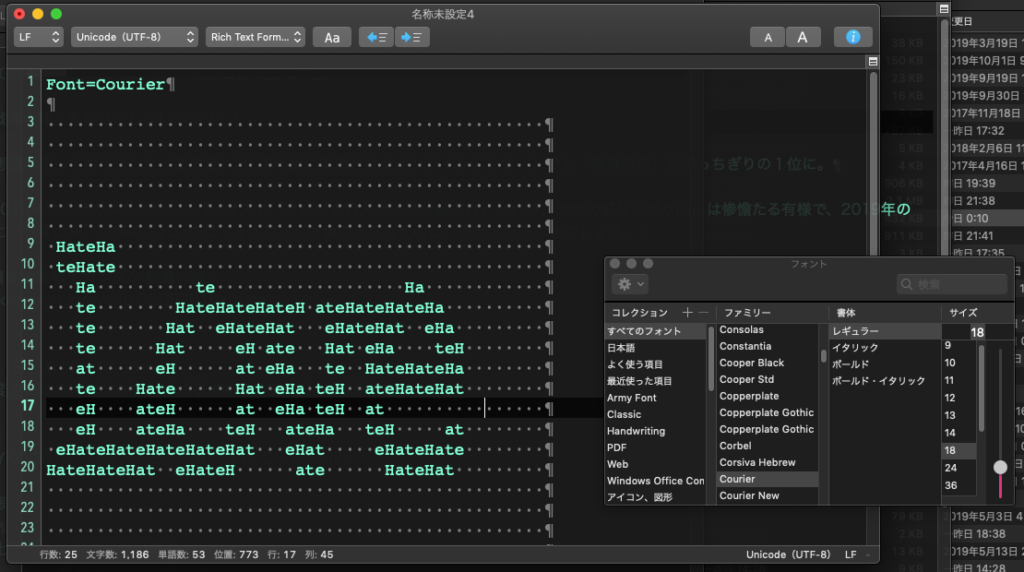
property fuesejiChar : "□"
script parseSPD
property pList : {}
property p2List : {}
property oneLine : {}
property outStr : ""
property minusList : {}
end script
–伏せ字化しない助詞などの単語リスト。名詞だけを残すように整備。単語(形態素)単位で照合する
set (minusList of parseSPD) to {"", " ", "ー", "あ", "で", "も", "に", "と", "の", "は", "へ", "さ", "が", "せ", "か", "た", "だ", "だっ", "ば", "つ", "な", "い", "き", "お", "ら", "る", "れ", "なっ", "それ", "これ", "あれ", "どれ", "この", "どの", "あの", "その", "まで", "こと", "もの", "いつ", "いく", "たち", "ただ", "たい", "そう", "いる", "よう", "れる", "ない", "なら", "なる", "なけれ", "から", "する", "たら", "たり", "だけ", "って", "られ", "的", "化", "いくら", "そんな", "どんな", "あんな", "者", "陰", "時", "事", "こんな", "つれ", "けど", "ああ", "ある", "あっ", "あり", "しかし", "きっと", "すっかり", "例えば", "たとえば", "さっぱり", "たとえ", "だろう", "かつ", "ところ", "まるで", "だが", "全て", "すべて", "なり", "いい", "つれ", "つけ", "ながら", "せいぜい", "そうそう", "さらに", "もっと", "まだ", "なく", "し", "を", "て", "いけ", "行く", "また", "まま", "まぁ", "『", "』", "、", "。", "。。", "……。", "【", "】", "「", "」", "(", ")", "最近", "今度", "中", "チカチカ", "グラグラ", "ふわふわ", "少し", "ついで", "より", "っぽい", "ぐらい", "何", "とき", "ため", "そっくり", "そして", "やがて", "じきに", "すぐ", "今", "次", "できる", "出来る", "いや", "そう", "おそらく", "いえ", "らしい", "とも", "ほぼ", "つい", "もう", "きっかけ", "ころ", "頃", "早々", "そこ", "どこ", "なんか", "じゃ", "くれ", "ください", "こそ", "あいつ", "だれ", "誰", "おぼしき", "らしき", "らしい", "しか", "でき", "よっ", "確か", "どう", "こう", "そう", "ああ", "くる", "ざま", "ごとく", "きれ", "はず", "さらに", "さらなる", "更なる", "など", "ごと", "とても", "たく", "いう", "とっ", "いっ", "えっ", "おっ", "ここ", "そこ", "どこ", "なかっ", "ごく", "やる", "ゆい", "ふと", "たび", "ほど", "もた", "よし", "ぜひ", "いら", "よい", "ま", "み", "む", "め", "も", "や", "けれど", "だけど", "したがっ", "すごく", "そもそも", "ほしい", "なれる", "すぎ", "もふもふ", "モフモフ", "さん", "おと", "とー", "えっと", "け", "っけ", "なん", "よ", "ね", "しっくり", "くれる", "くれた", "なぜ", "まあ", "まぁ", "ん", "なんて", "!」"}
set (pList of parseSPD) to {}
set (p2List of parseSPD) to {}
set (oneLine of parseSPD) to {}
set (outStr of parseSPD) to {}
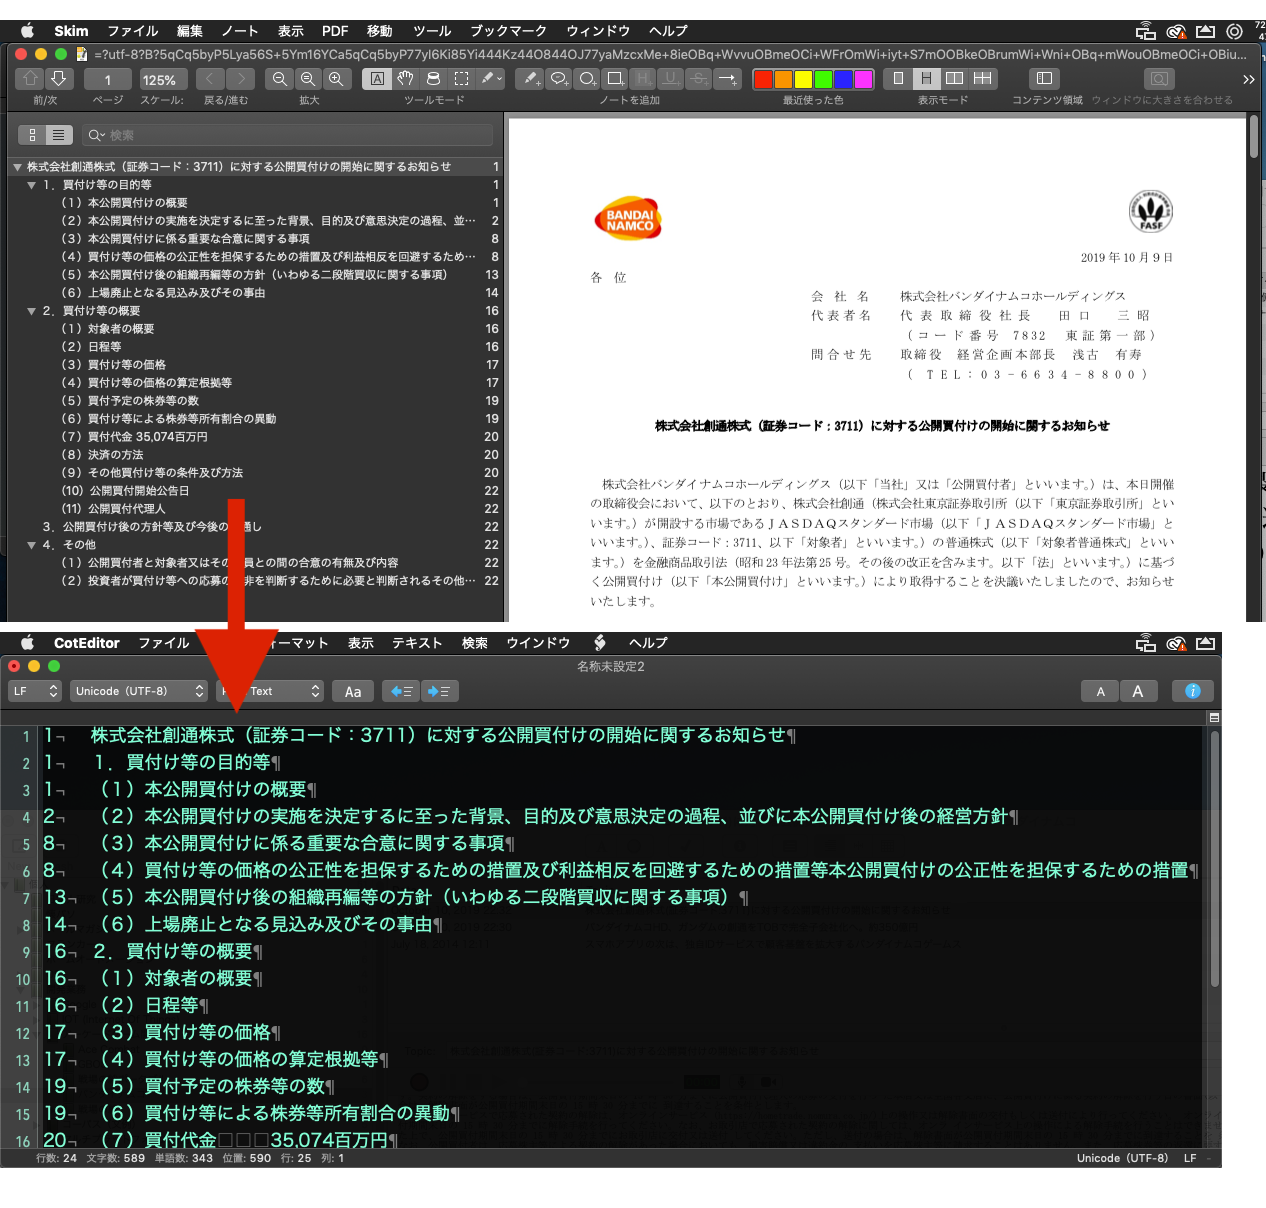
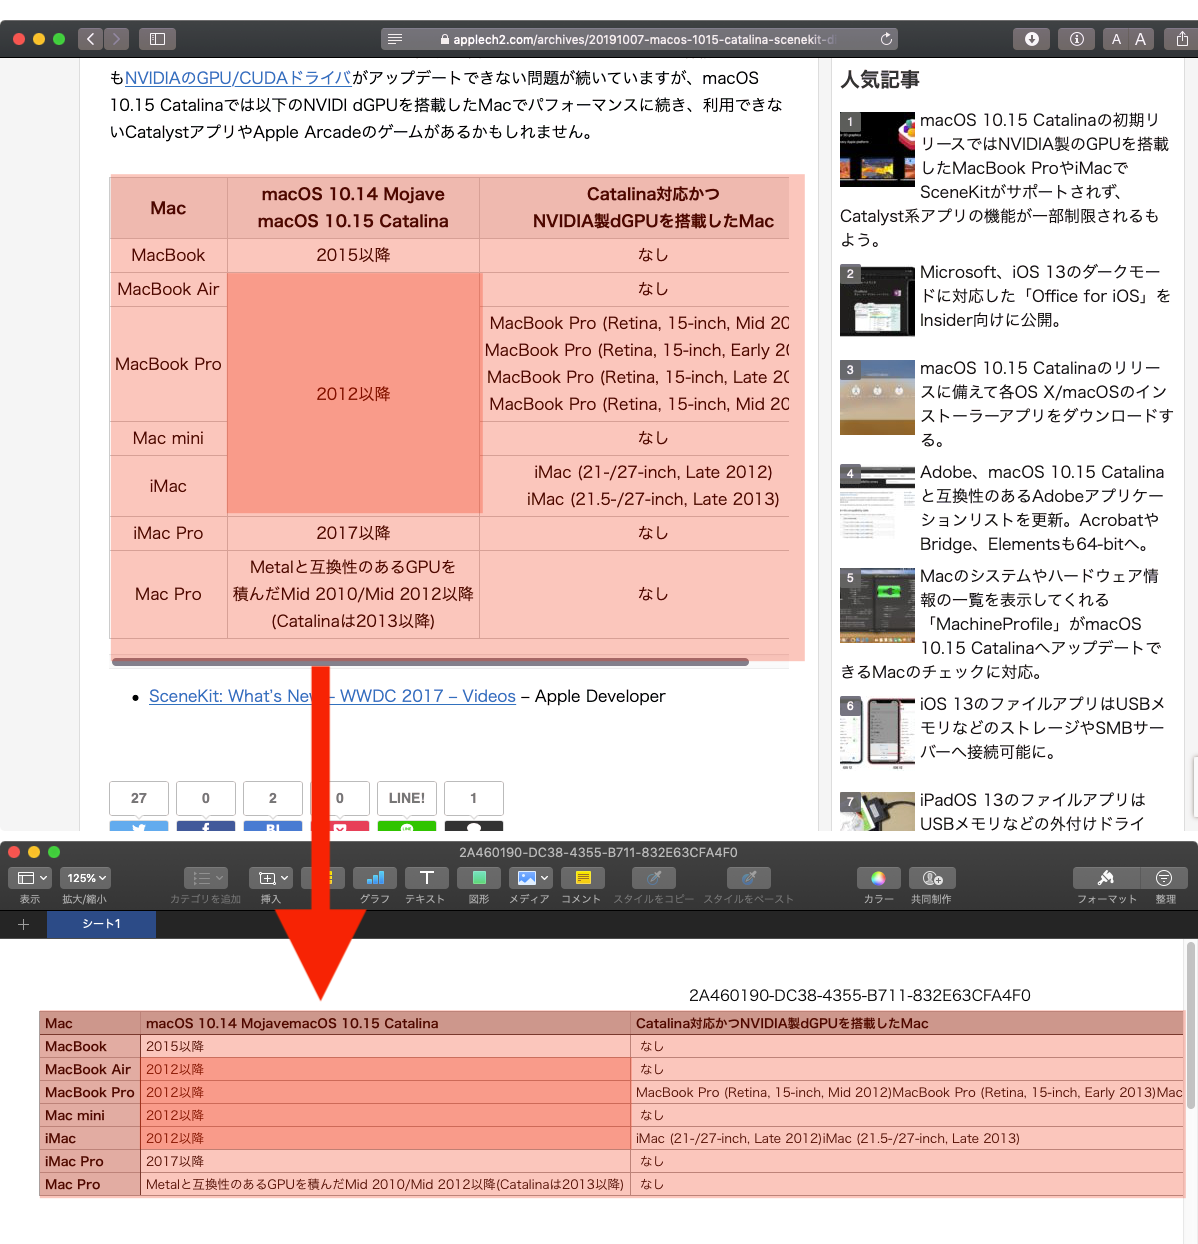
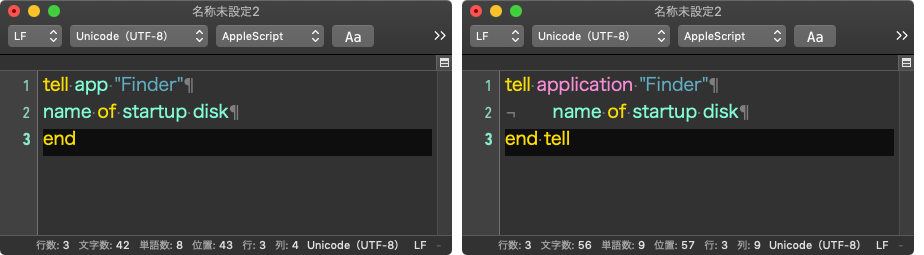
tell application "CotEditor"
tell front document
–選択部分が存在しているかどうかチェック
set aCon to contents of selection
if aCon = "" then return
set (pList of parseSPD) to paragraphs of aCon
end tell
end tell
–伏せ字にする対象単語を、助詞などを消し込むことでピックアップ
repeat with i in (pList of parseSPD)
if length of i > 1 then
–簡易形態素解析
set tempList to parseJ(i) of jParser
–簡易形態素解析したリストと助詞などのリストの差分を計算
set cList to clacListDiff(tempList, (minusList of parseSPD)) of me
set (oneLine of parseSPD) to {}
repeat with ii in tempList
set aLen to length of ii
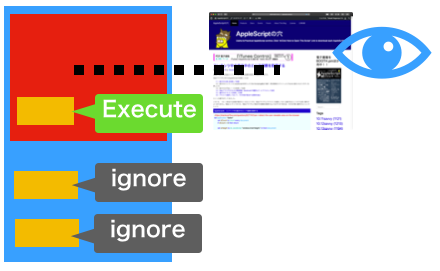
if ii is in cList then
–伏せ字化する場合
set bCon to multipleChar(fuesejiChar, aLen) of me
else
–そのまま出力する場合
set bCon to contents of ii
end if
set the end of (oneLine of parseSPD) to bCon
end repeat
–1つの文章ぶんの単語を連結
set cStr to retDelimedText((oneLine of parseSPD), "") of me
else
set cStr to ""
end if
set the end of (p2List of parseSPD) to cStr
end repeat
–すべての文章を連結して配列からテキストに
set (outStr of parseSPD) to retDelimedText((p2List of parseSPD), return) of me
tell application "CotEditor"
tell front document
set contents of selection to (outStr of parseSPD)
end tell
end tell
–指定文字を指定回数繰り返して連結して出力
on multipleChar(aChar as string, aLen as integer)
set aList to {}
repeat aLen times
set the end of aList to aChar
end repeat
return retDelimedText(aList, "") of me
end multipleChar
–1D Listを要素間に指定デリミタをはさんで文字列化
on retDelimedText(aList as list, aDelim as string)
set aText to ""
set curDelim to AppleScript’s text item delimiters
set AppleScript’s text item delimiters to aDelim
set aText to aList as text
set AppleScript’s text item delimiters to curDelim
return aText
end retDelimedText
–2つの1D Listの差分を計算
on clacListDiff(aList as list, bList as list)
set aSet to NSMutableSet’s setWithArray:aList
set bSet to NSMutableSet’s setWithArray:bList
aSet’s minusSet:bSet –補集合
set aRes to aSet’s allObjects() as list
return aRes
end clacListDiff
|