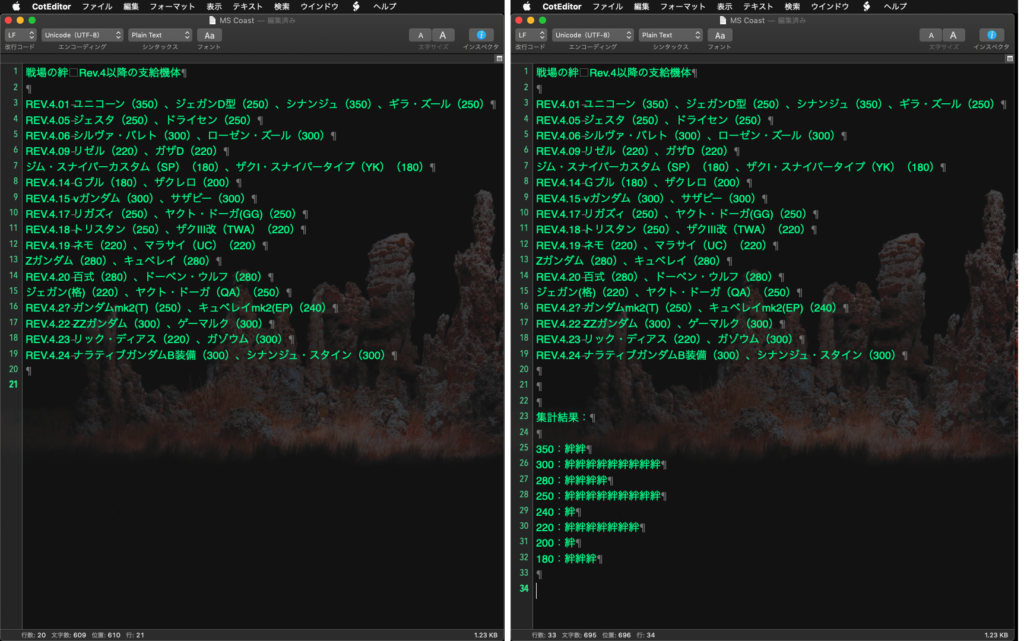
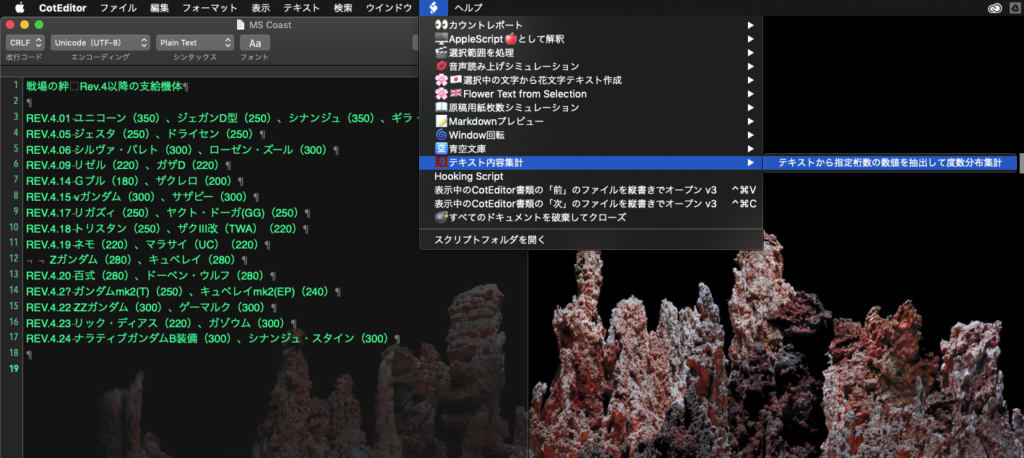
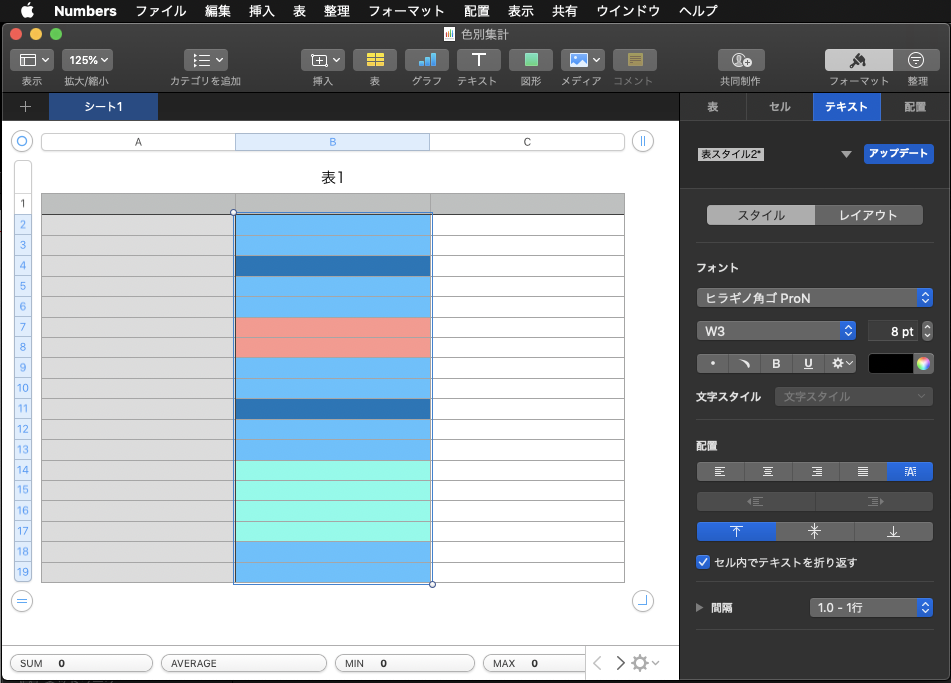
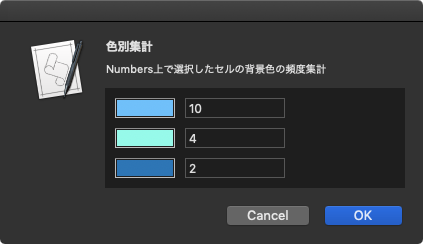
CotEditorで編集中の最前面の書類の本文中から指定桁の数値を抽出して登場回数で度数分布の集計を行うAppleScriptです。
初版では、集計対象の数値を桁数で指定するという(使うのに)無茶な仕様になっていたので、この頭の悪い仕様に作った本人もめまいがしていました。
わざわざAppleScriptを使うのは、他のどの環境でも追いつけない高度な処理を行うことに意義があると思っています。
そこで、
(1)数字部分をあらかじめ抽出して事前に集計(分布および最小値、最大値を計算)
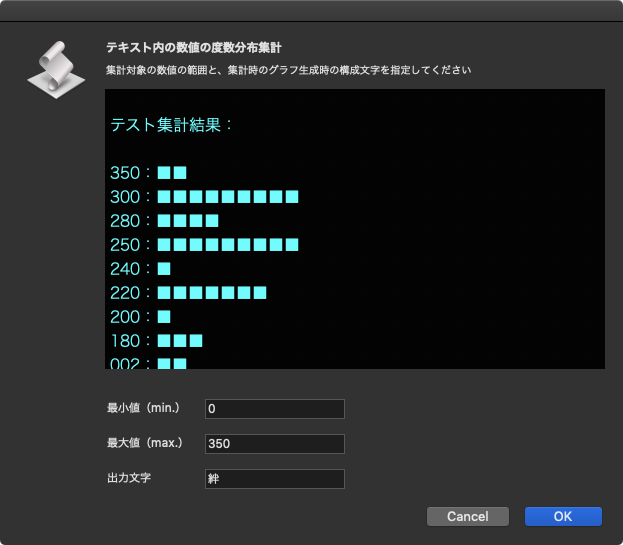
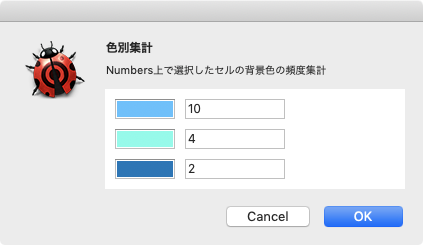
(2)事前集計結果をグラフ表示
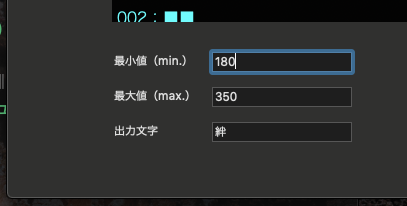
(3)集計対象の数字の範囲を最小値〜最大値までの間で指定できるように
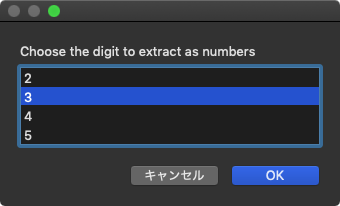
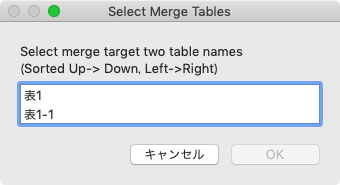
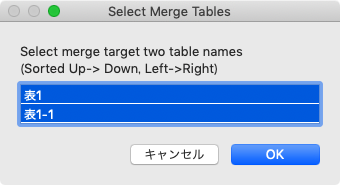
(4)パラメータの入力、および事前集計結果の表示を自前で作成したアラートダイアログで表示
といった変更を加えてみました。初版では「数字の桁数」というご無体な指定で数字を抽出していましたが、最初に最大値を計算しておいたことで、最大値の桁数ですべて数値を抽出し、最小値・最大値の間に収まる数値のみを抽出して度数分布を再計算しています(言うほど計算結果が変わってきたりはしないんですけど ^ー^;;)。
このぐらい行えば、安心して見られる感じでしょうか。
追記:
4.11といった文字が「4」と「11」に分離して認識されるようだったので数値として認識するCharacter setに「.」(小数点)および「,」(桁数区切り)を追加してみました。想定していた部分はうまくクリアしたものの、「REV.」の部分の「.」も認識して「0.411」のような数値として認識したようです。
このあたりに課題を残しつつも、全体として見ると当初からノイズとして除去する対象として考えていた箇所でもあったため、そんなもんだろうかと。
アラートダイアログに表示するテスト集計結果の文字が小さかったので、少し大きくしてみました。フォントについては「ヒラギノ角ゴシック W1」(PostScript名は「HiraginoSans-W1」)を指定しています。このあたりは好みに応じて変更してみるとよいでしょう。
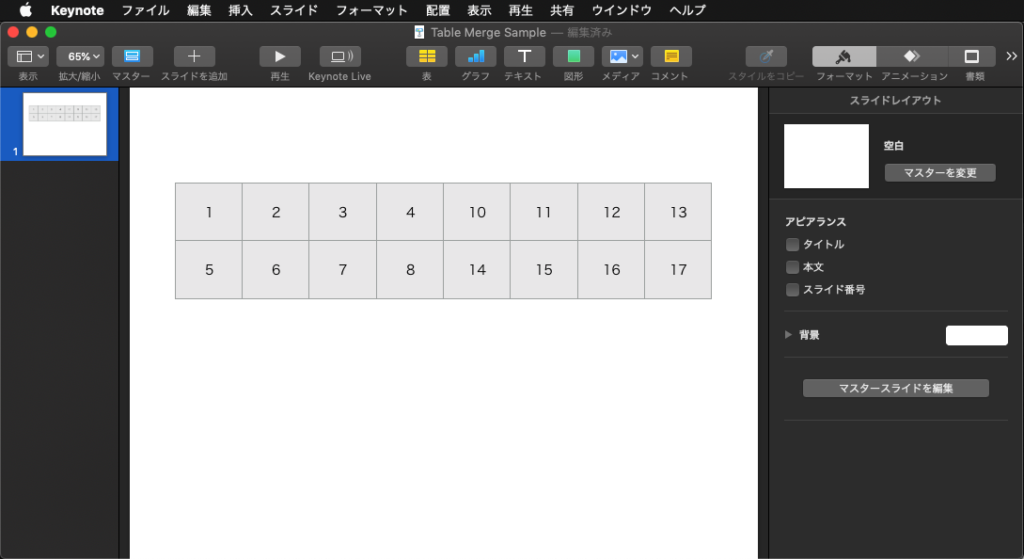
巨大なテキスト(青空文庫の小説1作文まるごととか)を対象に処理していないので(画面キャプチャ掲載している程度のサイズ)そういう配慮は行っていません。仕事だと考慮しないでもないですが、必要と思われた処理をとりあえず組んでみた程度なので、そういうものだとお考えください。
–> Download Applet With Libraries (mainly for macOS 10.14 or later)
| AppleScript名:テキストから数値を抽出して度数分布集計 v3.1 |
| — Created 2019-06-29 by Takaaki Naganoya — 2019 Piyomaru Software use AppleScript version "2.5" use scripting additions use framework "Foundation" use framework "AppKit" use bPlus : script "BridgePlus" –https://www.macosxautomation.com/applescript/apps/BridgePlus.html property NSView : a reference to current application’s NSView property NSAlert : a reference to current application’s NSAlert property NSColor : a reference to current application’s NSColor property NSTextField : a reference to current application’s NSTextField property NSTextView : a reference to current application’s NSTextView property NSScrollView : a reference to current application’s NSScrollView property NSRunningApplication : a reference to current application’s NSRunningApplication –property theResult : 0 property returnCode : 0 property segRes : missing value set segRes to missing value tell application "CotEditor" if (count every document) = 0 then return –No Document tell front document set aText to contents of it set lineTerm to (line ending) end tell –改行コードの選択(ドキュメントの状態から取得) if lineTerm = LF then set aRet to ASCII character 10 –To avoid keyword conflict (string) else if lineTerm = CR then set aRet to ASCII character 13 else if lineTerm = CRLF then set aRet to (ASCII character 13) & (ASCII character 10) else set aRet to ASCII character 10 end if end tell –事前にテキストから自動で数値部分を抽出して分析 set cArray to extractNumberFromText(aText) of me set aRes to (cArray’s valueForKeyPath:"@max.self")’s intValue() set bRes to (cArray’s valueForKeyPath:"@min.self")’s intValue() set cRes to (cArray’s valueForKeyPath:"@count")’s intValue() –事前に数字の分布シミュレーションを計算 set tmpLen to count every character of (aRes as string) set theList to my findPattern:("[0-9]{" & tmpLen & "}") inString:aText set sampleStr to calculateNumFreq(cArray, "■", aRet, bRes, aRes, true) of me set sampleStr to return & return & "テスト集計結果:" & return & return & sampleStr –テキストからの数値抽出時のパラメータ取得 set paramObj to {myMessage:"テキスト内の数値の度数分布集計", mySubMessage:"集計対象の数値の範囲と、集計時のグラフ生成時の構成文字を指定してください", mes1:"最小値(min.)", mes1Default:(bRes as string), mes2:"最大値(max.)", mes2Default:(aRes as string), mes3:"出力文字", mes3Default:"絆", aSample:sampleStr} –set segRes to my inputParametersFromAlertDialog:paramObj–for debugging my performSelectorOnMainThread:"inputParametersFromAlertDialog:" withObject:(paramObj) waitUntilDone:true if segRes = missing value then return –Cancel –度数分布計算 set tmpLen to count every character of ((a2Res of segRes) as string) set theList to my findPattern:("[0-9]{" & tmpLen & "}") inString:aText set outStr to calculateNumFreq(cArray, a3Res of segRes, aRet, a1Res of segRes, a2Res of segRes, false) of me –テキストエディタへの集計結果出力 tell application "CotEditor" tell front document set contents of it to (aText & aRet & aRet & "集計結果:" & aRet & aRet & outStr & aRet) end tell end tell on inputParametersFromAlertDialog:paramObj –Receive Parameters set aMainMes to (myMessage of paramObj) as string –Main Message set aSubMes to (mySubMessage of paramObj) as string –Sub Message set mes1Label to (mes1 of paramObj) as string –Text Input field 1 Label set mes2Label to (mes2 of paramObj) as string –Text Input field 2 Label set mes3Label to (mes3 of paramObj) as string –Text Input field 3 Label set aTextInputString to (mes1Default of paramObj) as string –Text Input field 1 Default value set bTextInputString to (mes2Default of paramObj) as string –Text Input field 2 Default value set cTextInputString to (mes3Default of paramObj) as string –Text Input field 2 Default value set sampleString to (aSample of paramObj) as string — Create a view set theView to NSView’s alloc()’s initWithFrame:(current application’s NSMakeRect(0, 0, 500, 400)) — create two input field and their labels pairs –NSTextFields for Input set aTextInput to makeNSTextField(100, 70, 140, 20, true, (aTextInputString), true, true) of me set bTextInput to makeNSTextField(100, 35, 140, 20, true, (bTextInputString), true, true) of me set cTextInput to makeNSTextField(100, 0, 140, 20, true, (cTextInputString), true, true) of me –Labels set a1TF to makeNSTextField(0, 70, 100, 20, false, (mes1Label), false, false) of me set a2TF to makeNSTextField(0, 35, 100, 20, false, (mes2Label), false, false) of me set a3TF to makeNSTextField(0, 0, 100, 20, false, (mes3Label), false, false) of me –Sample Text View set aColor to NSColor’s colorWithDeviceRed:0.0 green:0.0 blue:0.0 alpha:0.9 set tvScroll to NSScrollView’s alloc()’s initWithFrame:(current application’s NSMakeRect(0, 120, 500, 300)) set tvView to NSTextView’s alloc()’s initWithFrame:(current application’s NSMakeRect(0, 120, 500, 380)) tvView’s setRichText:true tvView’s useAllLigatures:true tvView’s setTextColor:(NSColor’s cyanColor()) — tvView’s setFont:(current application’s NSFont’s fontWithName:"HiraginoSans-W1" |size|:16.0) tvView’s setBackgroundColor:aColor tvView’s setEditable:false tvScroll’s setDocumentView:tvView tvView’s enclosingScrollView()’s setHasVerticalScroller:true tvView’s setString:(sampleString) theView’s setSubviews:{a1TF, aTextInput, a2TF, bTextInput, a3TF, cTextInput, tvScroll} — set up alert set theAlert to NSAlert’s alloc()’s init() tell theAlert its setMessageText:aMainMes its setInformativeText:aSubMes its addButtonWithTitle:"OK" its addButtonWithTitle:"Cancel" its setAccessoryView:theView end tell — show alert in modal loop NSRunningApplication’s currentApplication()’s activateWithOptions:0 my performSelectorOnMainThread:"doModal:" withObject:(theAlert) waitUntilDone:true if (my returnCode as number) = 1001 then set my segRes to missing value else set s1Val to (aTextInput’s integerValue()) as integer set s2Val to (bTextInput’s integerValue()) as integer set s3Val to (cTextInput’s stringValue()) as string –return {a1Res:s1Val, a2Res:s2Val, a3Res:s3Val}–old version’s way to return values set my segRes to {a1Res:s1Val, a2Res:s2Val, a3Res:s3Val} end if end inputParametersFromAlertDialog: on doModal:aParam set (my returnCode) to aParam’s runModal() end doModal: on makeNSTextField(xPos as integer, yPos as integer, myWidth as integer, myHeight as integer, editableF as boolean, setVal as string, backgroundF as boolean, borderedF as boolean) set aNSString to NSTextField’s alloc()’s initWithFrame:(current application’s NSMakeRect(xPos, yPos, myWidth, myHeight)) aNSString’s setEditable:(editableF) aNSString’s setStringValue:(setVal) aNSString’s setDrawsBackground:(backgroundF) aNSString’s setBordered:(borderedF) return aNSString end makeNSTextField –与えられたテキストから数値部分を抽出して1D Arrayで返す on extractNumberFromText(aText) set aStr to current application’s NSString’s stringWithString:aText –set nonDigitCharacterSet to (current application’s NSCharacterSet’s decimalDigitCharacterSet())’s invertedSet() set nonDigitCharacterSet to (current application’s NSCharacterSet’s characterSetWithCharactersInString:"0123456789.,")’s invertedSet() set bArray to (aStr’s componentsSeparatedByCharactersInSet:nonDigitCharacterSet) –Sweep Blank Items load framework –BridgePlus set cArray to (current application’s SMSForder’s arrayByDeletingBlanksIn:(bArray))’s valueForKey:"intValue" return cArray –return as NSArray end extractNumberFromText –正規表現でテキスト中から指定パターンに該当する箇所を抽出してリストで返す on findPattern:thePattern inString:theString set theOptions to ((current application’s NSRegularExpressionDotMatchesLineSeparators) as integer) + ((current application’s NSRegularExpressionAnchorsMatchLines) as integer) set theRegEx to current application’s NSRegularExpression’s regularExpressionWithPattern:thePattern options:theOptions |error|:(missing value) set theFinds to theRegEx’s matchesInString:theString options:0 range:{location:0, |length|:length of theString} set theFinds to theFinds as list — so we can loop through set theResult to {} — we will add to this set theNSString to current application’s NSString’s stringWithString:theString repeat with i from 1 to count of items of theFinds set theRange to (item i of theFinds)’s range() set end of theResult to (theNSString’s substringWithRange:theRange) as integer end repeat return theResult end findPattern:inString: –1D Listをユニーク化してソート on uniquifyAndSort1DList(theList as list, aBool as boolean) set aArray to current application’s NSArray’s arrayWithArray:theList set bArray to aArray’s valueForKeyPath:"@distinctUnionOfObjects.self" set aDdesc to current application’s NSSortDescriptor’s sortDescriptorWithKey:"self" ascending:aBool selector:"compare:" set cArray to bArray’s sortedArrayUsingDescriptors:{aDdesc} set bList to cArray as list return bList end uniquifyAndSort1DList –度数分布集計して文字グラフ出力 on calculateNumFreq(theList, outChar, aLineTerminator, aMin, aMax, zeroPaddingF) set theCountedSet to current application’s NSCountedSet’s alloc()’s initWithArray:theList set newArray to current application’s NSMutableArray’s new() set kList to uniquifyAndSort1DList(theList, false) of me –降順ソート set maxDigit to (count every character of (aMax as string)) repeat with i in kList if (i ≥ aMin) and (i ≤ aMax) then (newArray’s addObject:{theKey:i, theCount:(theCountedSet’s countForObject:i)}) end if end repeat set outStr to "" repeat with i in newArray as list set j to (current application’s NSDictionary’s dictionaryWithDictionary:i) set tmpStr to (j’s valueForKey:"theKey") if zeroPaddingF = true then –Zero Pagging set keyNumStr to numToZeroPaddingStr(tmpStr, maxDigit, "0") of me else –No Padding copy (tmpStr as string) to keyNumStr end if set outStr to outStr & keyNumStr & ":" set aNum to (j’s valueForKey:"theCount") repeat aNum times set outStr to outStr & outChar end repeat set outStr to outStr & aLineTerminator end repeat end calculateNumFreq –整数の値に指定桁数ゼロパディングして文字列で返す on numToZeroPaddingStr(aNum as integer, aDigit as integer, paddingChar as text) set aNumForm to current application’s NSNumberFormatter’s alloc()’s init() aNumForm’s setPaddingPosition:(current application’s NSNumberFormatterPadBeforePrefix) aNumForm’s setPaddingCharacter:paddingChar aNumForm’s setMinimumIntegerDigits:aDigit set bNum to current application’s NSNumber’s numberWithInt:aNum set aStr to aNumForm’s stringFromNumber:bNum return aStr as text end numToZeroPaddingStr |


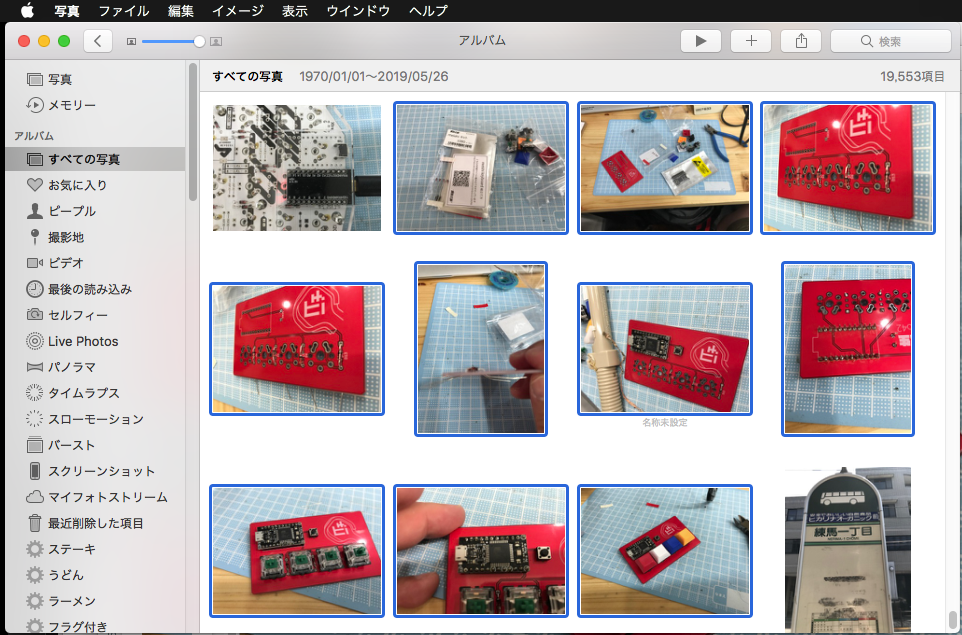
 Photoshop CCで画像ファイル/PDFをオープンするAppleScriptです。


