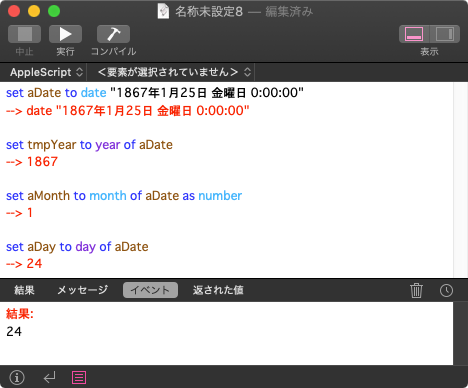
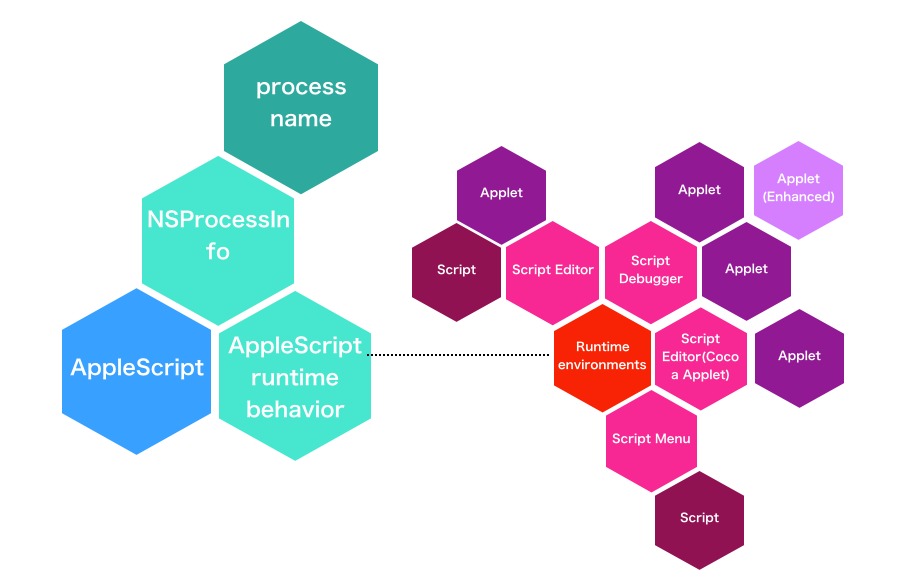
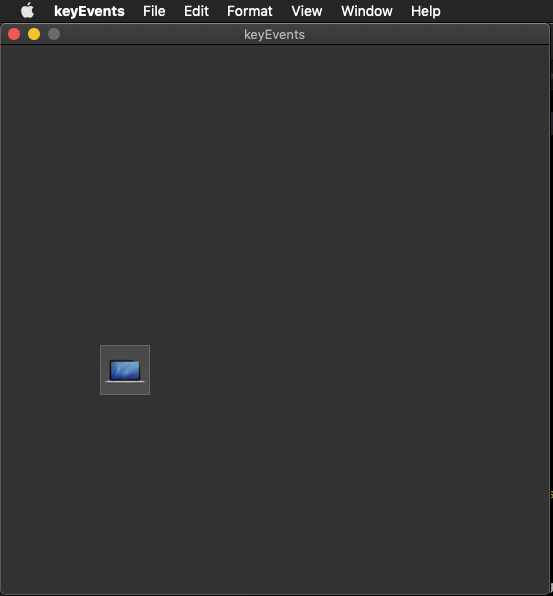
Xcode上で作成するAppleScript Cocoa Applicationで、キースキャンを試してみました。
ふだん作っているものだと、各種パラメータをGUI上で設定する程度のもので、キースキャンを行う必要などこれっぽっちもないのですが、いま作っているアプリケーションでキースキャンが必要になってしまったので、昔作ったものを引っ張り出してきました。
AppleScriptのプログラムでキースキャンを行うといえば、AppleScript Appletの起動時に何らかのModifier Keys(ShiftとかOptionとかCommandとかControlとか)が押されていることを検出して動作を変更するといった処理が一般的です。ループ処理中でも、これらのキー入力を定期的に監視することはよく行なっています(処理中に停止したいという要求はあるので)。
–> Download Xcode Project Archive
本プログラムでは、Modifier Keysにかぎらずキーボード入力全般を受け付けています。ただし、キースキャン可能なのは本プログラムが最前面にある場合のみです。
掲載しているコードからではわかりませんが、キー入力の受け付けをNSWindowで行なっています。FirstResponderまわりを一切いじくらずにほぼプログラミングなしでキー受け付けを行おうとした結果NSWindowで行うことになったというわけで、これがベストとも思いません。
とりあえず「こうすればできた」というレベルをおさえておいて、そこから自分の好きな方向に機能を変更していけばよいと思います。
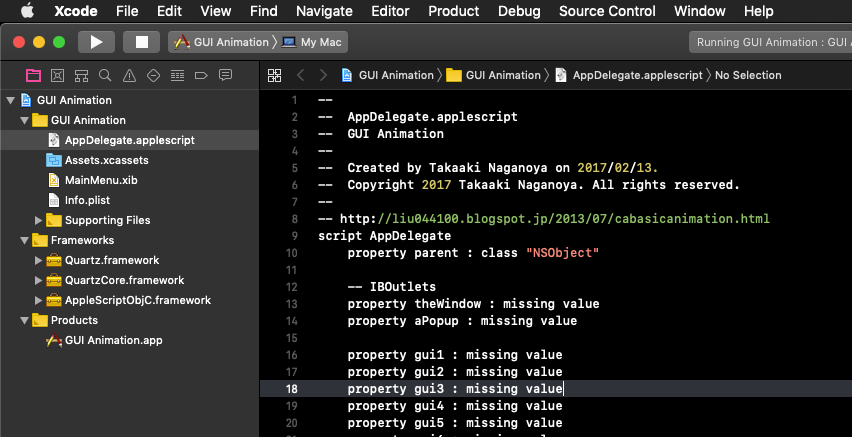
| AppleScript名:AppDelegate.applescript |
| — — AppDelegate.applescript — keyEvents — — Created by Takaaki Naganoya on 2014/05/09. — Copyright (c) 2014年 Takaaki Naganoya. All rights reserved. — script AppDelegate property parent : class "NSObject" — IBOutlets property theWindow : missing value property aButton : missing value property xMax : 500 property yMax : 500 property aStep : 50 on applicationWillFinishLaunching:aNotification — end applicationWillFinishLaunching: on applicationShouldTerminate:sender return current application’s NSTerminateNow end applicationShouldTerminate: on buttonMove:(aCode as integer) set curFrame to aButton’s frame() copy curFrame to {{x, y}, {xWidth, yHeight}} if aCode = 123 then –Left if x > 0 then set x to x – aStep end if else if aCode = 124 then –Right if x < xMax then set x to x + aStep end if else if aCode = 126 then –Up if y < yMax then set y to y + aStep end if else if aCode = 125 then –Down if y > 10 then set y to y – aStep end if else if aCode = 125 then end if set newRect to {{x, y}, {xWidth, yHeight}} aButton’s setFrame:newRect aButton’s setNeedsDisplay() end buttonMove: end script |
| AppleScript名:keyEventWin.applescript |
| script keyEvWin property parent : class "NSWindow" property aButton : missing value on canBecomeKeyWindow:sender return true end canBecomeKeyWindow: on canBecomeMainWindow:sender return true end canBecomeMainWindow: on keyDown:theEvent set aCode to (theEvent’s keyCode) as integer if aCode = 123 then –左 current application’s NSApp’s delegate()’s performSelector:"buttonMove:" withObject:(aCode) else if aCode = 124 then –右 current application’s NSApp’s delegate()’s performSelector:"buttonMove:" withObject:(aCode) else if aCode = 126 then –上 current application’s NSApp’s delegate()’s performSelector:"buttonMove:" withObject:(aCode) else if aCode = 125 then –下 current application’s NSApp’s delegate()’s performSelector:"buttonMove:" withObject:(aCode) end if end keyDown: end script |