きわめて珍しいパターンのバグに遭遇しました。自分の手元のmacOS 15.5Beta2環境(Apple Silicon Mac x 2)では再現率100%です(FB17285323)。再起動しても再現し、日本語環境で発生する一方で英語環境では発生しません。日本語環境であればJXAでも同様の現象の発生を確認しています。
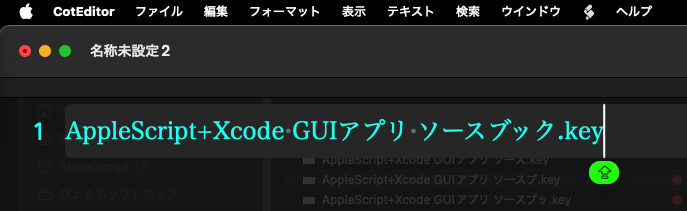
「AppleScript+Xcode GUIアプリ ソースブック.key」
というファイル名のKeynote書類を、macOS 15.5β(日本語ユーザー環境)+Keynote v14.4で編集。このKeynote書類のボツスライドの移動用の「没.key」という書類をもとの書類の同階層に同じスタイルで作成するAppleScriptをスクリプトメニューから実行したところ、これがクラッシュ。
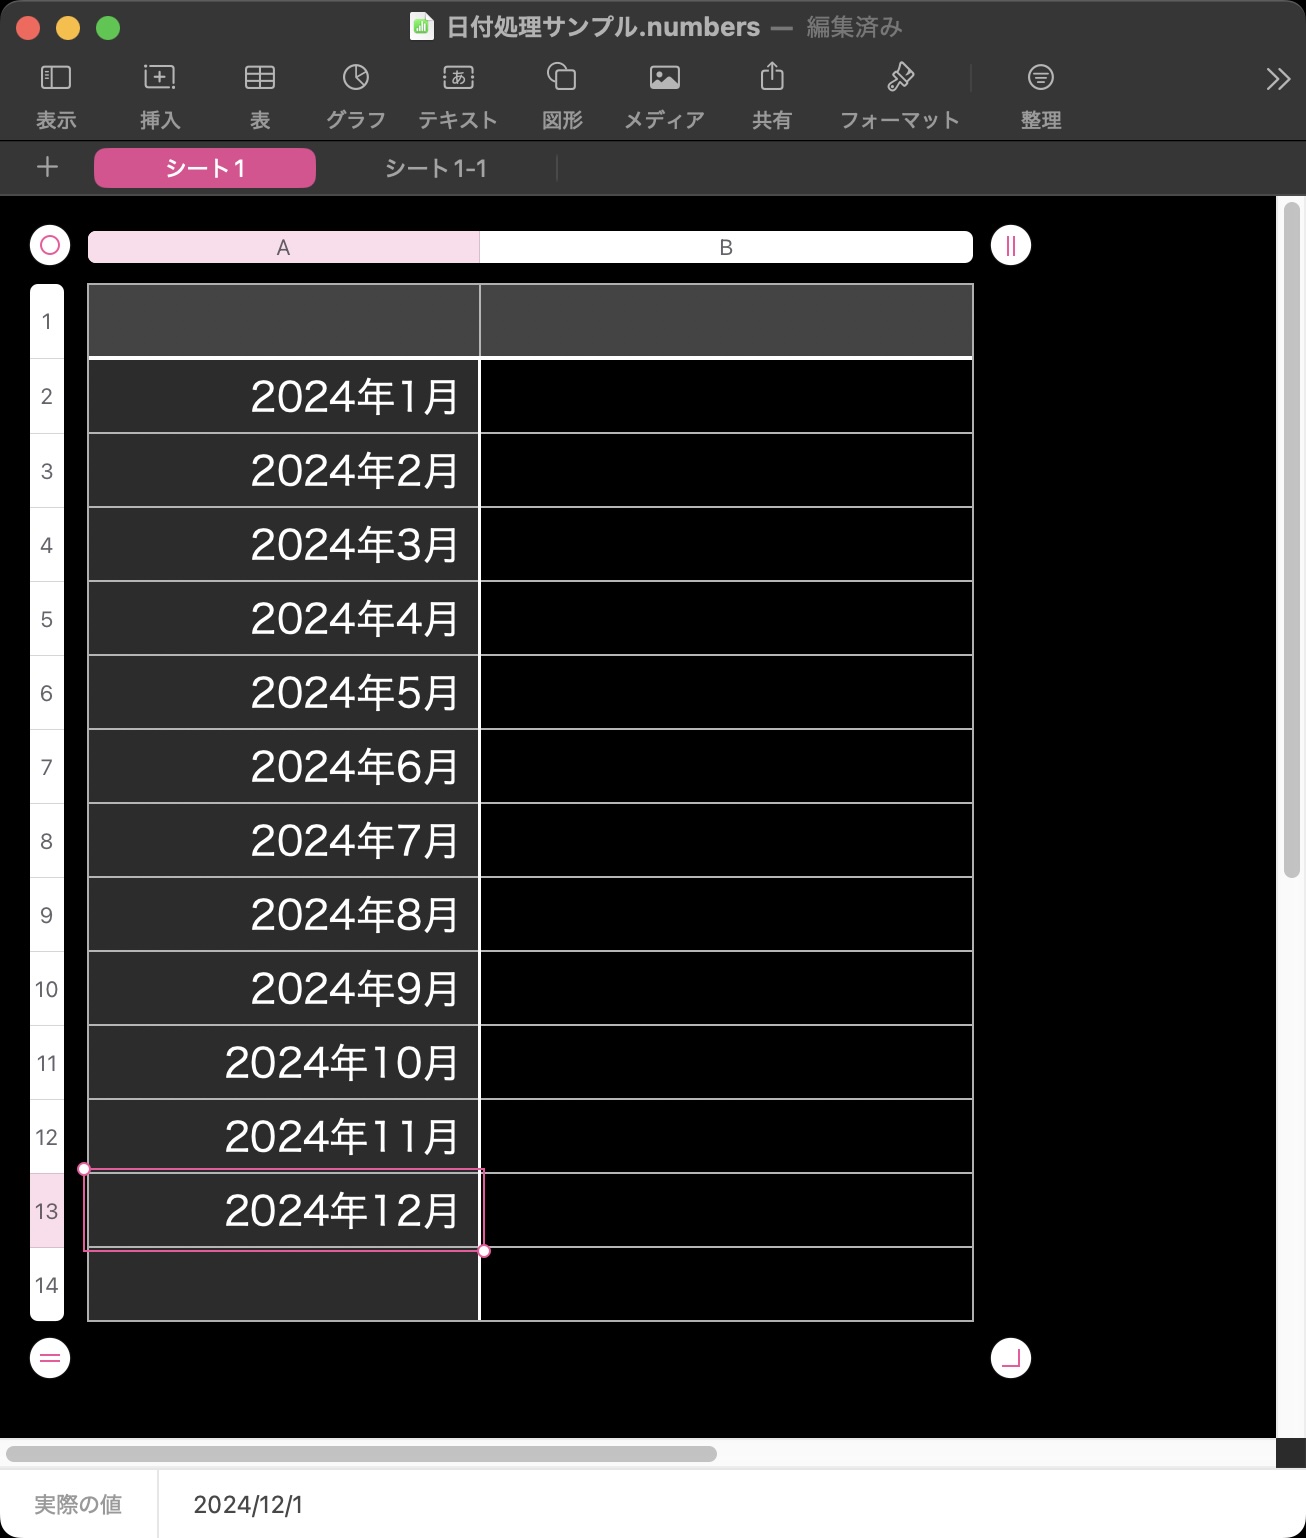
ねんのために、PagesとNumbersでも同様のテストを行なったところ、予想どおり100%クラッシュ。
これまでのmacOSでは遭遇したことのない現象だったので、原因を深掘り。
最終的に、Keynote/Pages/Numbers v14.4の書類からファイルパス(file)を取得し、そのfileをaliasにcastするとクラッシュするということが分かりました。
追記:Pixelmator Pro、CotEditorでも同様のファイル名に対して処理を行うとクラッシュすることが確認されました。
さらに追記:クラッシュを起こすパターンのファイルをchoose fileして、フルパスをstringにcastし、さらにaliasにcastするとアプリ操作に関係なくクラッシュすることが判明
さらに、ファイル名を短くしたり一部を取り出したりすることで、同様のクラッシュが発生するかどうかを調べてみたところ、
AppleScript+Xcode GUIアプリ ソースブ.key

AppleScript+Xcode GUIアプリ ソースブッ.key

AppleScript+Xcode GUIアプリ ソースブック.key

AAAAAAAA+XXXX GUIアプリ ソースブック.key

XXXXXXXX+XXXX XXXアプリ ソースブック.key

XXXXXXXX_XXXX XXXアプリ ソースブック.key

XXXXXXXX-XXXX XXXアプリ ソースブック.key

XXXXXXXX&XXXX XXXアプリ ソースブック.key

XXXXXXXX+XXXX GUIアプリ ソースブック.key

XXXXXXXX=XXXX XXXアプリ ソースブック.key
のパターンで、以下のAppleScriptを実行すると100%クラッシュが発生。スクリプトエディタでもScript Debuggerでもスクリプトメニューでも100%クラッシュ(実行プログラムのクラッシュ)します。
逆に、
AppleScript+Xcode GUIア.key

AppleScript+Xcode GUIアプ.key

AppleScript+Xcode GUIアプリ.key

AppleScript+Xcode GUIアプリ ソース.key

AppleScript+XCODE GUアプリ ソースブック.key

GUIアプリ ソースブックのコピー.key
ではクラッシュが発生しません(なんでや?)。
なんでこの組み合わせでクラッシュが発生するのか、macOS 10.12の時代に発生していた「日本語IMからのファイル名の入力時に余計なUnicode文字が入ることで、ファイル処理できなくなるバグ」の再現かと考え、このファイル名をテキストエディタにコピー&ペーストで表示させたものの、
とくに謎のゴミ文字が入力されているということはないようです。
ちなみに、「AppleScript+Xcode GUIアプリ ソースブック」は企画検討中の電子書籍です。
| AppleScript名:Crash Test Script_Keynote.scpt |
—
– Created by: Takaaki Naganoya
– Created on: 2025/04/19
—
– Copyright © 2025 Piyomaru Software, All Rights Reserved
—
tell application "Keynote"
tell front document
set curFile to (file of it)
end tell
end tell
set curFile to curFile as alias
|
|
★Click Here to Open This Script
|
| AppleScript名:Crash Test Script_PAGES.scpt |
—
– Created by: Takaaki Naganoya
– Created on: 2025/04/19
—
– Copyright © 2025 Piyomaru Software, All Rights Reserved
—
tell application "Pages"
tell front document
set curFile to (file of it)
end tell
end tell
set curFile to curFile as alias
|
|
★Click Here to Open This Script
|
| AppleScript名:Crash Test Script_Numbers.scpt |
—
– Created by: Takaaki Naganoya
– Created on: 2025/04/19
—
– Copyright © 2025 Piyomaru Software, All Rights Reserved
—
tell application "Numbers"
tell front document
set curFile to (file of it)
end tell
end tell
set curFile to curFile as alias
|
|
★Click Here to Open This Script
|
| AppleScript名:Crash Test Script_Pixelmator Pro.scpt |
—
– Created by: Takaaki Naganoya
– Created on: 2025/04/19
—
– Copyright © 2025 Piyomaru Software, All Rights Reserved
—
tell application "Pixelmator Pro"
tell front document
set curFile to (file of it)
end tell
end tell
set curFile to curFile as alias
|
|
★Click Here to Open This Script
|
| AppleScript名:Crash Test Script_CotEditor.scpt |
—
– Created by: Takaaki Naganoya
– Created on: 2025/04/19
—
– Copyright © 2025 Piyomaru Software, All Rights Reserved
—
tell application "CotEditor"
tell front document
set curFile to (file of it)
end tell
end tell
set curFile to curFile as alias
|
|
★Click Here to Open This Script
|