macOS 26.0のリリース日が公開されそうなので、AppleScriptの歴史年表について書いておきます。
各種電子書籍に掲載している内容ですが、一般にも共有できていたほうがメリットが多そうなので公開しておきます。
マイナーバージョンで発生したバグの件については、すべて掲載できていません。ファイル書き込み時の文字エンコーディングが狂うとか、OSのバージョン番号をまともに返してこないとか。
Mac OS X 10.0(AppleScript v1.6)
◯Classic Mac OS向けに書かれたOSAXを認識しなくなった
◯Unicode Textを扱えるようになった(as Unicode Text)
◯Mac OS Xのファイル/アプリケーションの新しい仕組み「バンドル」を扱えるようになった
◯コマンドラインからosascript、osacompile、osadecompile、osalangが使えるようになった
◯read/writeコマンドで2GB以上のデータの読み書きができるようになった
Mac OS X 10.1(AppleScript v1.7)
◯AppleScript自体の改行コードに、CR+LF(Windows)、CR(Mac)、LF(Unix)の3種類を使えるようになった(ネイティブはCR)
◯プログラムリンクの機能が復活。ただし、AppleTalkによるノード名称の指定はできず、TCP/IPベースに変更される(eppc://)
◯SOAPとXML-RPCの機能がサポートされた
◯拡張子を扱えるようになった
◯アプレット保存時にPowerPC/68kのどちらかのバイナリを選択するようになった
Mac OS X 10.2(AppleScript v1.9)
◯choose URLがWindows系サービスとFTPサーバーに対応
◯Script Menuの機能が単体でダウンロード提供されるようになった
(Folder ActionsがSystem Eventsの管轄にあるなど混乱期)
Mac OS X 10.3(AppleScript v1.9.2)
×AppleScript史上最大最悪のバグ「is in」演算子が使えないバグが発生(→10.3.x台で修正される)
◯AppleScriptおよびアプリケーションがバンドル形式でも保存できるようになった
◯delayに小数点以下の数値が指定できるようになった
(×AppleScriptの処理系のバグがとても多かった暗黒時代)
Mac OS X 10.4(AppleScript v1.10)
◯日本語環境がらみのバグが多数修正されたが、本格的な修正は10.5を待つ必要があった
×バグの指摘から修正まで時間がかかり、このバージョンを経てようやく処理系の安定が図られるようになった
×Finderからファイルパスを取得するとエンコーディングがおかしくなったり、display dialogで日本語がまともに表示できないアプリが存在していたのもこのバージョンまで
Mac OS X 10.5(AppleScript v2.0)
◯文字列をすべてUnicodeで扱うようになった
◯ASCIIキャラクター0〜255だけでなく、Unicodeの広い範囲の文字を取得できるように「text id xxxx」(xxxxは10進数で指定)が新設された
◯日本語の文字を含むファイルパスの取扱いがまともになってきた
◯アプリケーション起動中の状態(running)を取得できるようになった
◯アプリケーションをバンドルIDで指定できるようになった
◯FolderAction SetupがScriptableになった
◯「#」ではじまるコメント行を書けるようになった
OS X 10.6(AppleScript v2.1)
◯「スクリプトエディタ」が「AppleScriptエディタ」と名称変更
◯AppleScriptエディタが「ユーティリティー」フォルダに移動になった
◯AppleScriptエディタ上での構文色分け機能が強化された
◯AppleScript処理系の(ログイン後の)起動が速くなった
→ ただし、逆にログインアイテムに登録したAppleScriptアプレットが正しく実行されないというバグを生んだ。ログインアイテムに登録したAppleScriptアプレットでSystem Eventsを呼び出すと、System Eventsの起動が間に合わず、エラーになったりしていた
OS X 10.7(AppleScript v2.2)
◯AppleScriptエディタにスクリプトテンプレートの機能が追加された
◯AppleScriptエディタ上でAppleScriptObjC(Cocoa AppleScript Applet)を書けるようになった
×64bit版に書き直されたFinder、通称「Cocoa Finder」の動作速度が遅く、とくにファイル処理をFinderに任せると大幅に速度が低下する現象が発生。Scripterの間で「ファイル処理をFinderで行わないという」暗黙の合意が広がった
OS X 10.8(AppleScript v2.2)
◯AppleScriptエディタに「エクスポート」の機能がついた。アプレットはエクスポートして生成するよう変更
◯AppleScriptがOSのSandbox化の機能の影響を受けるようになった
OS X 10.9(AppleScript v2.3)
◯AppleScript 20年来の大改革。ライブラリ機能「AppleScript Libraries」が追加された
◯ユーザーへのNotification Center経由での通知命令「display notification」が追加された
◯AppleScriptObjCのハンドラ記述方式に、Objective-Cに似た記述方式が使えるようになった(Xcode上)
◯AppleScriptエディタでアプレットへのコードサインができるようになった
◯AppleScriptエディタがiCloudに対応し、iCloud上にAppleScriptを保存、iCloudからのAppleScriptの読み込みができるようになった
OS X 10.10(AppleScript v2.4)
◯「AppleScriptエディタ」が名称変更でふたたび「スクリプトエディタ」に
◯スクリプトエディタ上でCocoaの機能を利用するAppleScriptObjCを標準でサポートするようになった
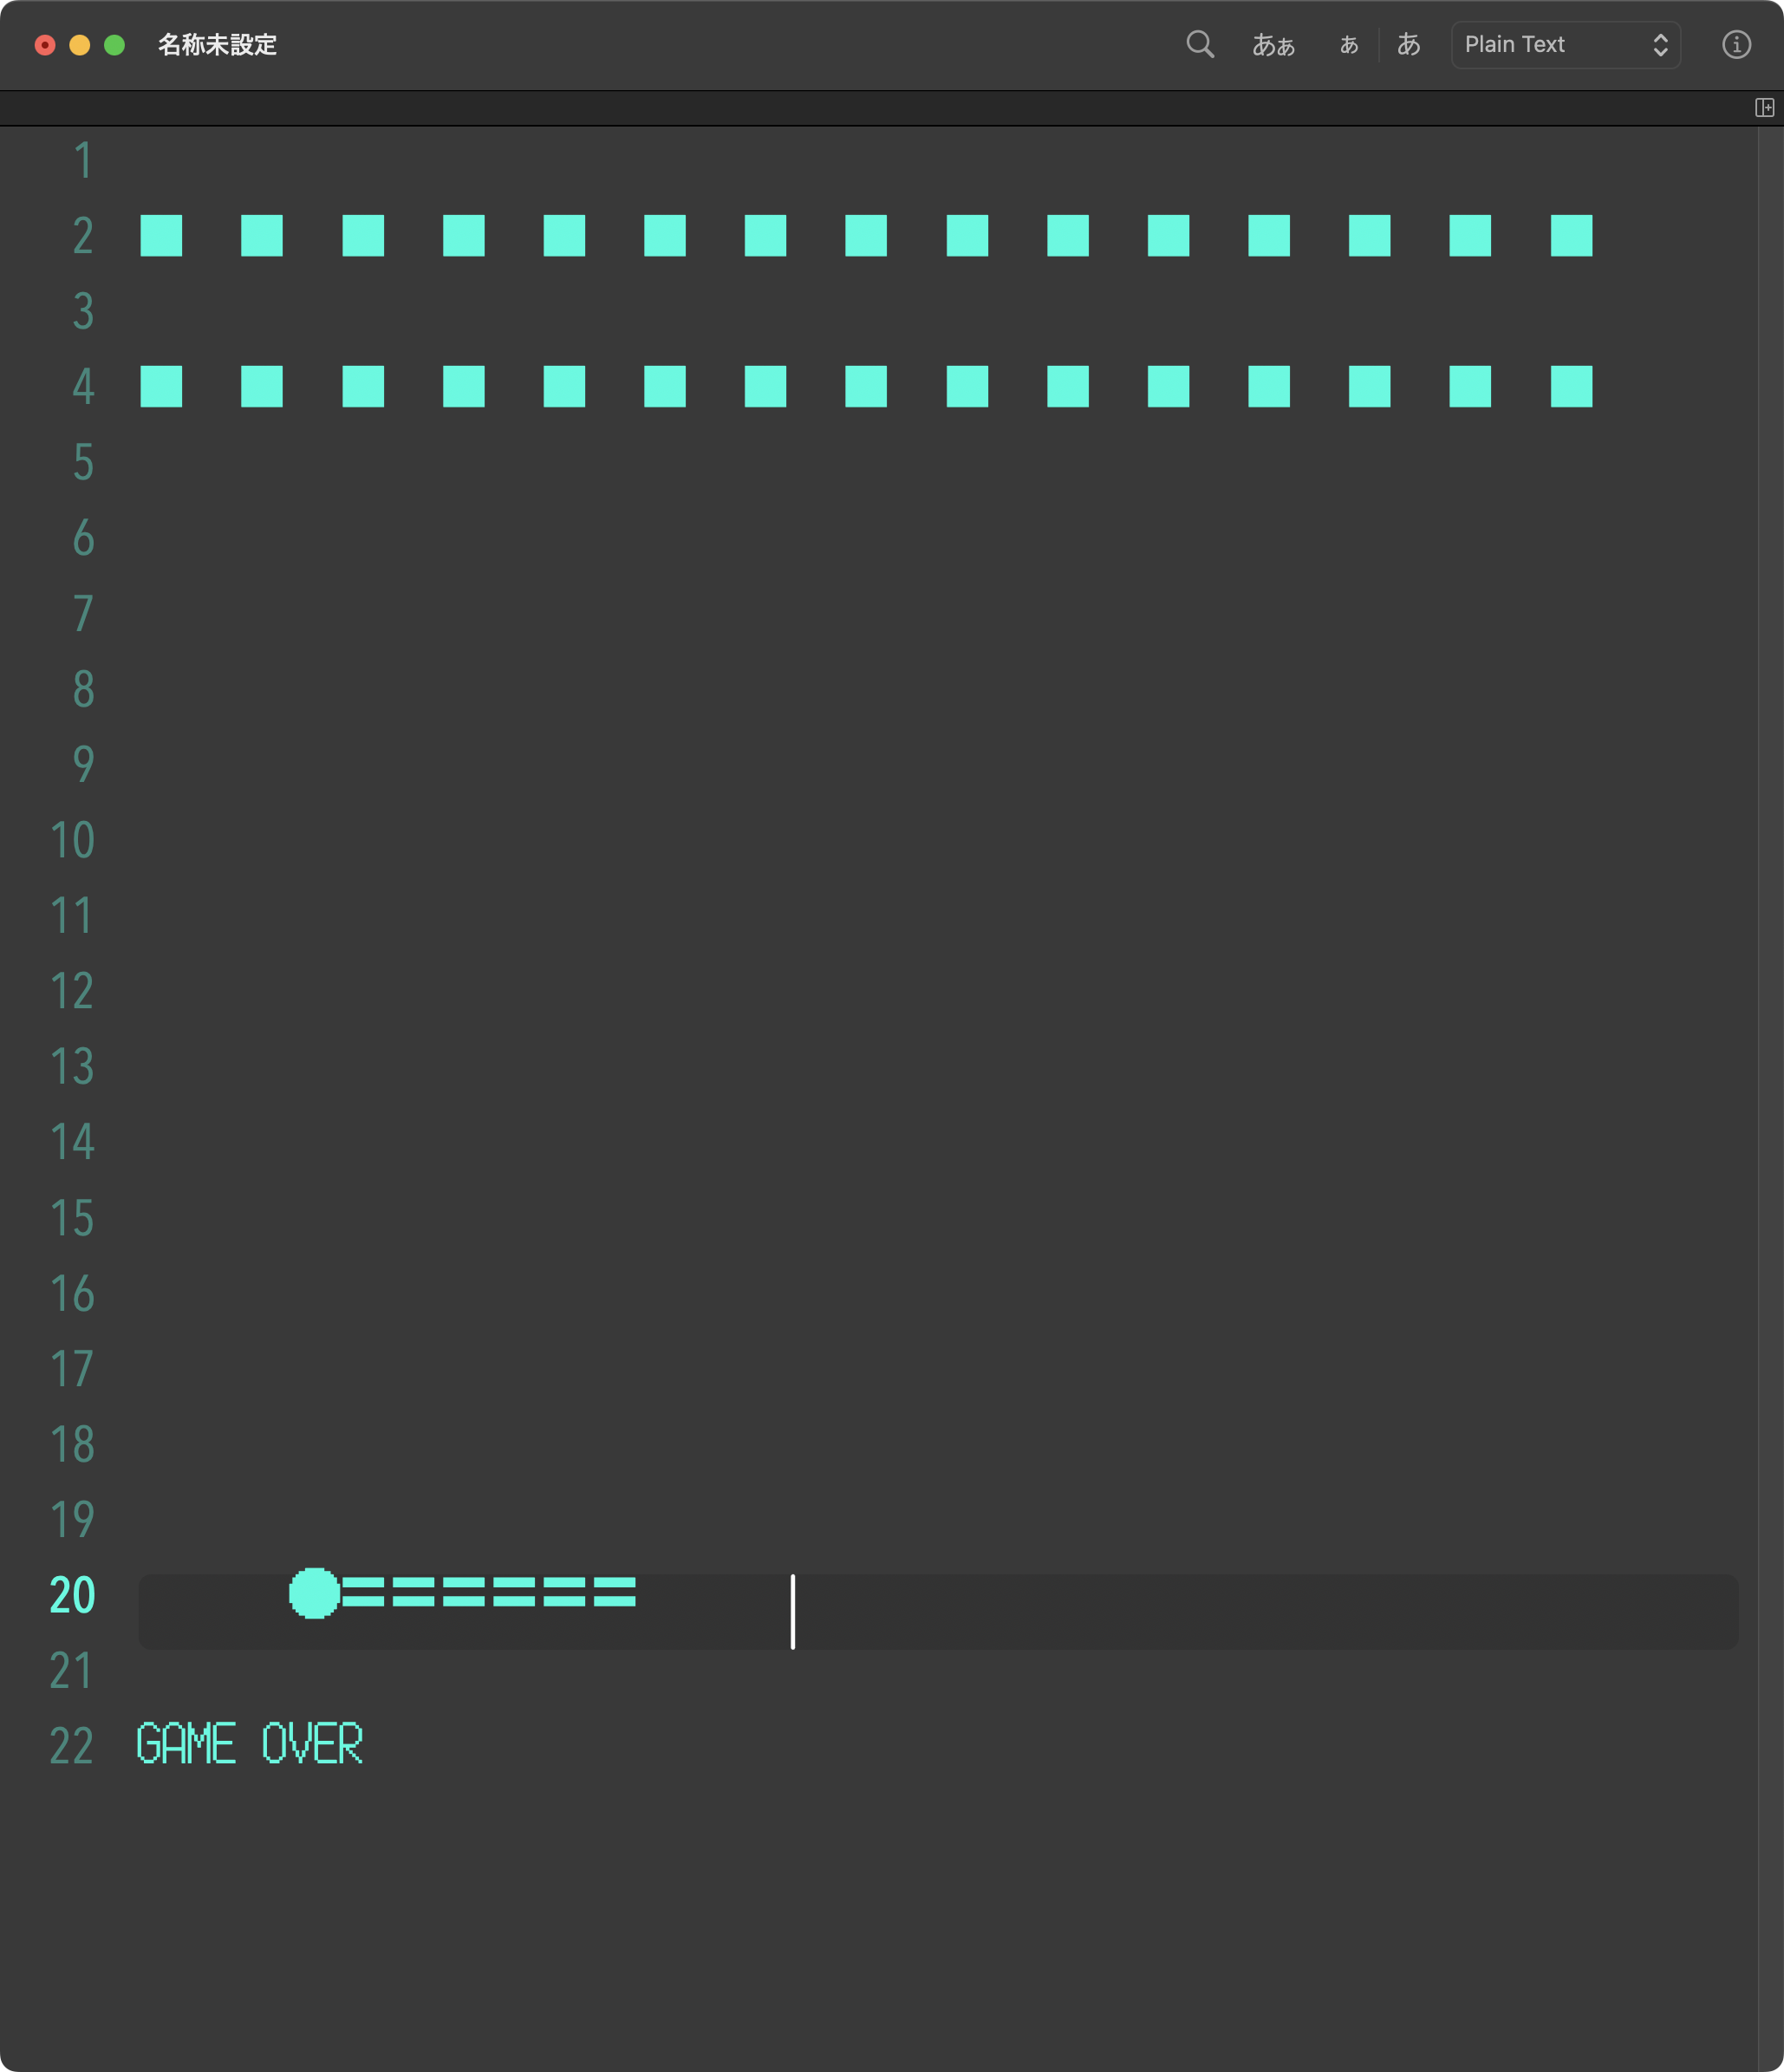
◯プログレスバーの表示機能をサポート
◯「as」による型変換(cast)で複数の型をリストで指定できるようになった
◯AppleScriptObjCのハンドラ記述方式に、Objective-Cに似た記述方式が使えるようになった(スクリプトエディタ上)
◯ハンドラ(サブルーチン)宣言部でパラメータの型指定が行えるようになった
◯無意味句を用いたハンドラ記述した場合に、パラメータ省略時の初期値を宣言できるようになった
×AppleScriptアプレット中でdelayコマンドを利用したときに、正しく時間待ちされないバグ
×AppleScriptとCocoaの間で小数点を含む実数を変換すると小数点以下の値が欠落するバグ
×NSStringとtext、NSStringとstring、NSStringとUnicode textの間でデータ 変換をしたときに、一部の文字が正しく変換されないというバグ(castバグ)
×Folder Actionにバグ。利用者権限に抵触してまともに動作しない(OS X 10.11で修正)
OS X 10.11(AppleScript v2.5)
◯Folder Actionのバグ修正。FSEventsを用いて随時ドロップされたファイルのイベントを受け付けるように処理方式があらためられた(以前は数秒ごとに対象フォルダをチェック する方式)
◯10.10のAppleScriptObjCのバグ修正(cast、enum)
◯AppleScript Librariesのファイルの置き場所を追加(環境変数で指定可能に)
◯より多くのCocoaのデータ型をAppleScriptの型に変換するようになった
◯delayの時間待ち無効バグ修正
macOS 10.12(AppleScript v2.5)
◯パフォーマンス改善のためのバグ修正を実施
×ドロップレットに不具合。ファイルの拡張属性「com.apple.quarantine」がついていると、ファイルが無視される(Script側で対処。以後Apple修正せず)
×Scripting Bridgeの定義ファイルに不具合。Enum「NSNotFound」のブリッジされている定義値が-1にならない(macOS 10.13.1で修正)
macOS 10.13(AppleScript v2.7)
◯セキュリティ関連の修正を実施
◯NSCharacterSet newlineCharacterSet()のようなメソッドでクラッシュしなくなった
◯NSNotFoundのScriptingBridge経由でブリッジされる定義値を-1に修正(macOS 10.13.1)
◯Remote AppleEventsの機能が復旧し、AppleScriptからLAN上の他のマシンの上で動作しているアプリケーションを直接操作できるようになった(起動している必要がある)
◯ScriptingBridge定義ファイルにバグ。PDFKit中のPDFPageのcurrentPage()がブリッジされていない。報告するも未修正(ずっと未修正)
macOS 10.14(AppleScript v2.7)
◯システム環境設定の「アクセシビリティ」>「プライバシー」に、「フルディスクアクセス」「オートーメーション」が新設され、ディスクやリソースへのアクセス、アプリケーションとの通信を管理するようになった。これに伴い、このアプリケーションへのアクセス認証を得ていない場合に発生するエラー(エラーコード-1743)が新設された。
◯サードパーティのOSAXサポートが廃止された
◯スクリプトメニューが、Menu Extraから独立したアプリケーションに変更になった
◯DVDプレイヤーがアプリケーションから補助ツールに格下げになり、AppleScriptからの操作が行えなくなった
◯SIPの機能が強化されセキュリティが強化された。その結果、アプレット内にFrameworkを同梱して配布したり、~/Library/Frameworksに入れたフレームワークをスクリプトエディタが認識しなくなった(事実上、Script Debuggerが必須に)
◯スクリプトエディタのAppleScript用語辞書から「execute」コマンドが削除された
◯住所録(Contacts.app)でプラグインScriptを利用できる機能が削除された(AppleScript用語辞書には残されているが機能しない)
macOS 10.15(AppleScript v2.7)
◯Remote AppleEvents(eppc)経由で他のマシン上のアプリケーションと通信する場合に、同一ユーザー名であることが必要になった。この制限を解除するためには、「defaults write /Library/Preferences/com.apple.AEServer RestrictAccessToUserSession -bool false」の操作をターミナル上で行う必要がある
◯AppleScript専用補助ツール「Image Events」がデフォルト状態ではファイルに一切アクセスできない状態で出荷される(セキュリティ設定によりアクセス可能に。その後のOSバージョンでも修正されない)
◯Cocoa呼び出しを行なった際の実行速度が大幅に低下(→macOS 12で修正)
macOS 11.0(AppleScript v2.7)
◯ARM(Apple Silicon)対応。AppleScript Appletなど実行アプリケーションがすべてApple Silicon/Intel 64のUniversal Binary化
◯Automator Action用に盲腸のように残っていたAppleScript Studioランタイムの廃止が明言される
◯AppleScriptアプレット中にproperty値が保存されなくなった。property値を保存する場合にはUser Defaultsに書き込む必要がある
◯ファイル共有のプロトコルに「afp://」が利用できなくなった。「smb://」に一本化
◯AppleScript書類(.scpt)アイコンが単なるプレーンテキストのものに変わっている(バグなのか本気なのかは不明。macOS 11.x台では修正されない見込み)
◯System Eventsの初回操作時に明示的に「launch」コマンドの実行が必要に(自動起動しない)
◯macOS 11.5において、NSString’s stringWithFormat:メソッドをAppleScriptから呼び出してもクラッシュしなくなった(macOS 11.0〜11.4の間はクラッシュ発生)
◯これまでに書かれたCocoa Scriptingのプログラムで「書き方が間違っているが、許容されてきた」書き方がエラーもしくはクラッシュを引き起こすようになった
×AppleScriptがM1 CPUの高効率コア「Icestorm」で実行されてしまうため、Cocoa Scripting時にIntel CPUにくらべて10分の1〜70分の1程度にパフォーマンス低下(→macOS 12で修正)
macOS 12.0(AppleScript v2.8)
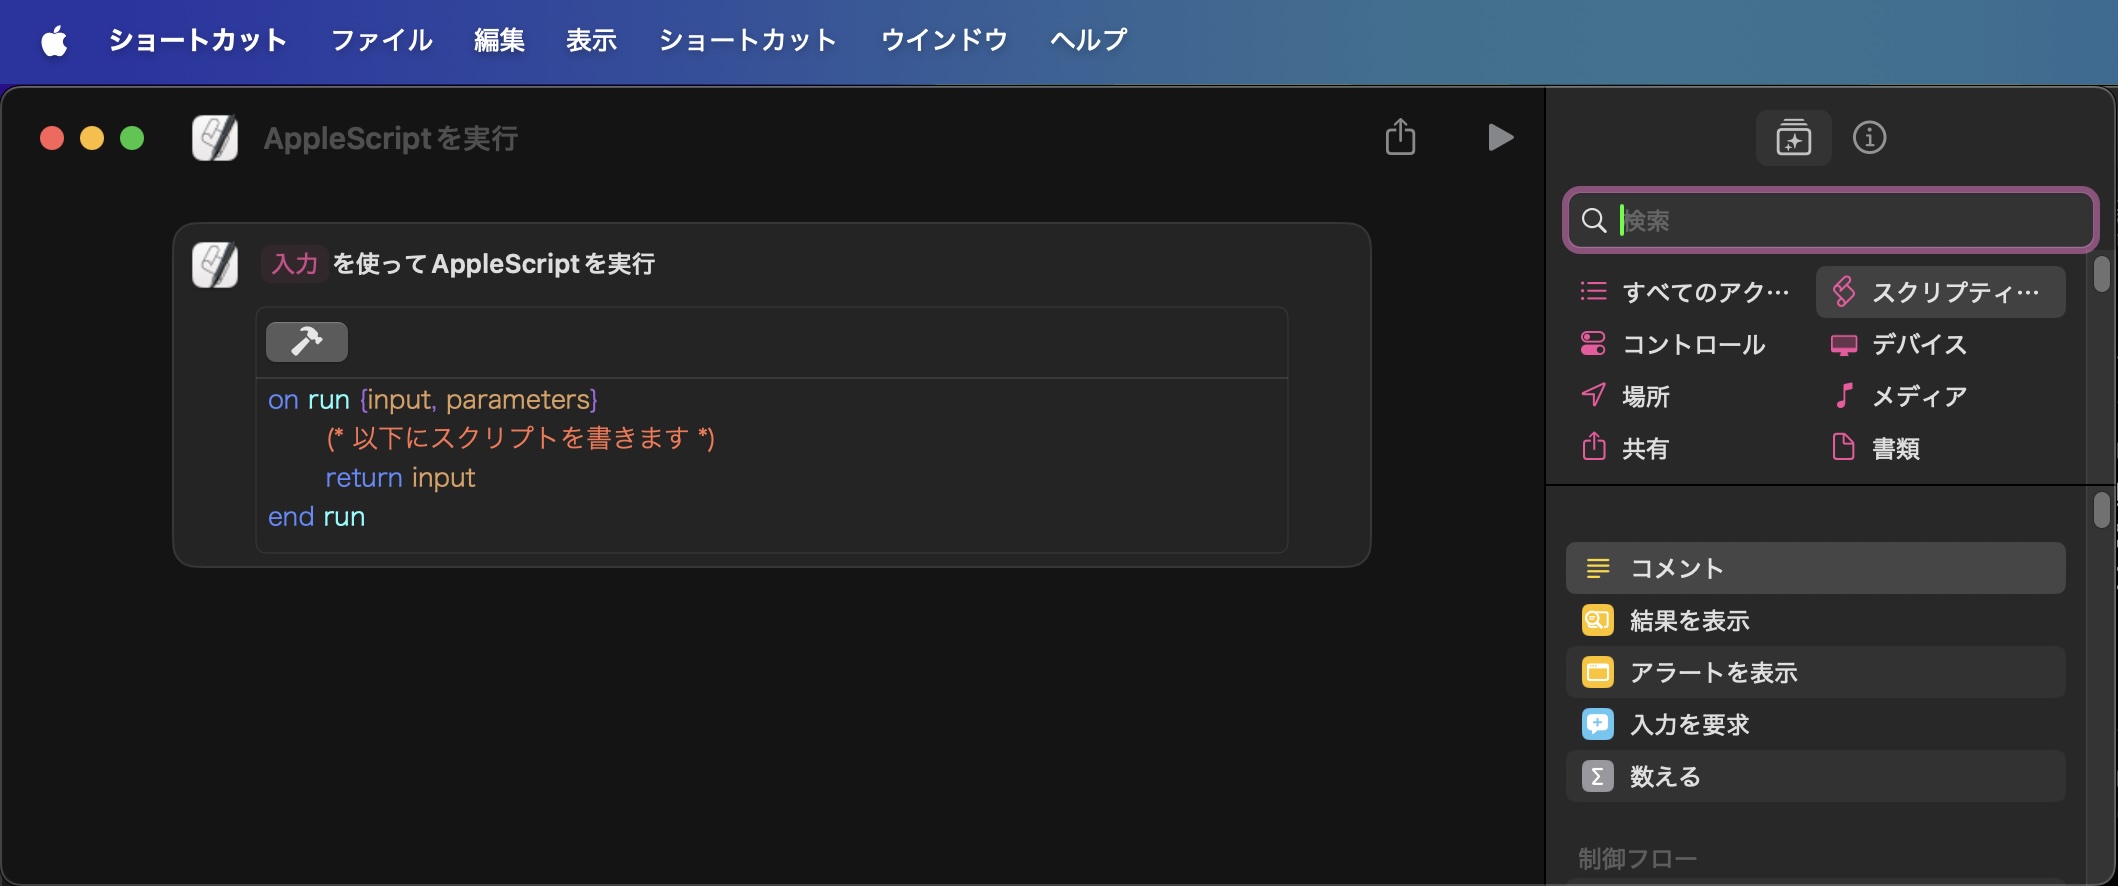
◯ショートカット.appが標準搭載される。ショートカットにAppleScript実行アクションが搭載され、ショートカット中からAppleScript(Cocoa Scripting機能を含む)の呼び出しが可能に
◯ショートカット.appが起動中でなくてもショートカットを実行できるShortcuts Eventsが標準搭載される
◯Piyomaru Softwareの働きかけにより、macOS 10.15で生じたCocoa Scriptingの速度低下、およびmacOS 11で生じたApple Silicon MacのCocoa Scripting速度低下が是正される。Cocoa呼び出し時のAppleScriptの大幅な処理速度向上
◯macOS 12.3、悪意を持って作られたAppleScriptバイナリ(アプレット)のセキュリティ上の問題(CVE-2022-22626)を解消
◯macOS 12.1〜2の間、日本語環境限定で、NSDataDetectorで自然言語テキストから「電話番号」を抽出する機能が動作していなかった(12.3で修正)
◯macOS 12.3、スクリプトエディタのコンテクストメニュー(スクリプトアシスタント表示用)にバグ。項目が複数回表示される(macOS 13で修正)
◯macOS 12.3.1、セキュリティ強化にともなう不具合(Finder上のselectionをオープンすると、ファイルを作成したアプリケーションが起動されないエラーなど)を修正
◯macOS 12.4、AppleScriptアプレットで、入力検証を強化して、領域外読み込みの脆弱性に対処(CVE-2022-26697)。アプリケーションが予期せず終了したり、プロセスメモリが漏洩したりする可能性がある脆弱性に対し、配列境界チェック機能を改善して対処(CVE-2022-26698)。
macOS 13.0(AppleScript v2.8)
◯「システム環境設定」が「システム設定」に。AppleScriptで各種Paneを表示させる機能が動作しなくなった
→ macOS 13.5あたりでmacOS 14同様の機能を実装、機能復旧
◯「Font Book」がAppleScript非対応に
◯「アプリケーションのAppleScript用語辞書をブラウズする方法が、「アプリケーションのアイコンをスクリプトエディタにドラッグ&ドロップする」ものから「アプリケーションのアイコンをスクリプトエディタの「ライブラリ」ウインドウにドラッグ&ドロップもしくは「+」ボタンのクリックで追加するやりかたに変更される(macOS 14で復旧)
×Text To Speech(テキスト読み上げ音声)のIDがすべて変更になる。日本語環境用にSiriのO-renとHattoriが搭載されるが、sayコマンドで使えるようにはなっていない
×AppleScriptからMail.appにメール作成+送信を行うと1通作成ごとに生成されたプロセスがメモリ上から消えず、メモリを食い潰してマシンの処理速度自体が遅くなる
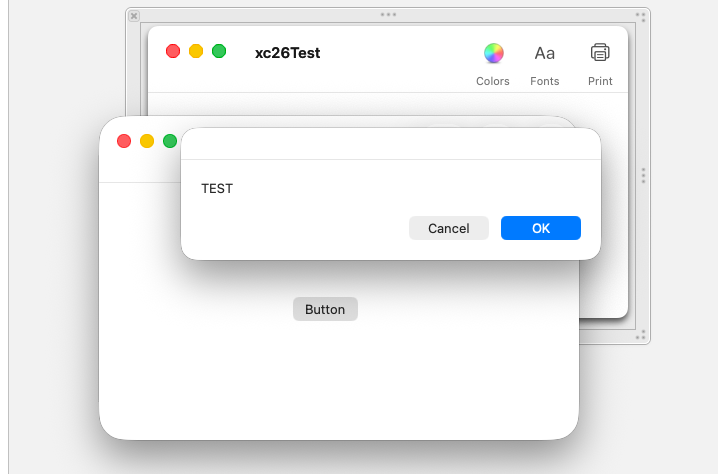
×スクリプトエディタ上で「Cocoa-AppleScript Applet」のテンプレートから作成したアプレットが動作しない問題が発生
◯テキスト読み上げキャラクタのうち一部のキャラクタで名前がローカライズされてしまい、sayコマンドで指定できないバグが発生(日本語環境限定バグ)
macOS 14.0(AppleScript v2.8)
◯「システム設定」のAppleScriptで各種Paneを表示させる機能が復旧
◯Safari v17で隠し命令「show credit card settings」が追加される。do javascript命令の実行許可のための「Apple EventからのJavaScriptを許可」の場所が設定>デベロッパに変更される
◯ミュージック.appでplaylistの「loved」属性が「favorited」に変更される
◯連絡先.appの廃止済みプラグイン機能用の「Address Book Rollover Suite」の属性がhiddenに変更される
◯スクリプトエディタのコンテクストメニュー・スクリプトに、絵文字つきのファイル/フォルダのコンテンツを入れると、コンテクストメニューに「項目が重複して表示される」不具合が修正される
◯「アプリケーションのAppleScript用語辞書をブラウズする方法「アプリケーションのアイコンをスクリプトエディタにドラッグ&ドロップ」が復旧する
×スクリプトエディタ上で「Cocoa-AppleScript Applet」のテンプレートから作成したアプレットが動作しない問題が継続中
×スクリプトメニューから呼び出したAppleScriptの実行速度が、スクリプトエディタ上よりも6倍以上遅くなる現象が発生
×半角スペース文字列の数値への型変換で処理系自体がクラッシュするバグ(14.0 Sonoma Crasher→ 15.0で修正)
×テキスト読み上げキャラクタのうち一部のキャラクタで名前がローカライズされてしまい、sayコマンドで指定できないバグが継続中(日本語環境限定バグ)
macOS 15.0(AppleScript v2.8)
◯Safariのtabにpidプロパティが追加される
◯AppleScriptドロップレットにドロップしたファイル/フォルダが、xattr「com.apple.quarantine」の影響とGatekeeperの兼ね合いですべてが受け渡されない現象がmcOS 10.12から継続して発生していたが、これが改められ、ドロップされたファイル/フォルダの欠損が発生しなくなった。なお、この変更がmacOS 13.xおよび14.xにもさかのぼって適用された
◯半角スペース文字列の数値への型変換で処理系自体がクラッシュするバグ(14.0, Sonoma Crasher)が解消
×スクリプトエディタ上で「Cocoa-AppleScript Applet」のテンプレートから作成したアプレットが動作しない問題が継続中
×スクリプトメニューから呼び出したAppleScriptの実行速度が、スクリプトエディタ上よりも6倍以上遅くなる現象が継続中
×テキスト読み上げキャラクタのうち一部のキャラクタで名前がローカライズされてしまい、sayコマンドで指定できないバグが継続中(日本語環境限定バグ)
macOS 26.0(AppleScript v2.8)
◯スクリプトエディタ上で「Cocoa-AppleScript Applet」のテンプレートから作成したアプレットがApple Silicon Mac上で動作しない問題が解決される(??????)
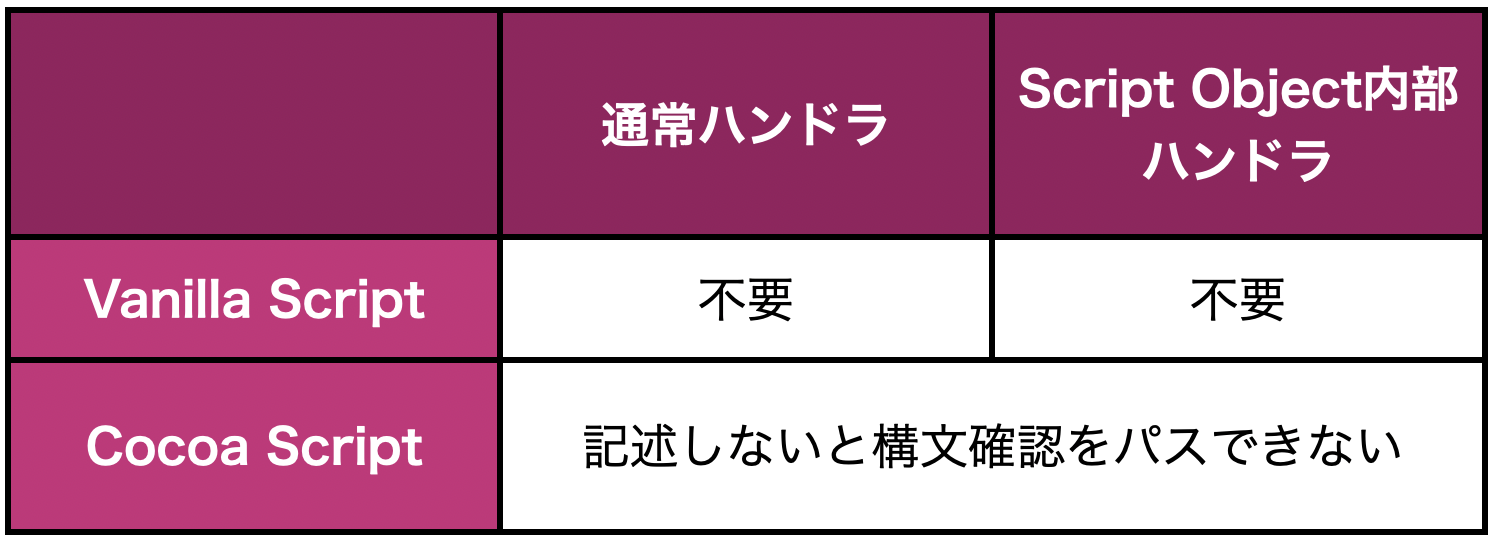
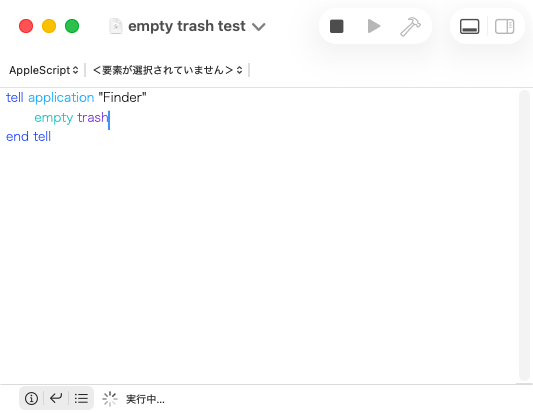
◯スクリプトエディタ上でコンパイル(構文確認)を行うと、最終行が見えなくなる問題が解決される
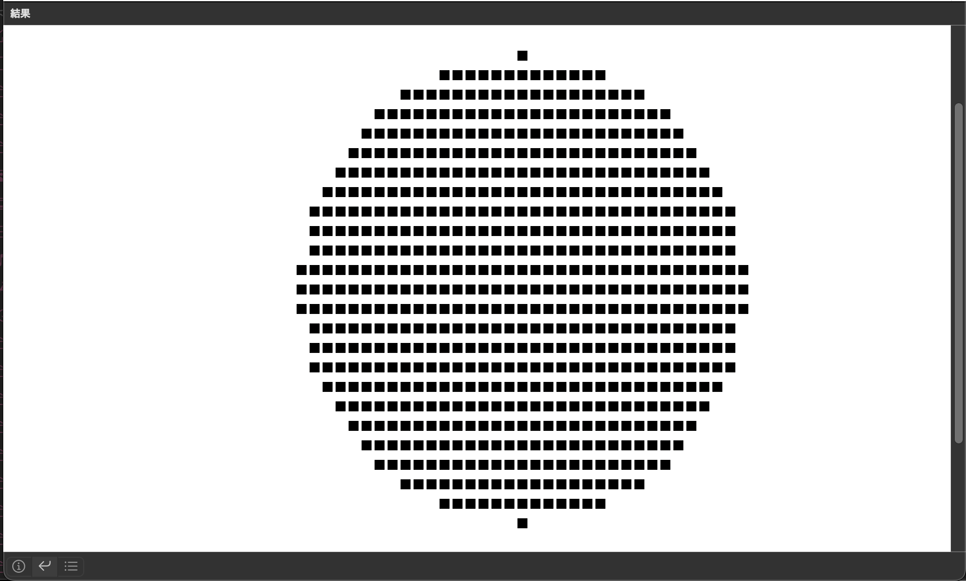
◯スクリプトエディタがDark Modeに対応
◯スクリプトエディタのアイコンがmacOS 26風に変更される
macOS 27.0(AppleScript v2.8)
◯スクリプトエディタ上で「Cocoa-AppleScript Applet」のテンプレートから作成したアプレットがApple Silicon Mac上で動作しない問題が解決される(作業中)