

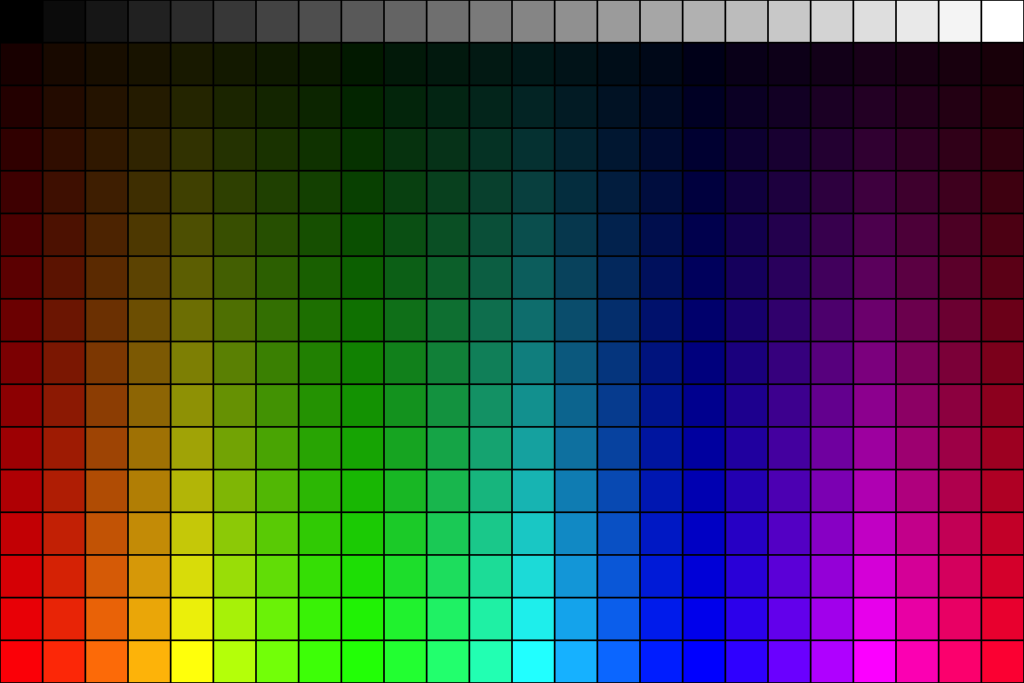
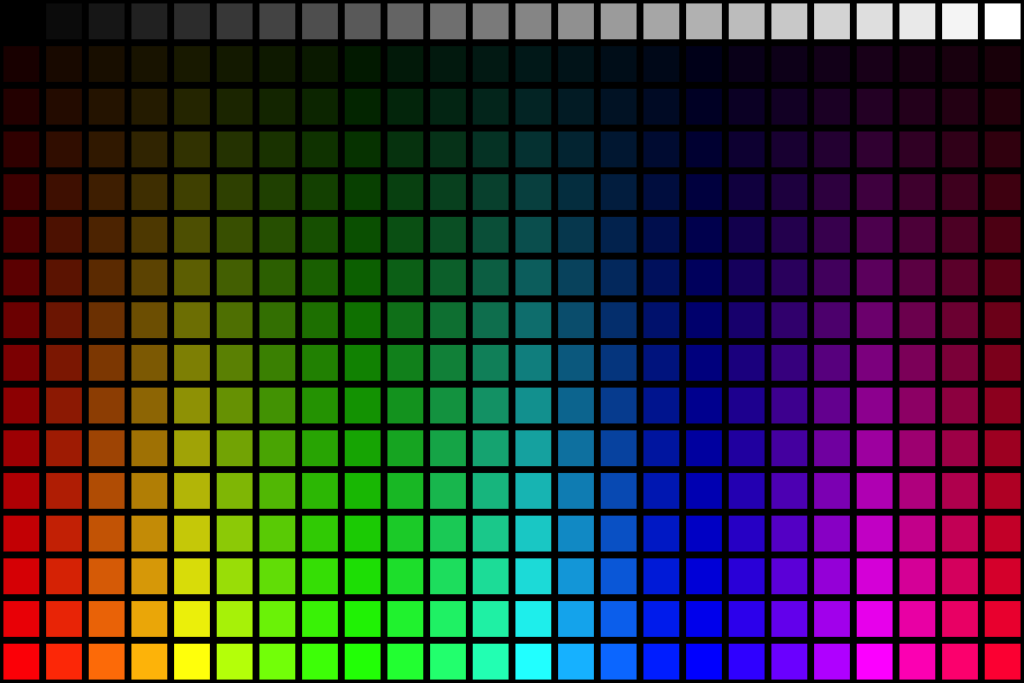
簡易的なカラーチャートの画像を出力するAppleScriptです。
カラーチャートを用いて色のチェックを行いたいことはありますが、既存の著名なカラーチャートには著作権が存在しており、おいそれと紹介記事などで利用できないケースが多々あります。
そこで、そこそこの品質で納得できる内容の、簡易的なカラーチャート画像を出力するAppleScriptを作成してみました(Geminiに書かせたものを清書)。
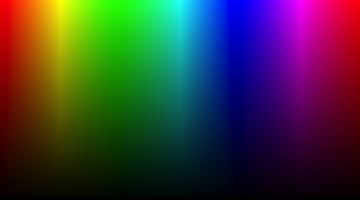
▲当初(v1.0)はこのようなチャートを出力していたが、書くのに時間がかかりすぎるのと実用性がいまひとつだったので現状(v2.x)に変更した
出力画像サイズや、枠線の太さ、出力先のファイルパスを指定できるようになっており、各種レビューなどで著作権に気を使うことなくカラーチャートを使用できます。
各種AIにプログラムを書かせると、サブルーチンも何も宣言せず「とりあえず動けばいい」という内容のコードを出力しがちですが、サブルーチンとして使い回せるようにしておけば、パラメータの変更などを行うやすくなります。
また、「大きなプログラム」を組み立てるさいにも、サブルーチン化しておいたほうが都合がよくなります。
| AppleScript名:簡易カラーチャート画像の出力 v2.1.scptd |
| — – Created by: Takaaki Naganoya – Created on: 2026/08/28 — – Copyright © 2026 Piyomaru Software, All Rights Reserved — use AppleScript version "2.8" use framework "Foundation" use framework "AppKit" use scripting additions — 保存先の指定 set filePath to choose file name with prompt "カラーチャートの保存先を指定してください" default name "ColorChart.png" default location (path to pictures folder) if filePath is false then return — Posix pathの取得 set posixPath to POSIX path of filePath if not (posixPath ends with ".png") then set posixPath to posixPath & ".png" end if — 出力画像サイズ (1200 x 800 pixel) set canvasWidth to 1200 set canvasHeight to 800 — グリッド(マス目)の分割数設定 — 横方向(色相 H): 24段階 — 縦方向(明度/彩度 B/S): 16段階 set cols to 24 set rows to 16 — マスの間の隙間(枠線)の幅(ピクセル指定、0にすると隙間なし) set gap to 8 –カラーチャート画像を作成して指定パスにPNGファイルとして書き込み set {aRes, aMes} to genColorChartImage(gap, cols, rows, canvasWidth, canvasHeight, posixPath) of me if aRes = false then display dialog aMes on genColorChartImage(gap, cols, rows, canvasWidth, canvasHeight, posixPath) — 1マスのサイズ計算 set cellWidth to canvasWidth / cols set cellHeight to canvasHeight / rows — NSBitmapImageRepの作成 set imgRep to current application’s NSBitmapImageRep’s alloc()’s initWithBitmapDataPlanes:(missing value) pixelsWide:canvasWidth pixelsHigh:canvasHeight bitsPerSample:8 samplesPerPixel:4 hasAlpha:true isPlanar:false colorSpaceName:(current application’s NSCalibratedRGBColorSpace) bytesPerRow:0 bitsPerPixel:0 — 描画コンテキストの作成 current application’s NSGraphicsContext’s saveGraphicsState() set currentContext to current application’s NSGraphicsContext’s graphicsContextWithBitmapImageRep:imgRep current application’s NSGraphicsContext’s setCurrentContext:currentContext — 背景を黒で塗る(マスの間のグリッド線になります) current application’s NSColor’s blackColor()’s |set|() current application’s NSRectFill(current application’s NSMakeRect(0, 0, canvasWidth, canvasHeight)) — カラーチャート(グリッド)の描画 repeat with col from 0 to (cols – 1) — X軸: 色相 (Hue: 0.0 〜 1.0) set hueVal to col / cols repeat with row from 0 to (rows – 1) — Y軸: 明度 (Brightness: 上に行くほど明るく、下に行くほど暗く) set brightnessVal to (rows – row) / rows — 彩度 (Saturation: 1.0 固定、または縦方向に応じて調整可能) set saturationVal to 1.0 — 特例: 一番下の行はグレースケール(無彩色)にする場合 if row is (rows – 1) then set cellColor to (current application’s NSColor’s colorWithCalibratedWhite:(col / (cols – 1)) alpha:1.0) else set cellColor to (current application’s NSColor’s colorWithHue:hueVal saturation:saturationVal brightness:brightnessVal alpha:1.0) end if cellColor’s |set|() — 描画するマスの位置とサイズ(隙間gapを考慮) set rectX to col * cellWidth + (gap / 2) set rectY to row * cellHeight + (gap / 2) set rectW to cellWidth – gap set rectH to cellHeight – gap set rectToFill to current application’s NSMakeRect(rectX, rectY, rectW, rectH) current application’s NSRectFill(rectToFill) end repeat end repeat — グラフィックスコンテキストの復元 current application’s NSGraphicsContext’s restoreGraphicsState() — PNG表現に変換して保存 (NSPNGFileType / 数値4を指定) set pngFileType to current application’s NSPNGFileType if pngFileType is missing value then set pngFileType to 4 — 互換性フォールバック set pngData to imgRep’s representationUsingType:pngFileType |properties|:(missing value) set writeResult to pngData’s writeToFile:posixPath atomically:true if writeResult as boolean then set targSizeStr to (canvasWidth as string) & "x" & (canvasHeight as string) return {true, targSizeStr & "のカラーチャートを出力しました"} else return {false, "ファイルの保存に失敗しました。"} end if end genColorChartImage |
(Visited 102 times, 1 visits today)
Manabu Yajima says:
おはようございます。このスクリプトに限った話じゃないですし直接は関係ありませんが、エディタで開くリンクが最新環境で無効?になってしまってます。これはOSのセキュリティか何かでしょうか。何か解決策をお持ちなら..
Takaaki Naganoya says:
教えていただきありがとうございます。とりあえず、フリー配布されているScript Debugger+Safari+macOS 27.2betaでの動作を確認できているので、Script Debuggerをapplescript:// URL Schemeの受信アプリに設定すれば内容の受信はできるようです。
Manabu Yajima says:
なるほど。そういう手がありましたか。
Script Debuggerは以前に少し使っていて今は入れてませんでした。自身で使う分には良さそうですね。
記事も読ませていただきました。教えてくださってありがとうございます。
Takaaki Naganoya says:
「applescript://のURLイベントを受信して内容をデコードしてScript Editorに転送」する専用の中継アプリ(内容は20行ぐらい)を作れば、対処できなくもないのですが……Script Debuggerのほうがいまだとフリーで配布されていますし、よさそうだと判断しました。
Manabu Yajima says:
ライセンスは持ってますがフリー版入れました。コードがすぐ反映されるのはやっぱ便利ですね。
Manabu Yajima says:
後学のために知っておきたいのですが、中継アプリ教えてくださいませんか。
ご負担にならなければ記事にでもしてもらえるとありがたいです。
Takaaki Naganoya says:
時間を見て試してみます。URLイベント関連は「こう作ればできるはず」なのに、作ってみると動かなかったとかいうことがありえますので。
Manabu Yajima says:
ありがとうございます。